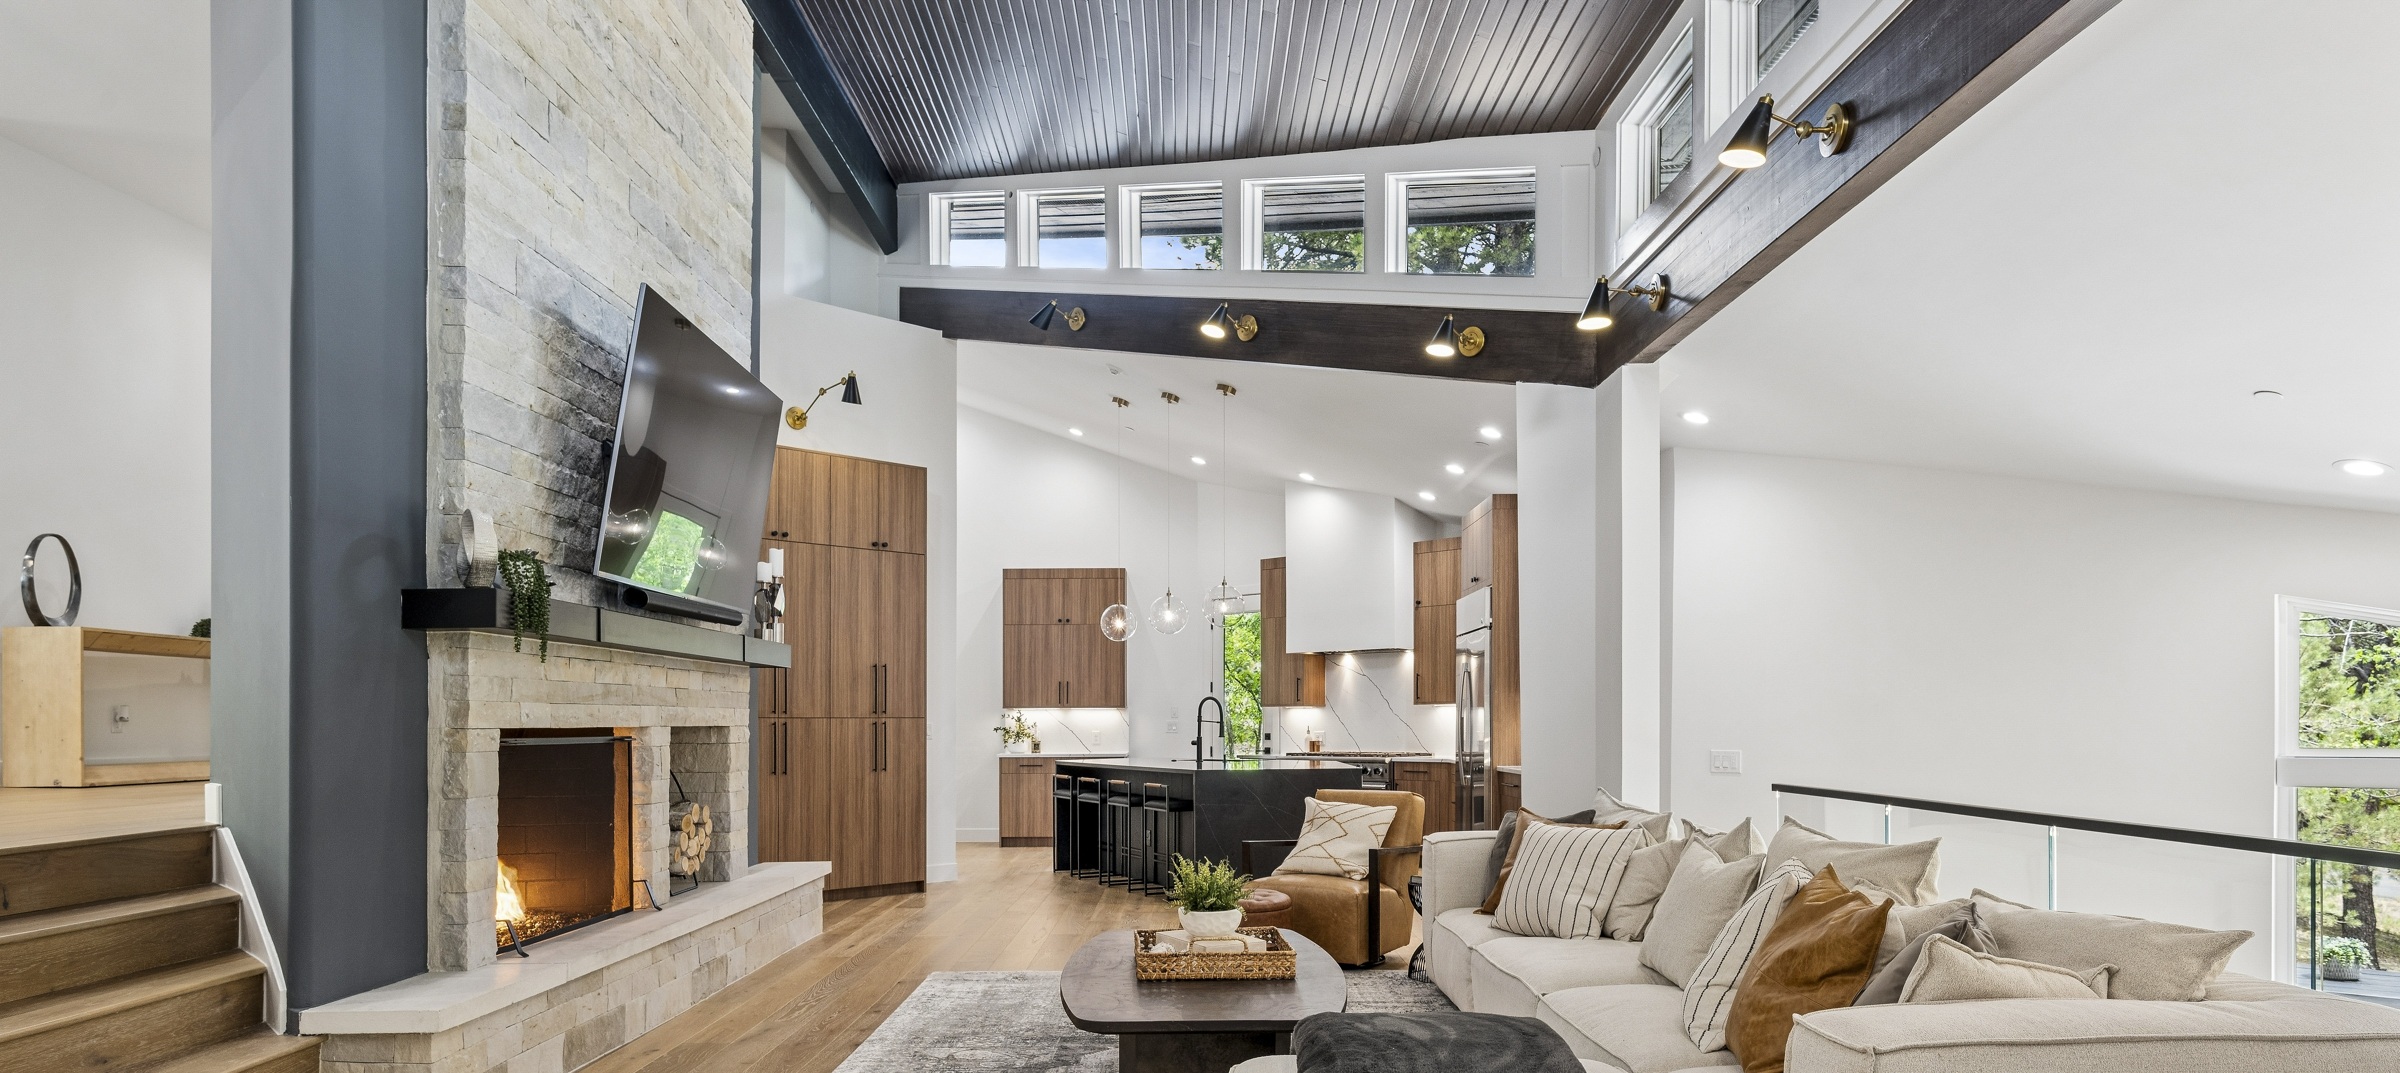
The Village
at Castle Pines
Whole-home reconfiguration
Full-gut renovation
Exterior modernization
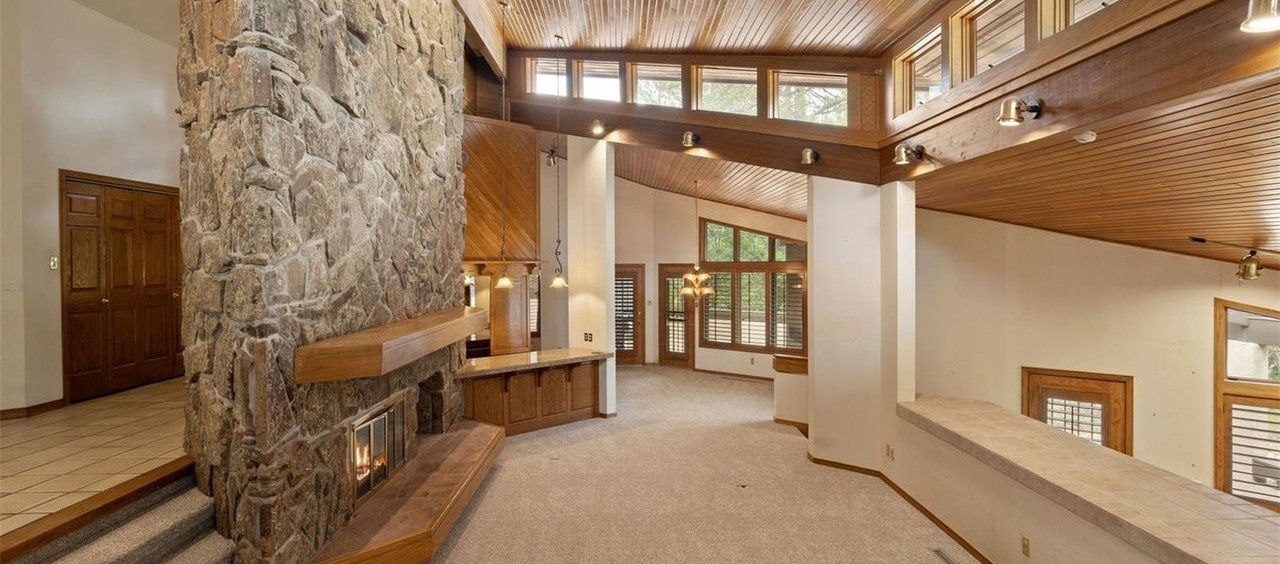
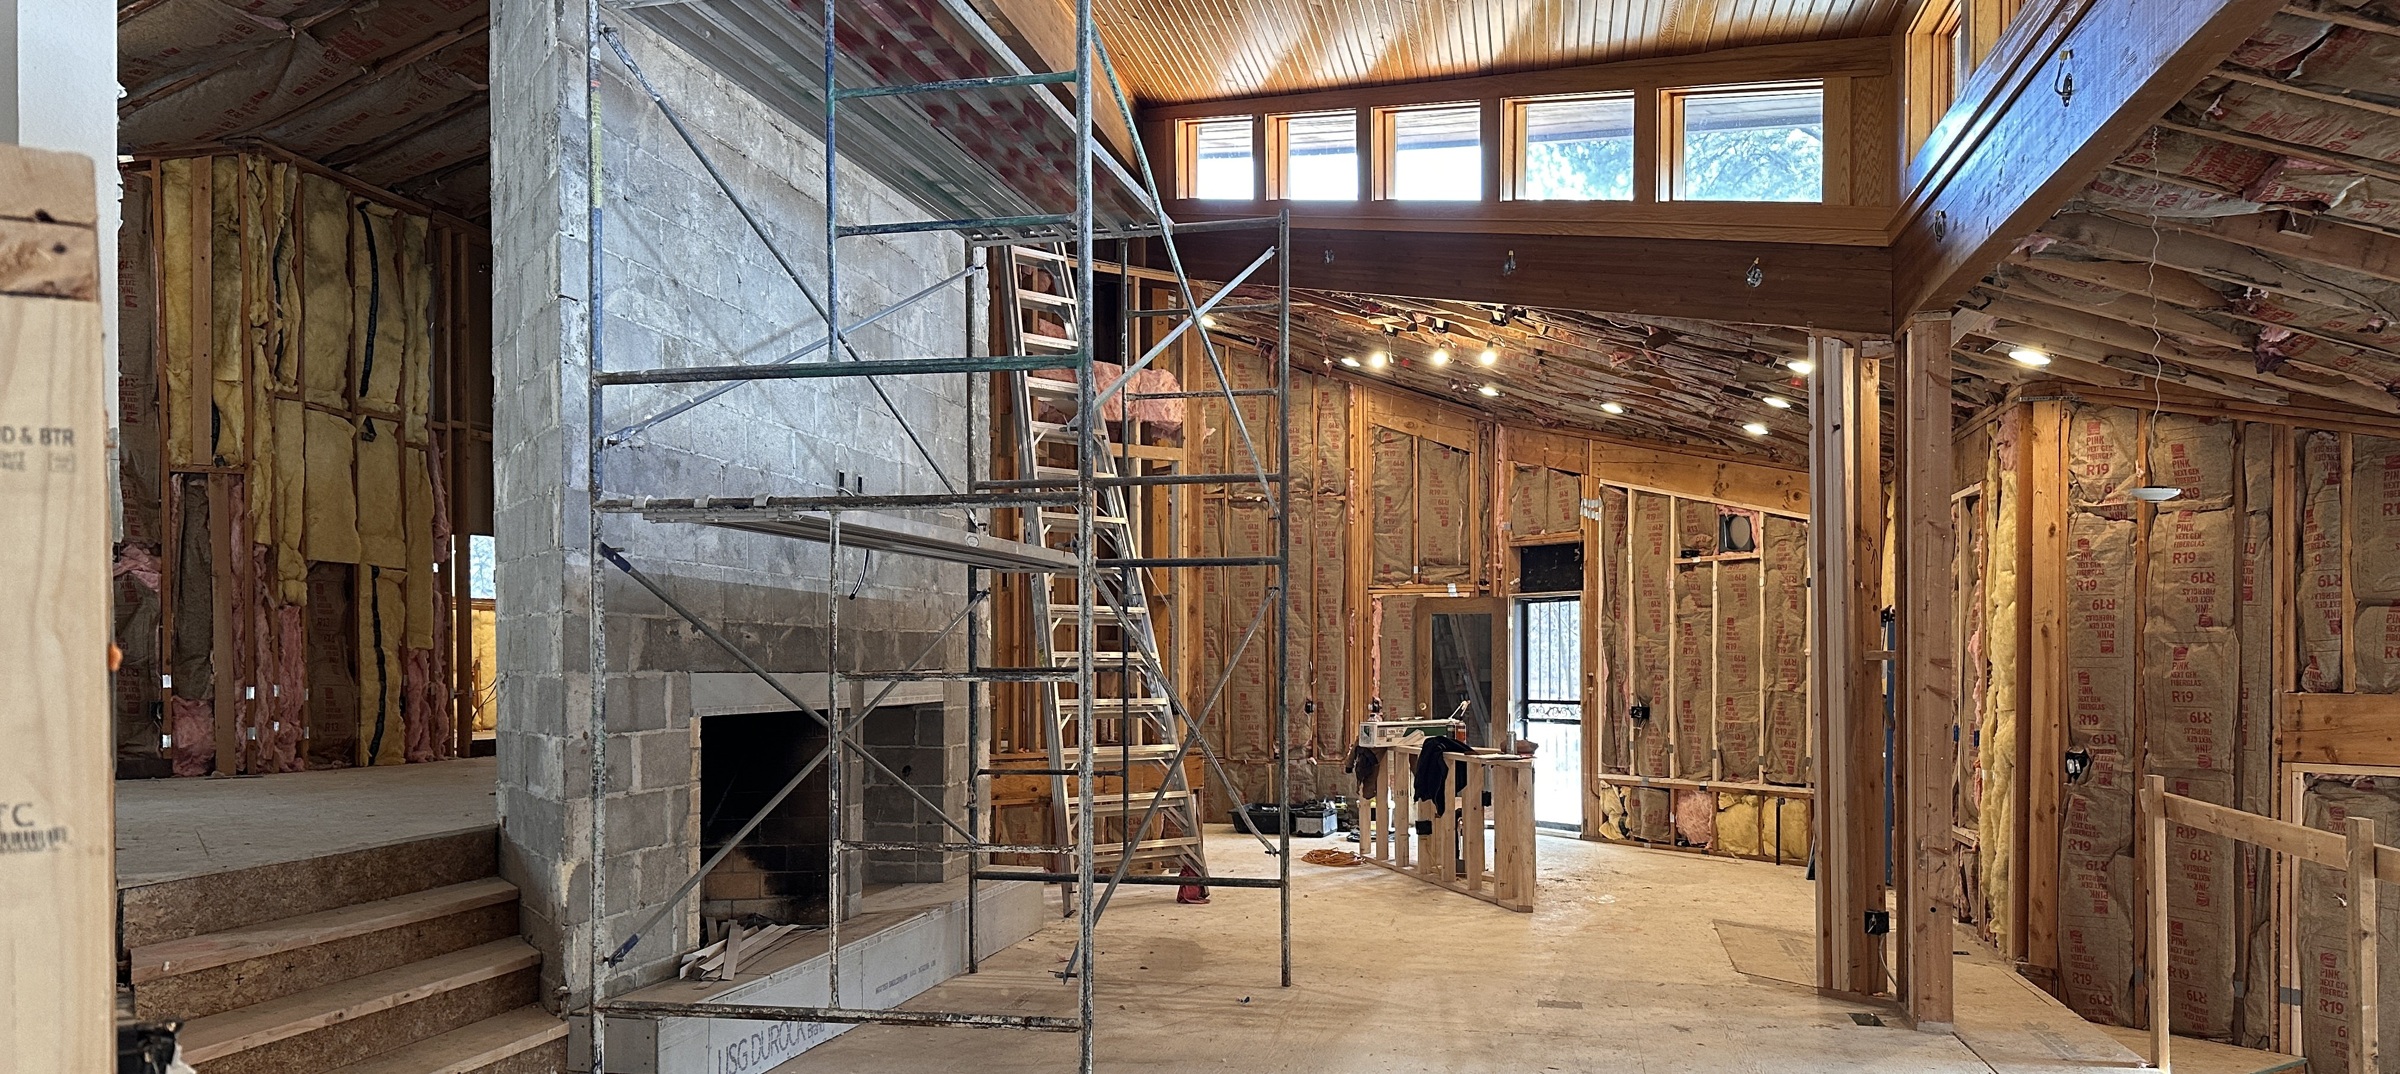
Why this house?
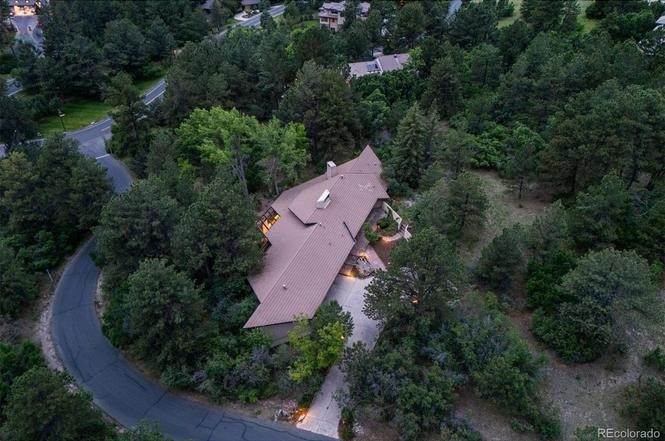
A perfect wooded lot in a highly sought-after neighborhood.
Dramatic architecture and character you don’t easily find in new construction.
Substantial square footage.
Endless potential.
But the layout just wasn’t cutting it.
At roughly 4,500 square feet, this house had plenty of room—but somehow only 2 bedrooms, 2½ bathrooms and an unfinished basement. The kitchen was on a completely different level from the living area and there was underutilized space galore.
This wasn't a house that needed more square footage. We just needed to figure out how to make better use of what was already there.
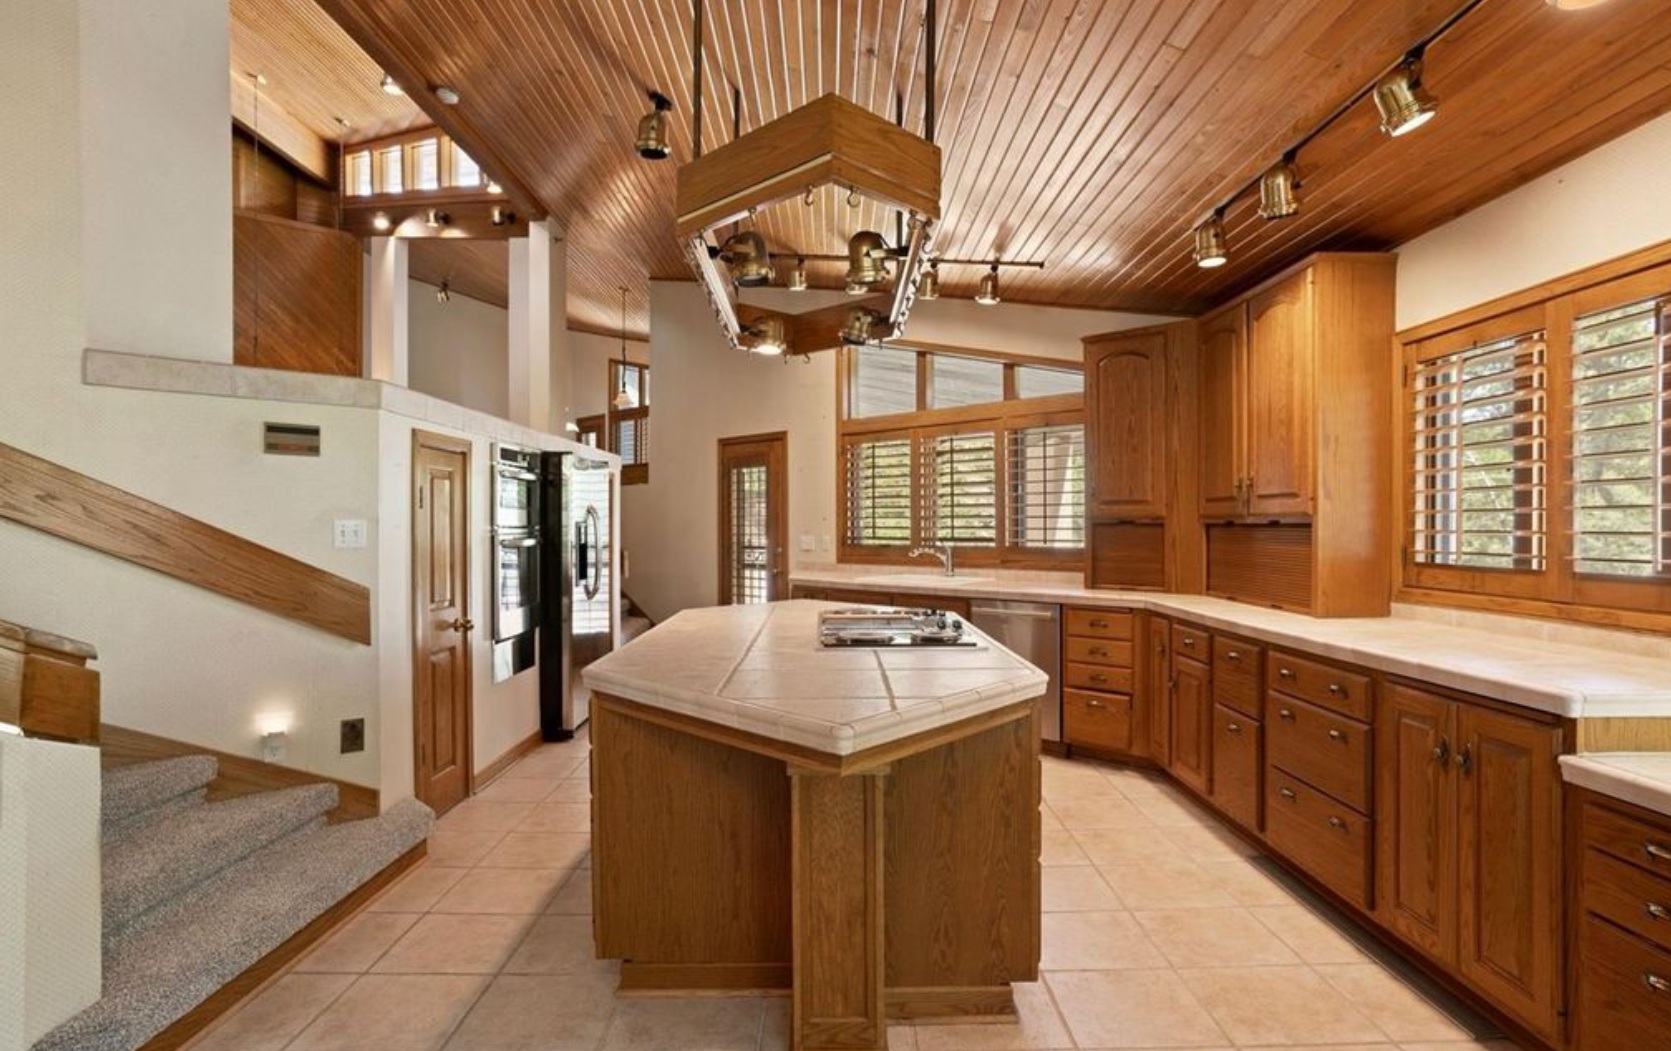
The move that made everyone wonder if I was crazy...
The original kitchen was actually pretty substantial, with plenty of cabinetry, a large island and lots of natural light.
Our biggest problem wasn’t really the kitchen itself. It was where it was.
Sitting down on its own level, it was disconnected from the main living space and required constant trips up and down the stairs.
If the future homeowners were anything like me, they were probably going to live in their kitchen—eating at the island, cooking dinner while watching TV, kids doing homework at the counter. You get the idea. That’s hard to do when the kitchen is on a completely different level.
So rather than simply renovating it where it was, we started wondering whether the kitchen should be somewhere different altogether.
Okay, I get it... moving an entire kitchen sounds nuts. But what are my other options?
My first idea was to raise the entire lower level to meet the main floor and eliminate the split altogether. Initially, that seemed like the perfect fix. But then we realized... the roofline... shoot. The dramatic, multi-level angled roofline was a huge part of what gave this house so much character. There was no good way to preserve it with that plan, and fixing the layout wasn't worth stripping away one of the things that made me fall in love with that house in the first place.
So—onto Plan B.
Next we looked at the open sitting area that ultimately became the new bedroom. Could the kitchen go there instead? In theory, maybe. But in reality, it was simply too small to create the kind of kitchen this house needed.
We even considered lowering the office, which sat on the entry level above the main living space, and combining it with the open sitting area to create one enormous kitchen. But the basement and foundation structure below it pretty quickly squashed that idea.
Which brought us back to that underused formal dining area right beside the family room.
What if we just swapped them?
Move the kitchen upstairs—right next to the living room and on the same level as the primary suite and the additional bedroom—and suddenly almost everything you use day to day is on one level. Then move the formal dining room down five steps into the former kitchen. Most people use their kitchen all day, every day. A formal dining room? Maybe a few times a year.
If you're going to walk up and down five steps, shouldn't it be for Thanksgiving dinner—not every time you want a glass of water?
So... the old dining room becomes the new kitchen.
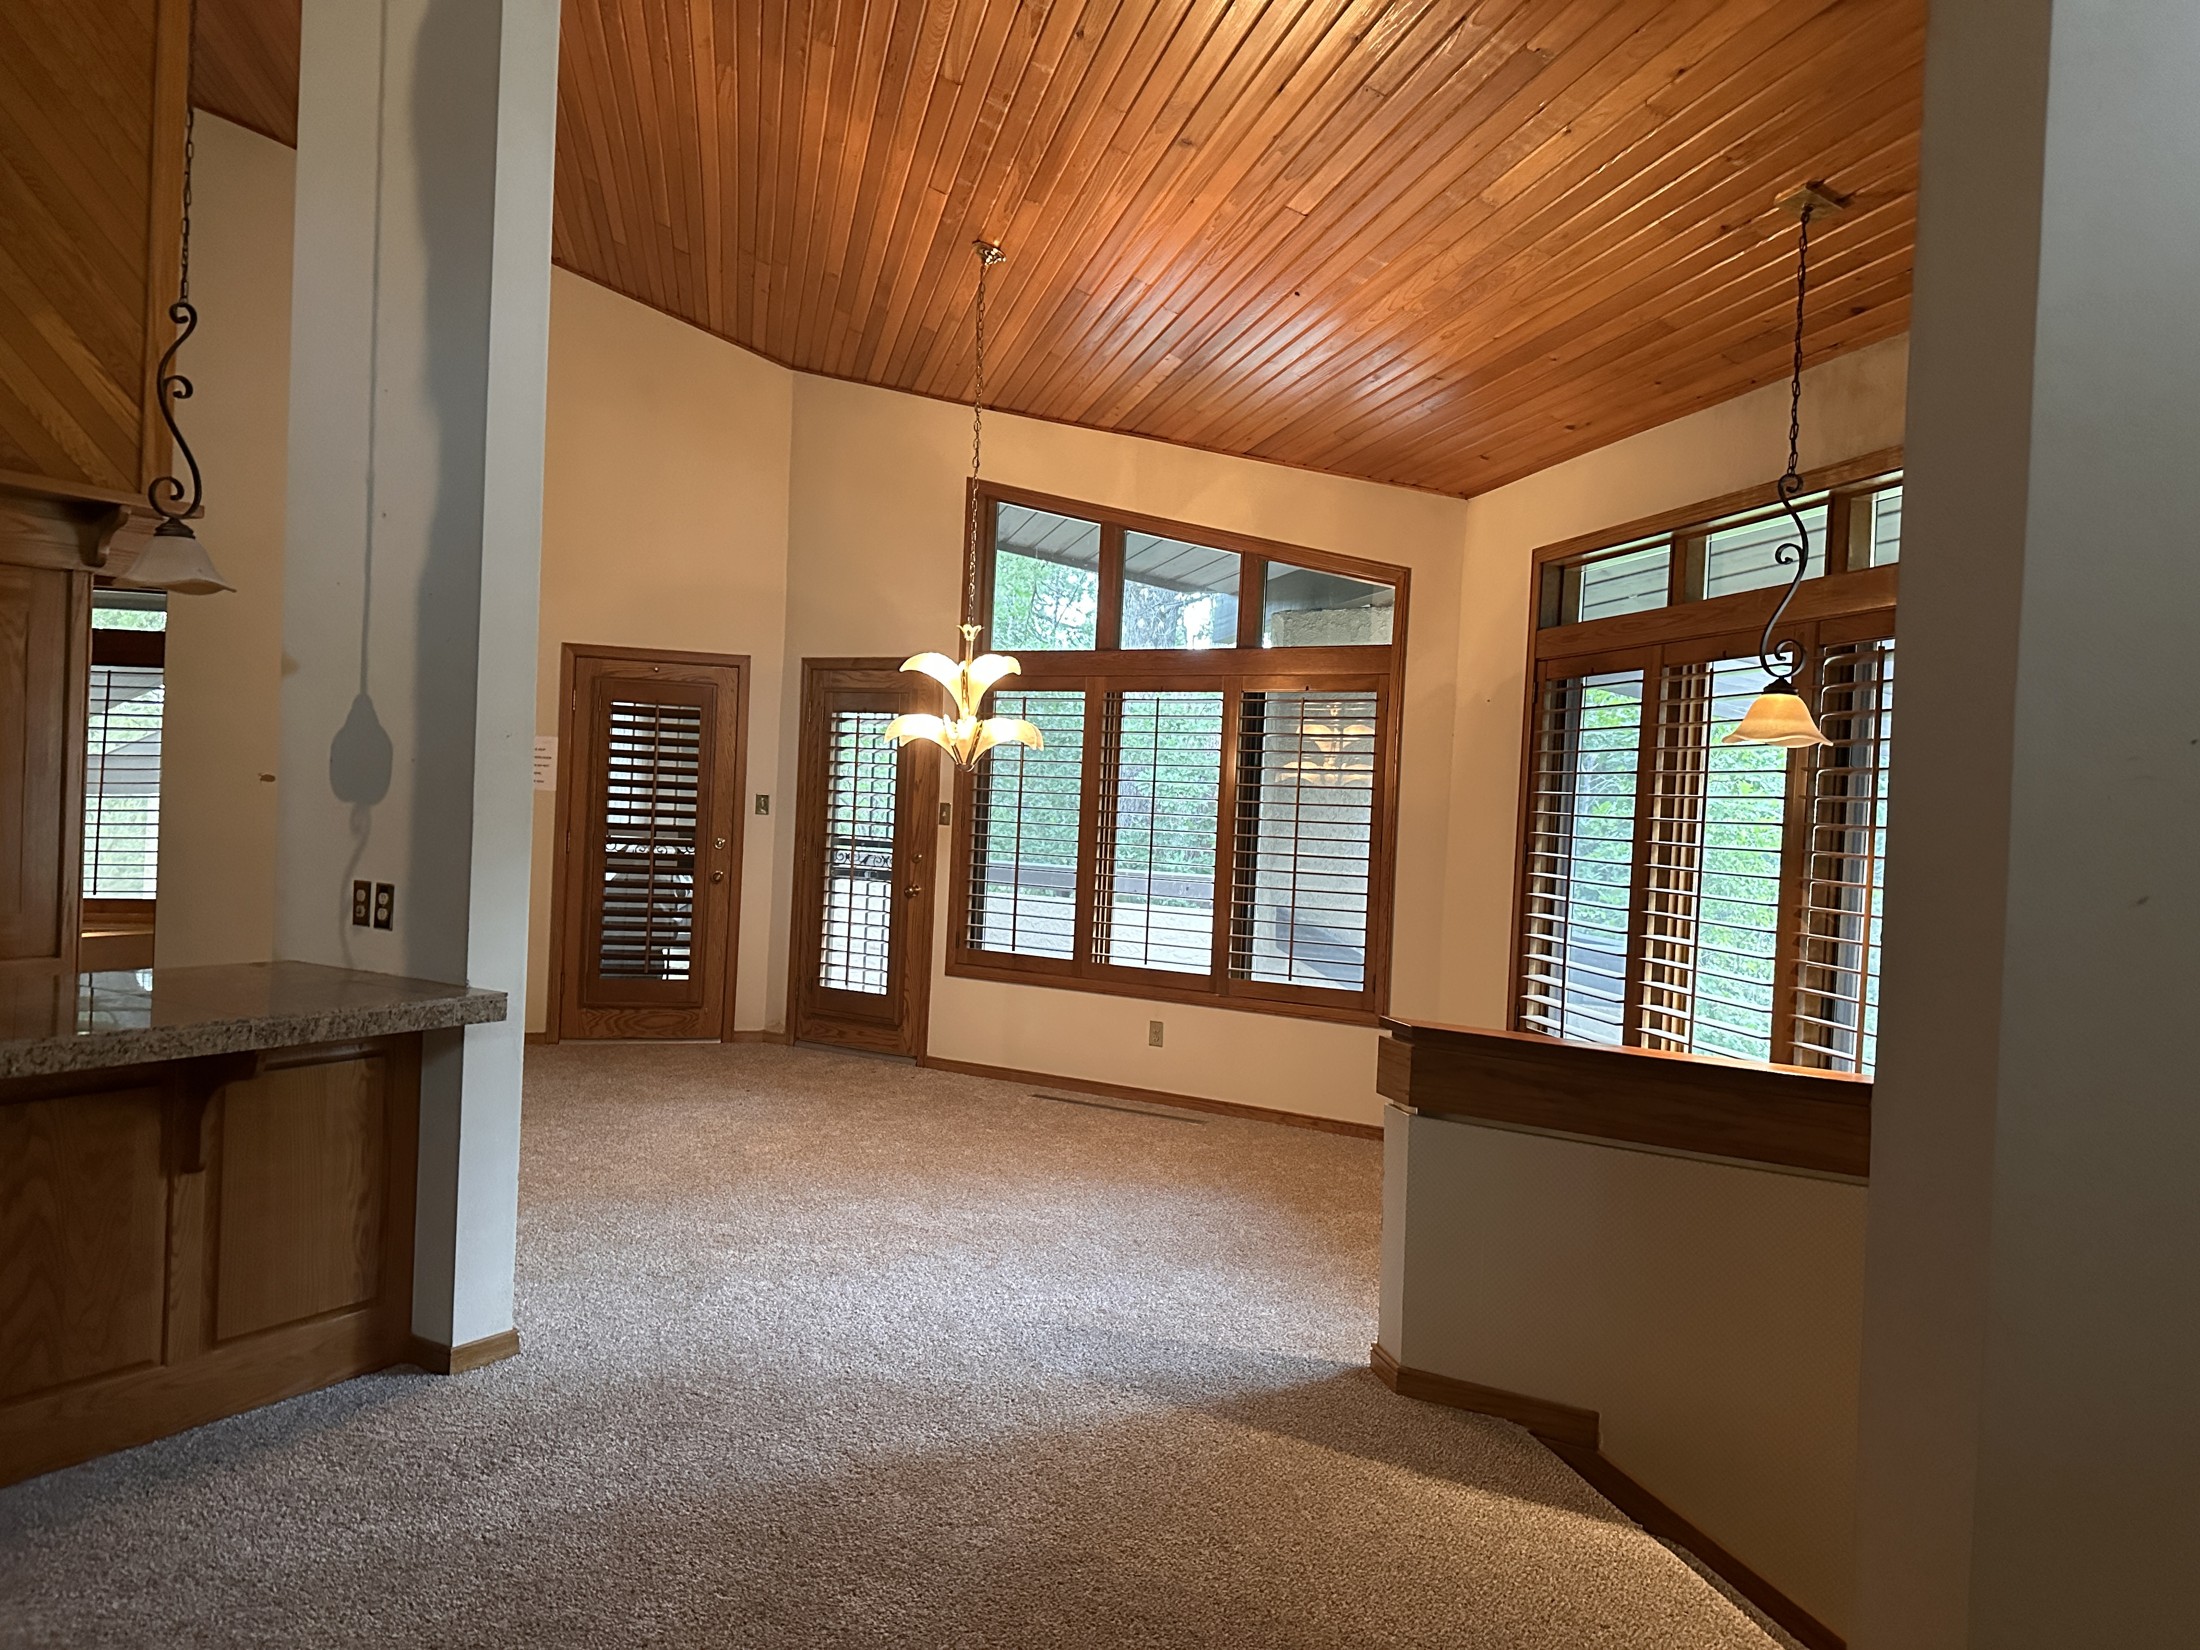
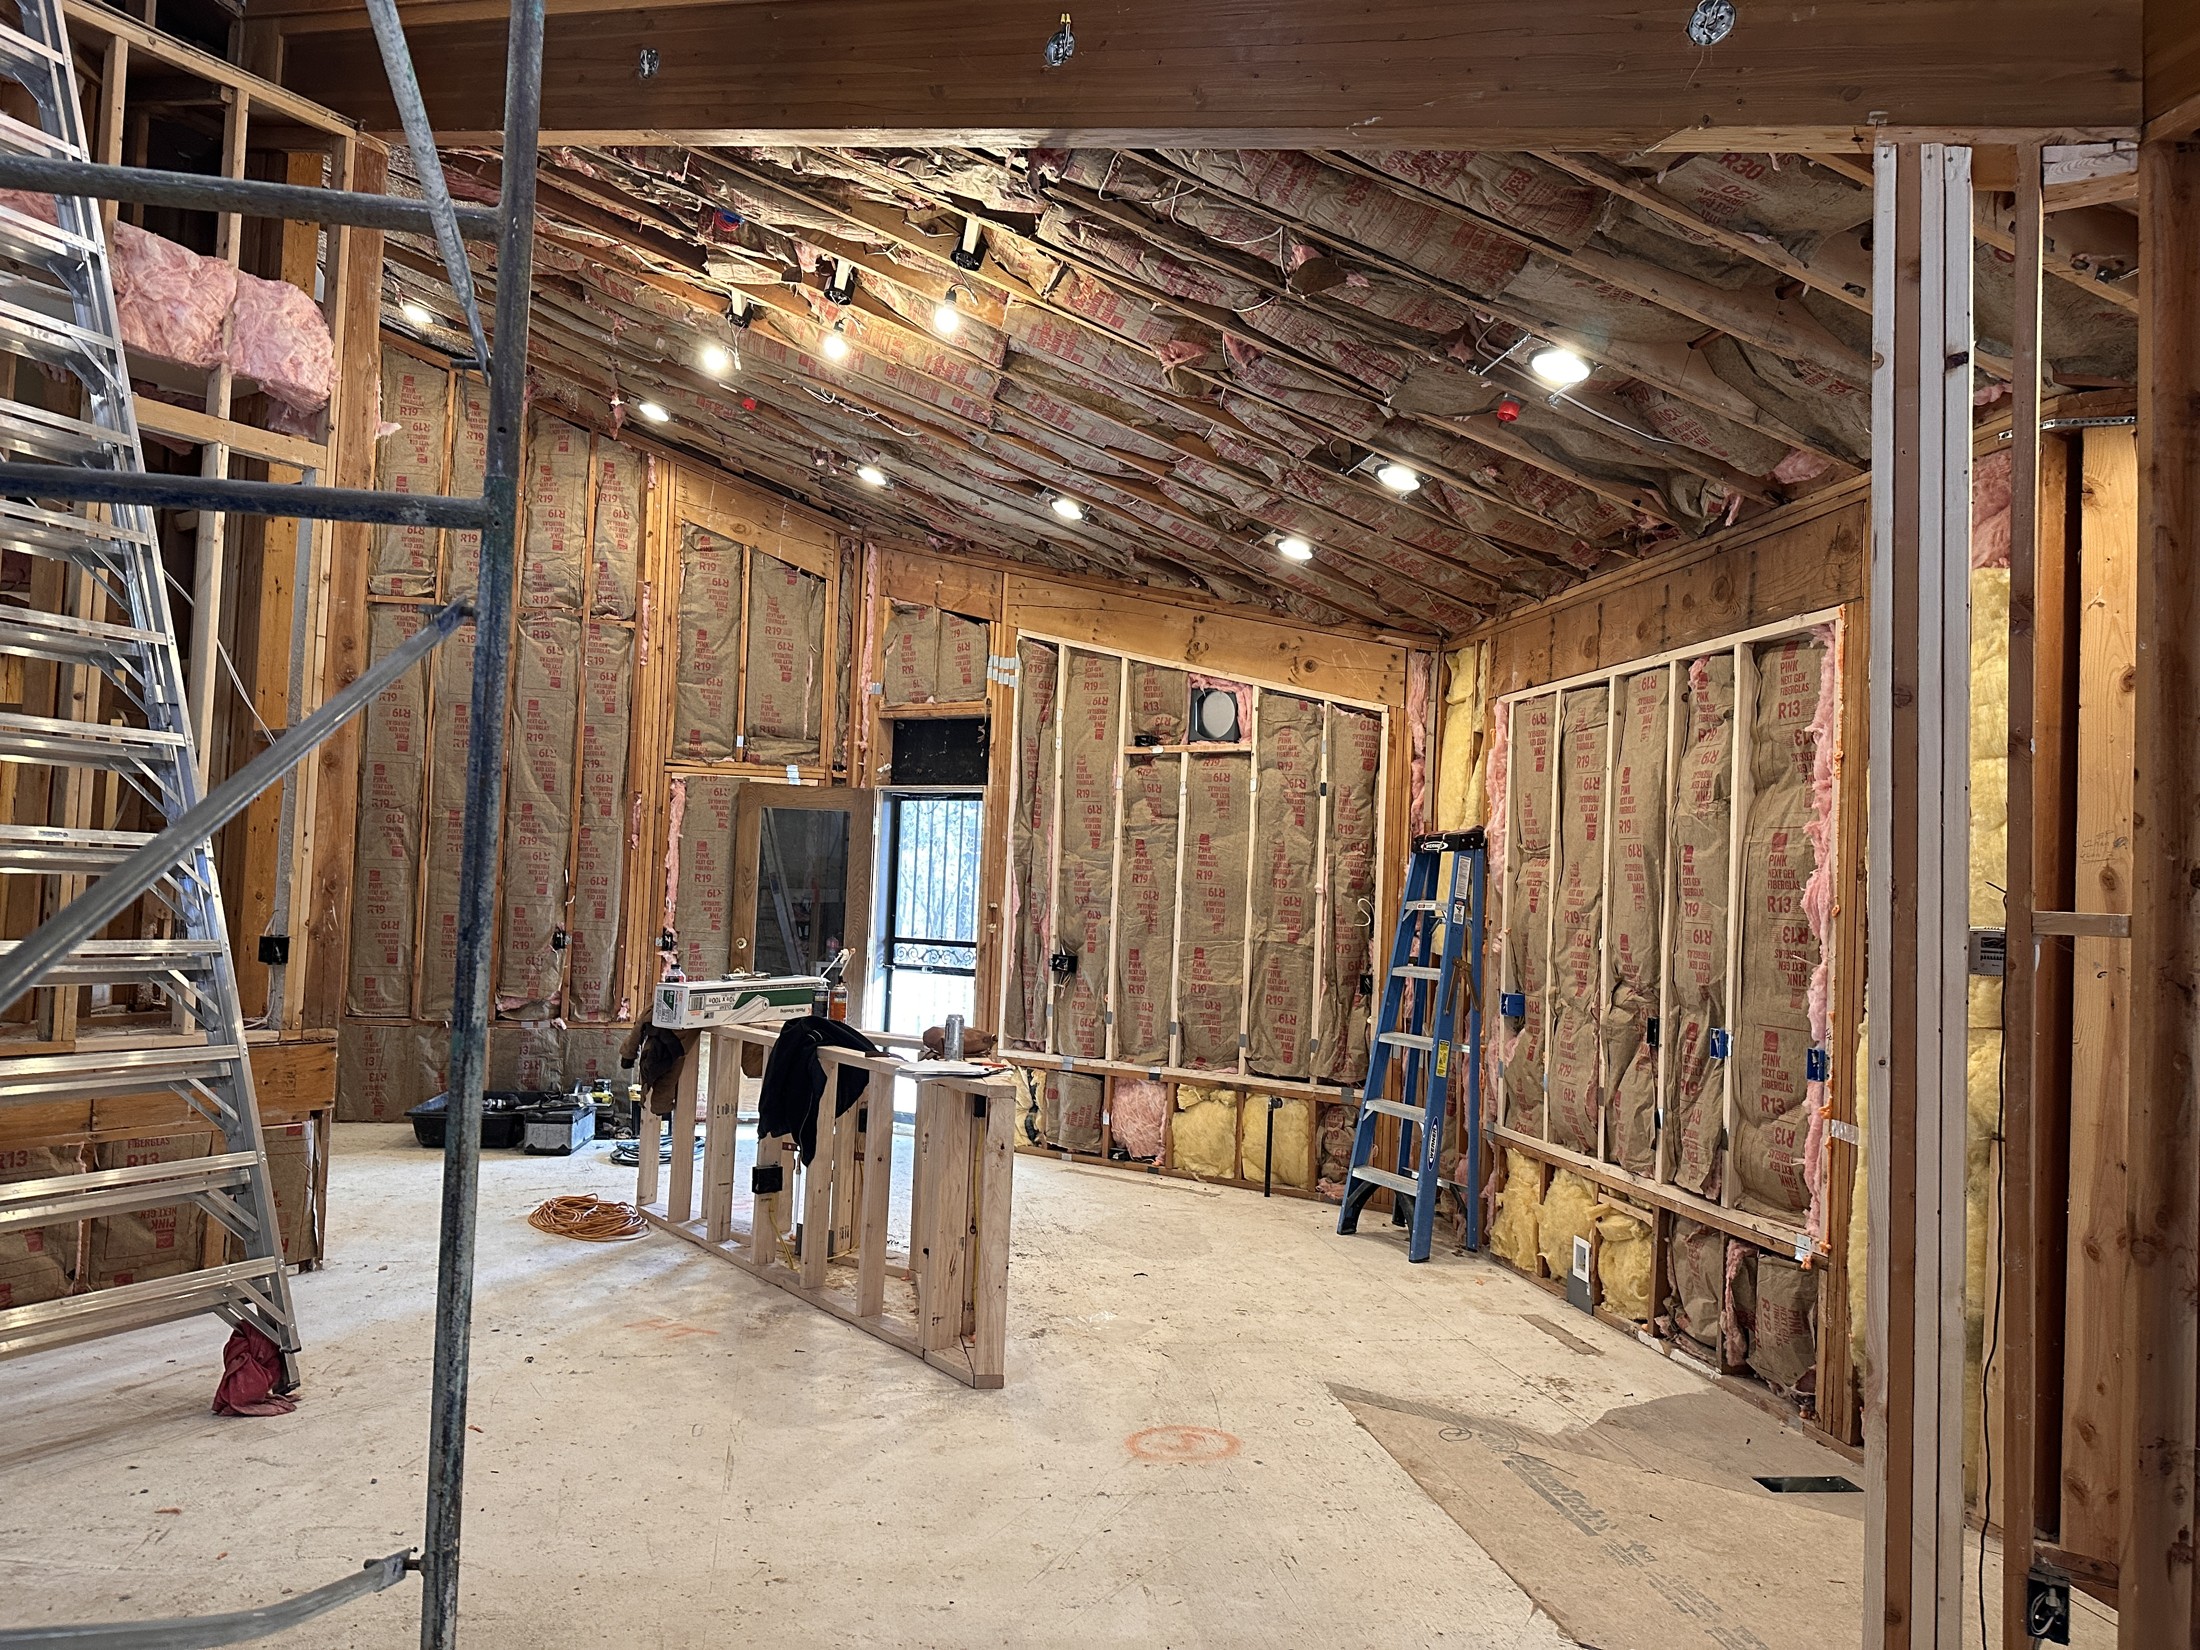
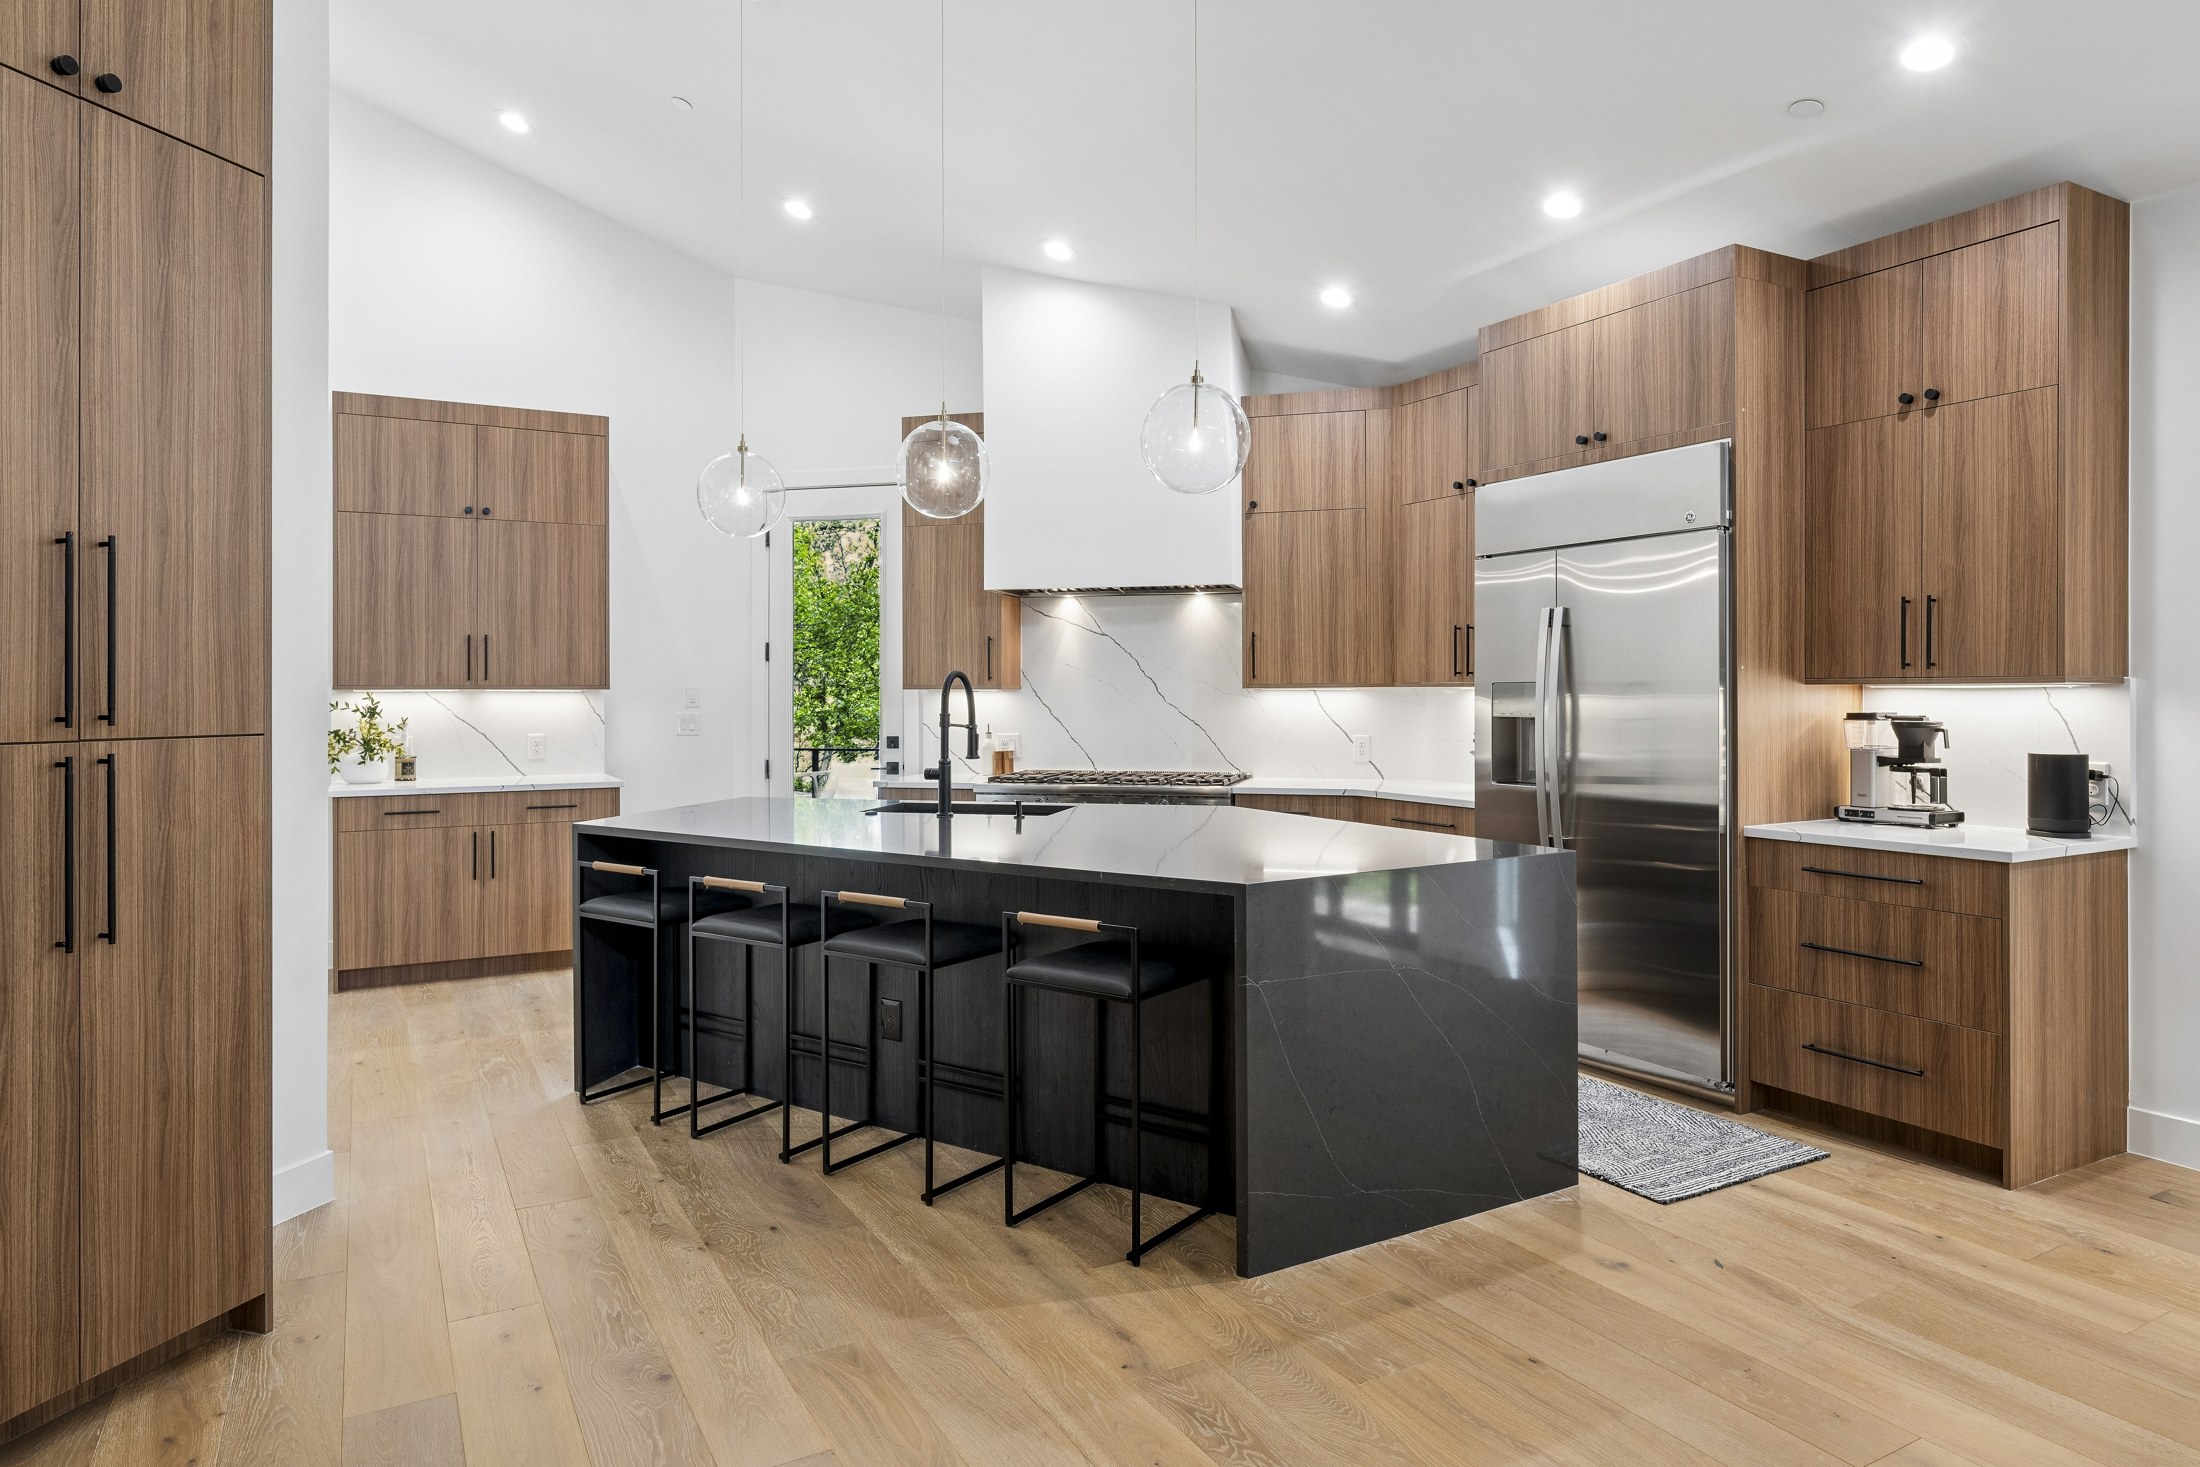
And the old kitchen becomes the new dining room.
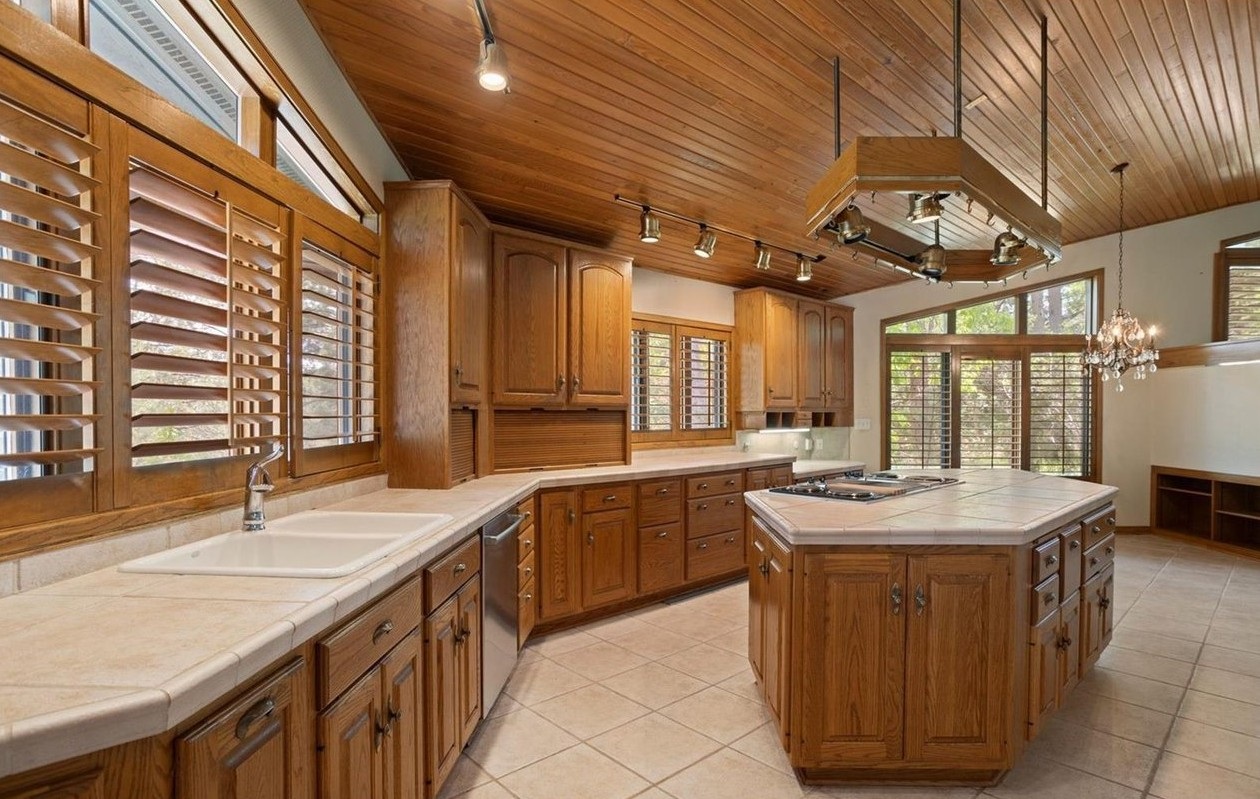
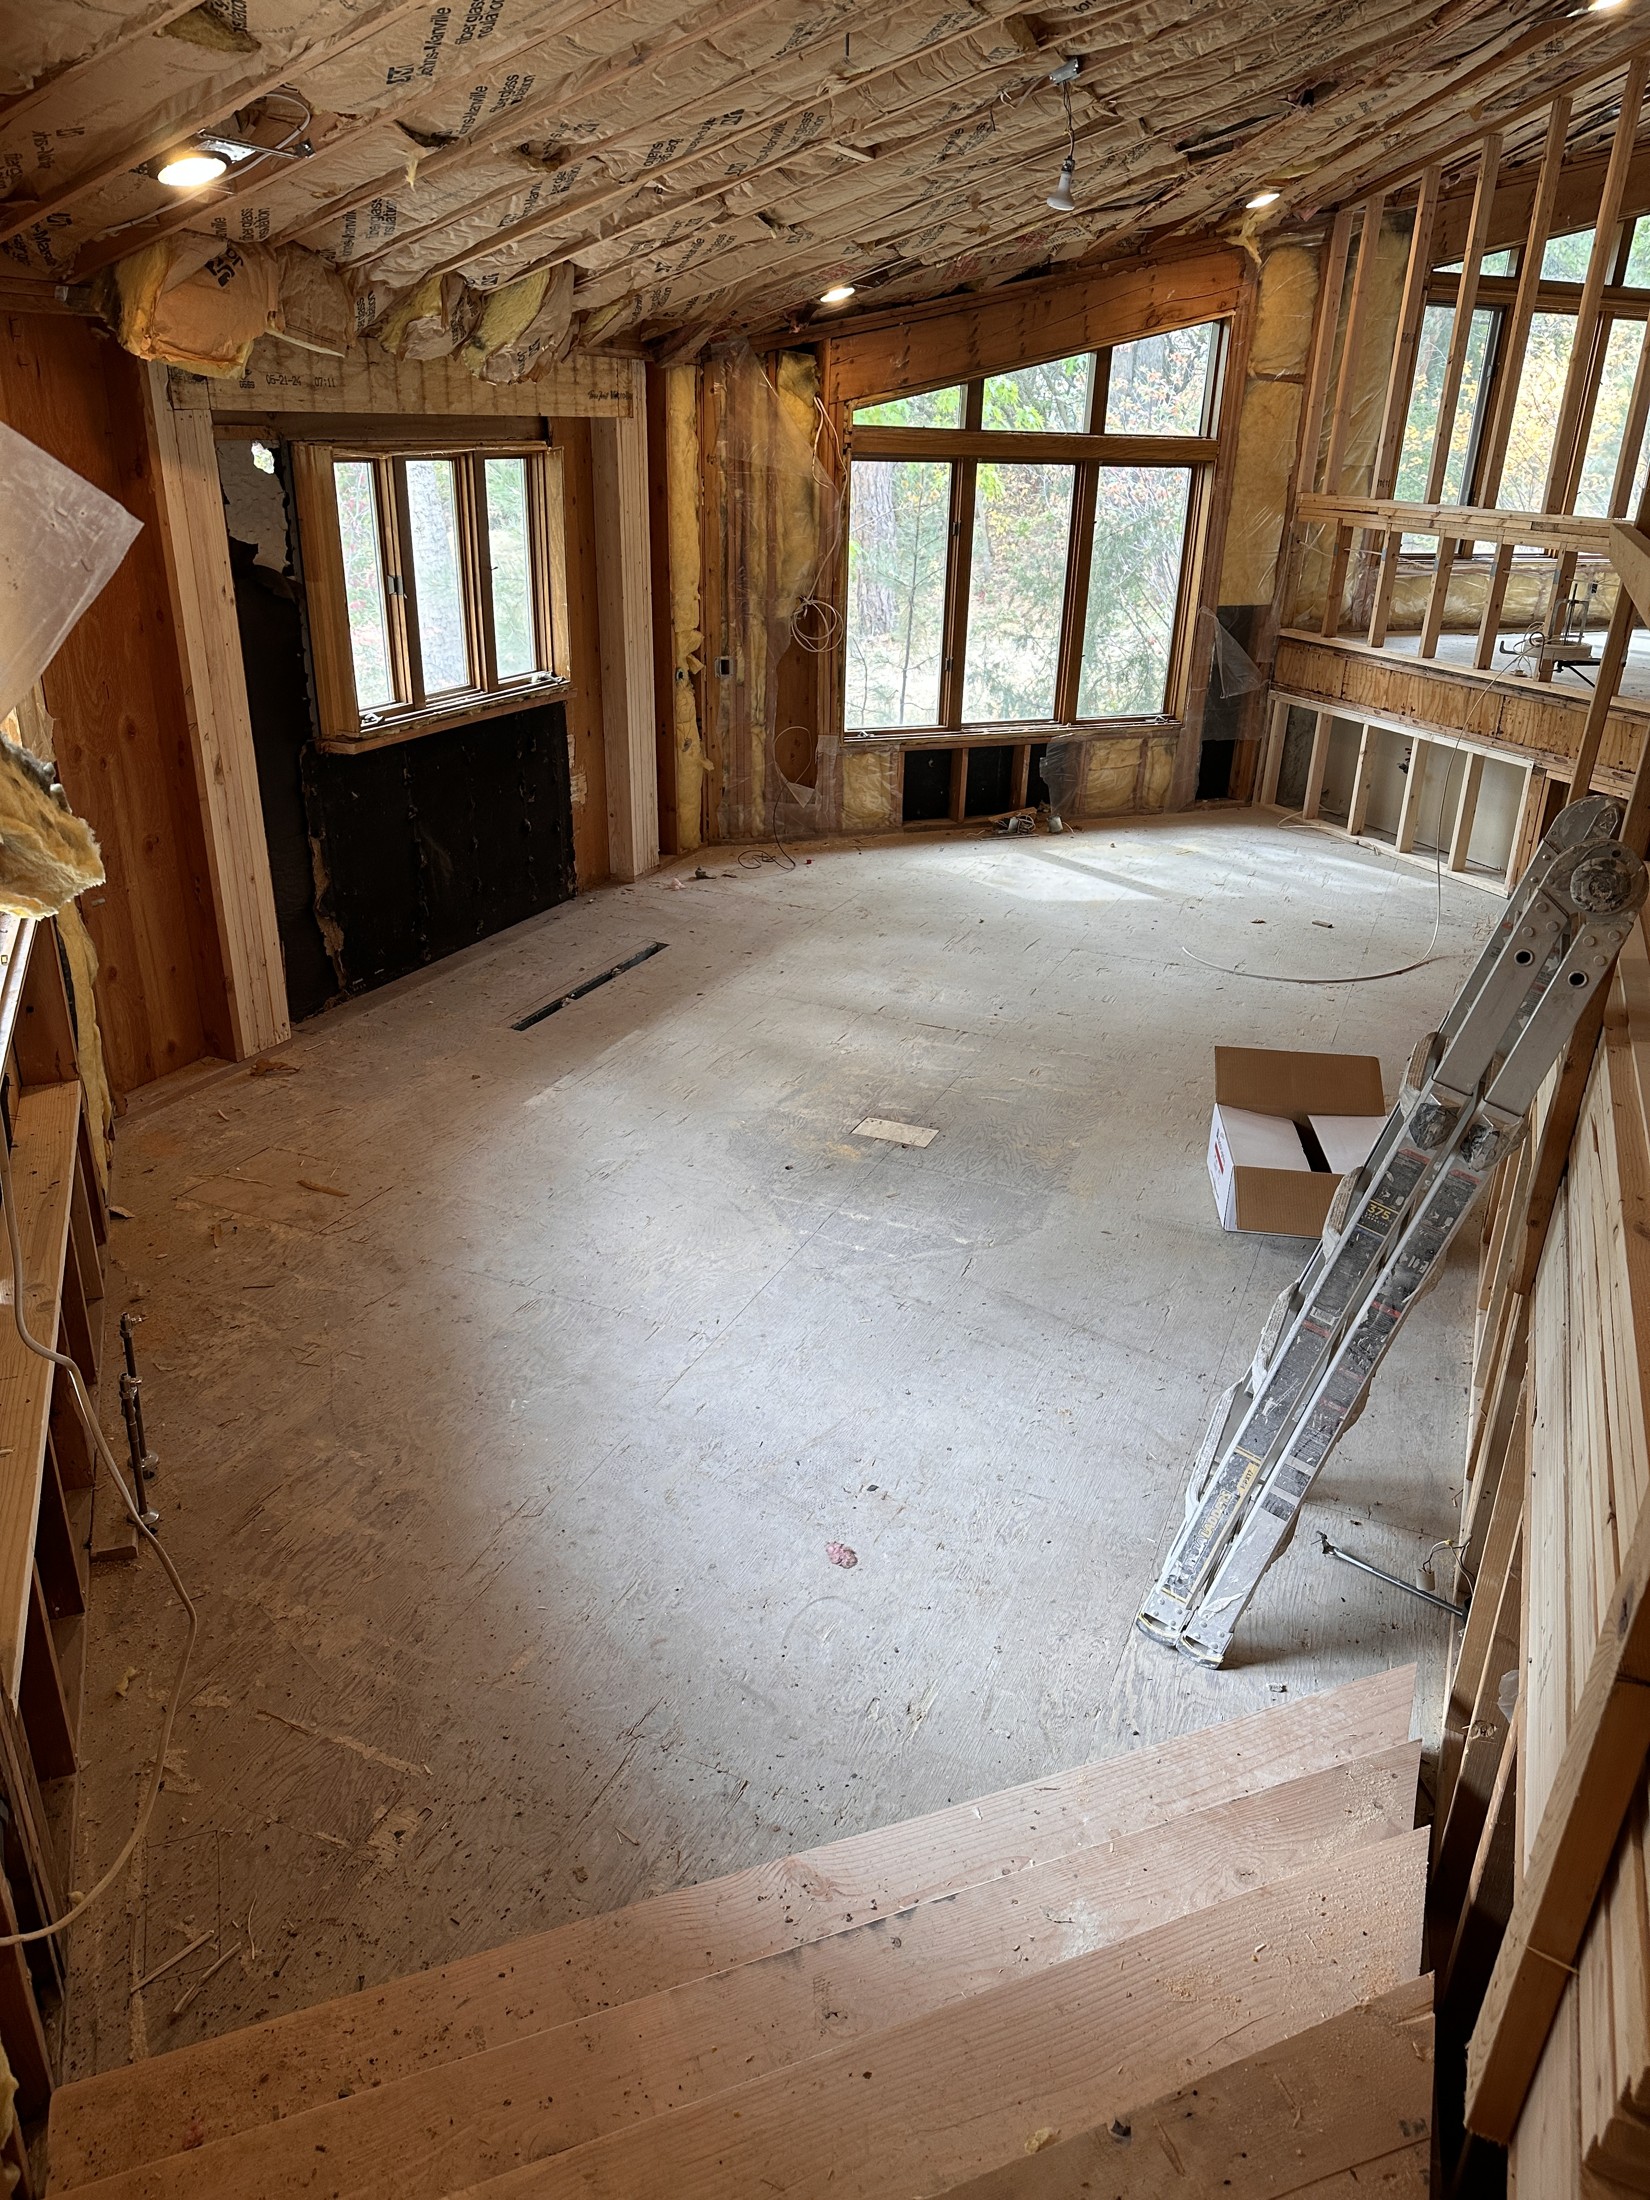
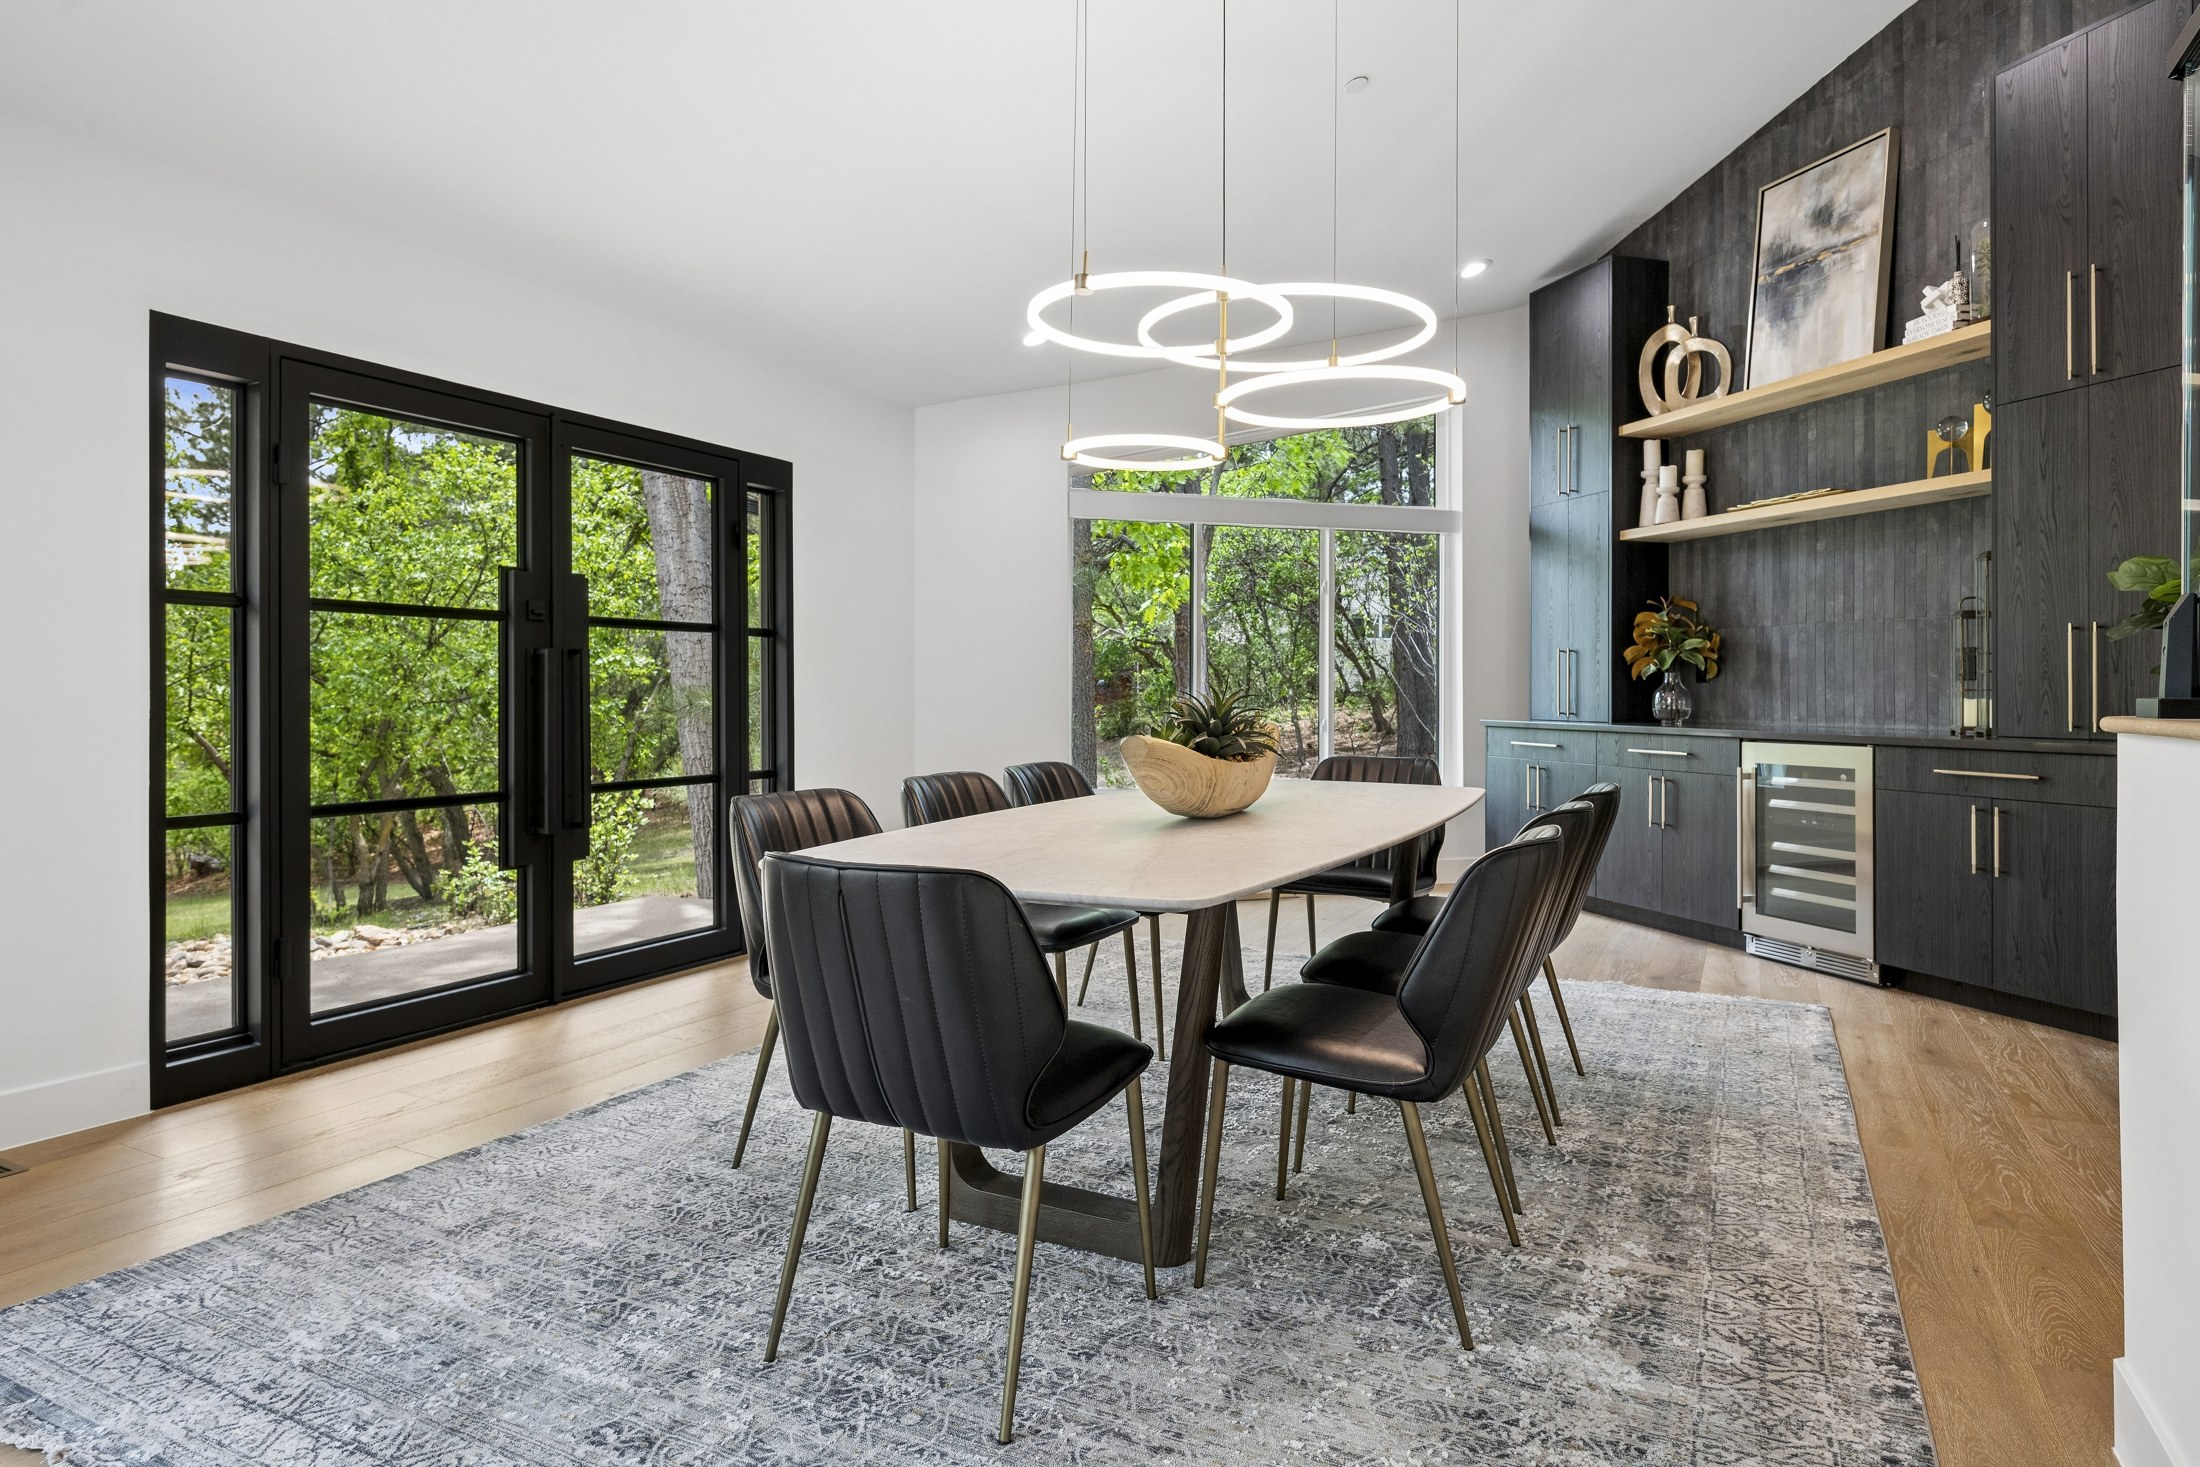
Kitchen / dining swap
Next problem... we need more bedrooms and bathrooms
Once the kitchen head-scratcher was settled, that open sitting area on the main level was back on the table. It was a cute space, but with multiple other living areas throughout the house, another place to just sit wasn’t adding much—and the house desperately needed more bedrooms.
By adding walls and a closet, that random sitting area became a true third bedroom. And closing it off from the future dining room gave us an added bonus: a dramatic new wall that ultimately became the floor-to-ceiling black tile feature wall for the butler pantry.
Boom—easy fix for our first additional bedroom, with a pretty great unexpected win on the other side of the wall.
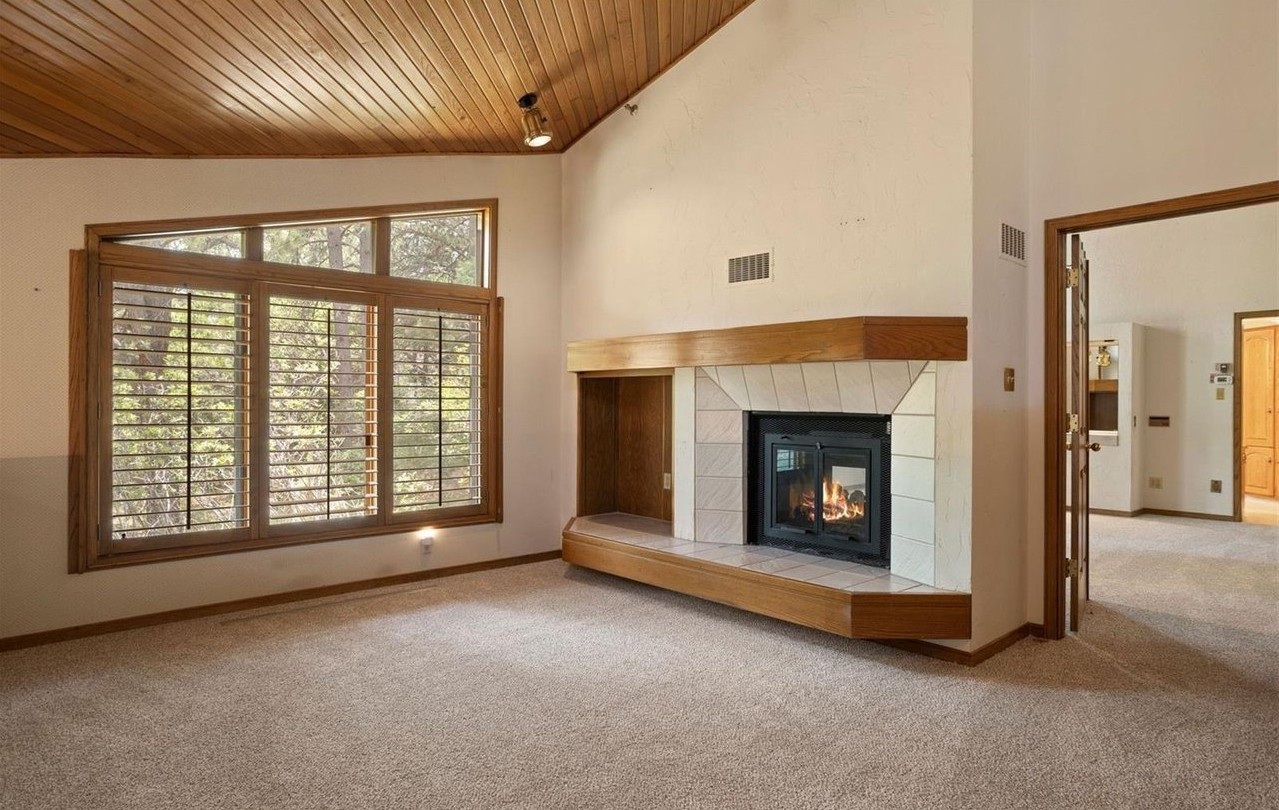
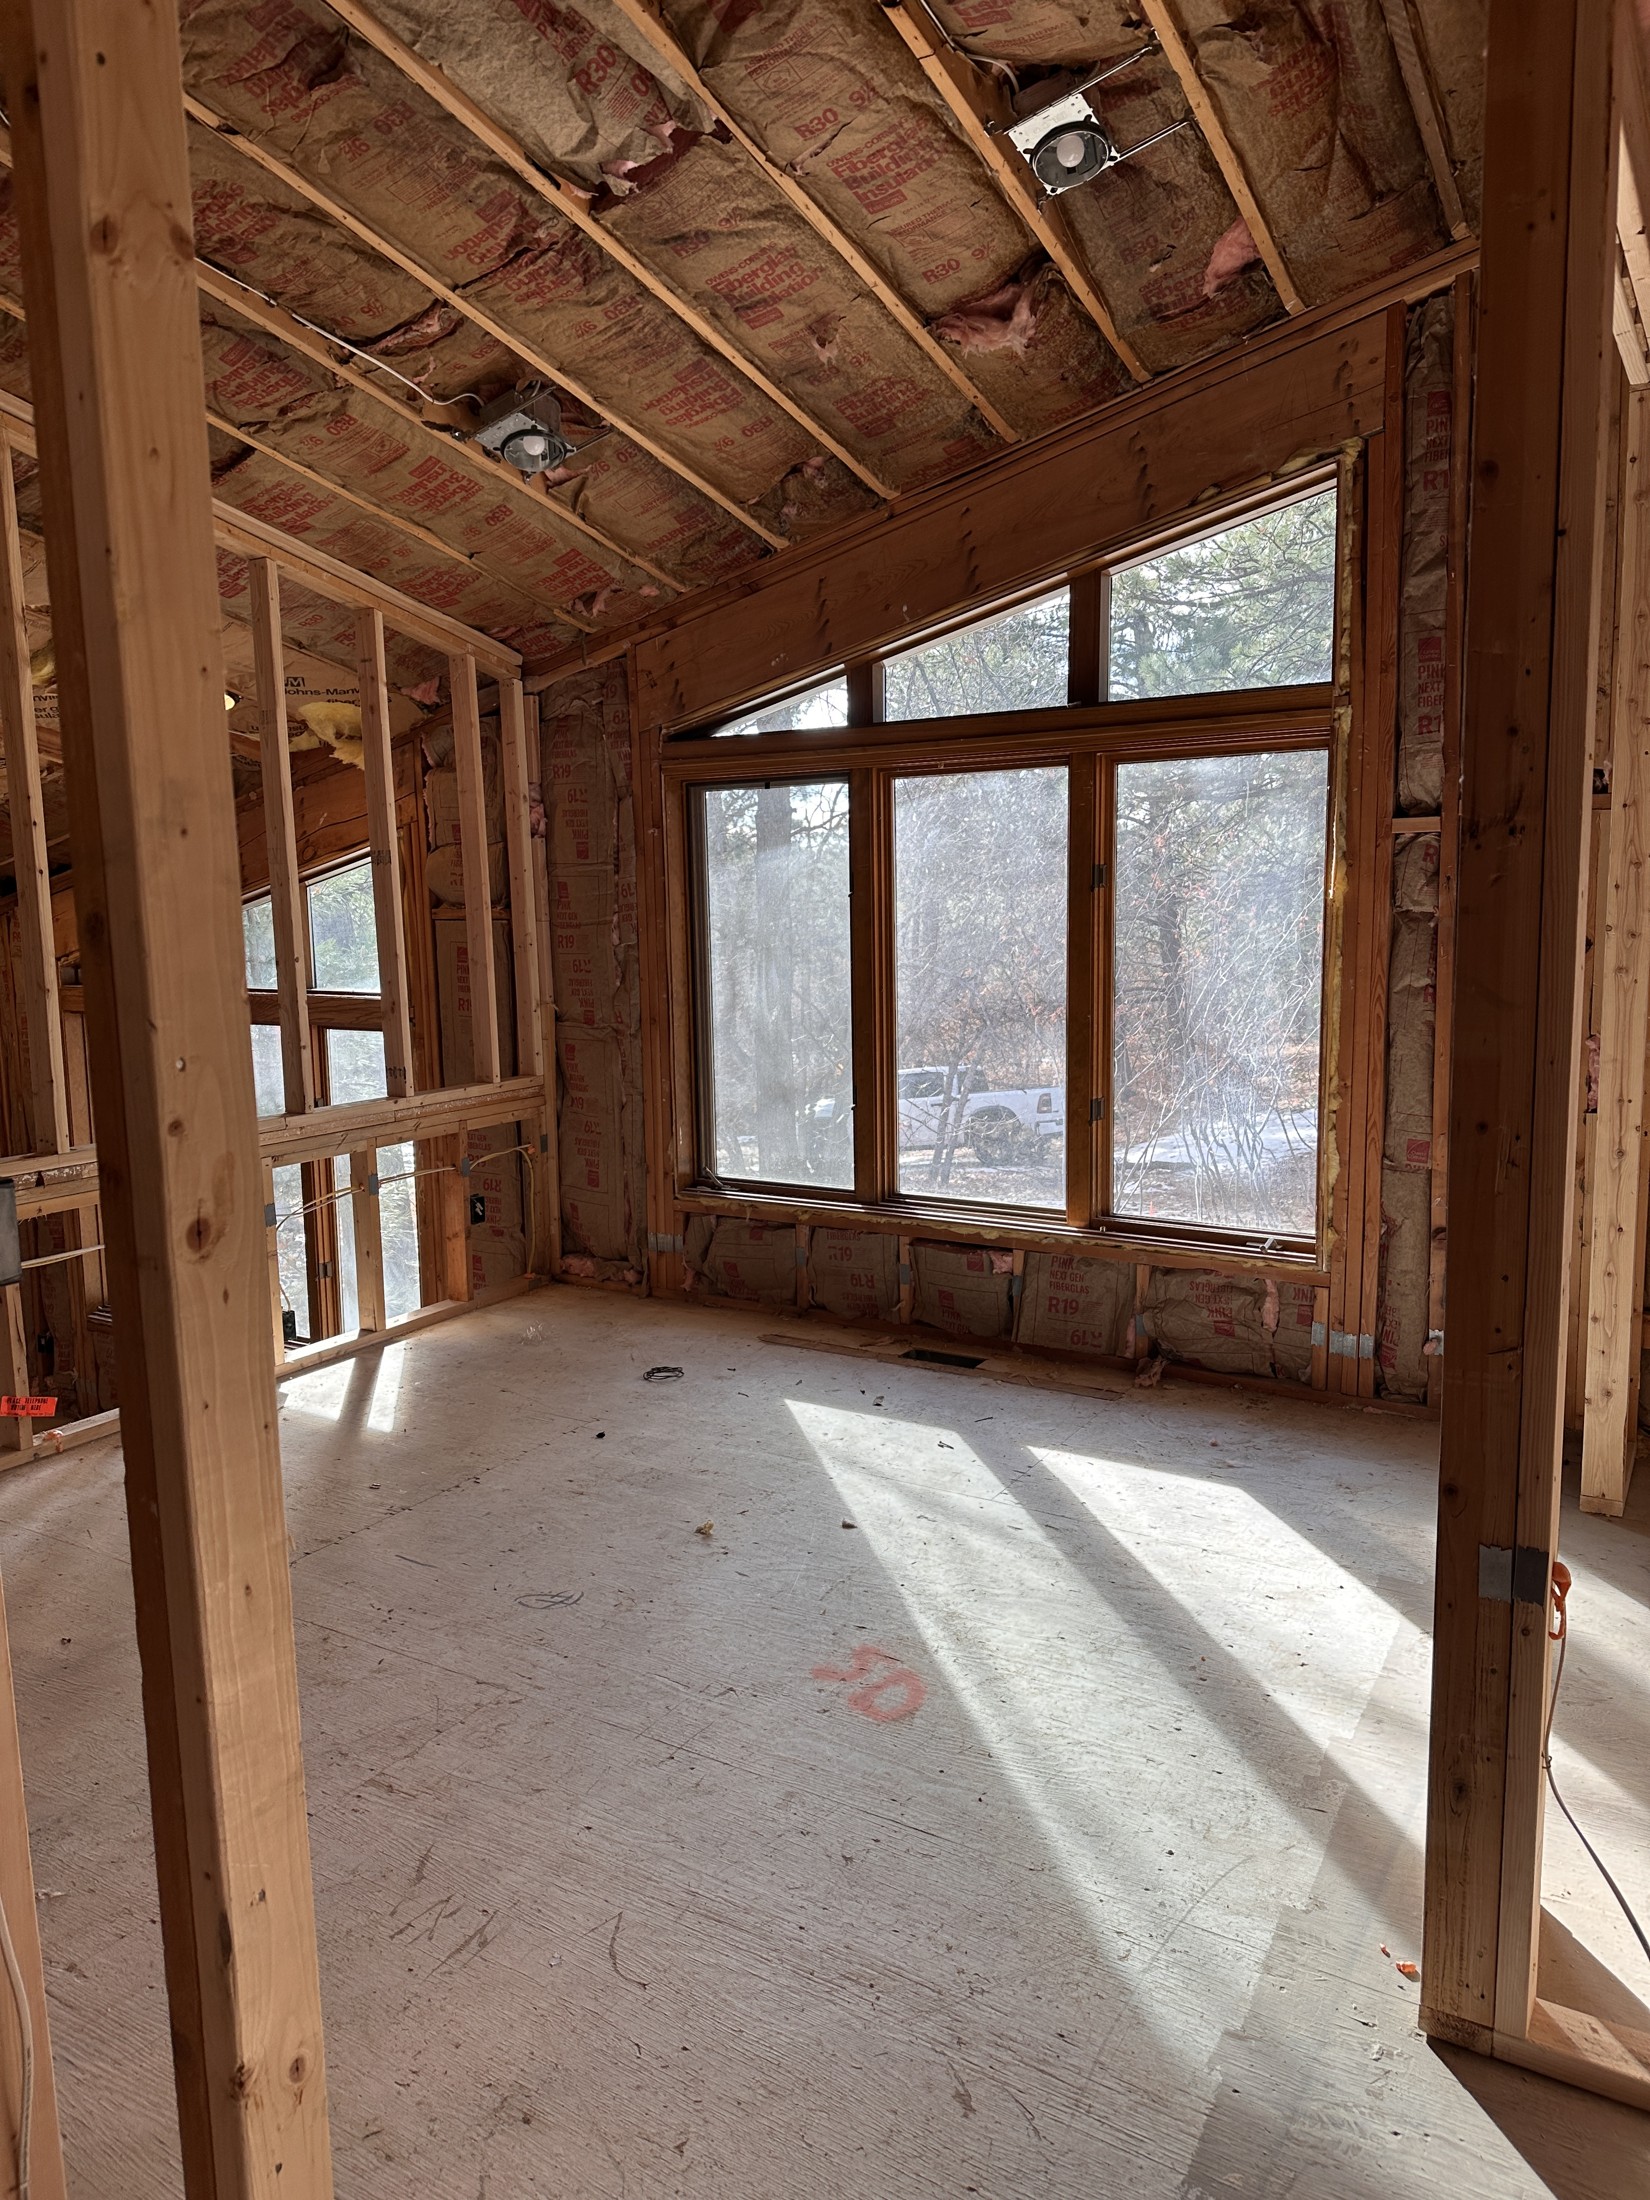
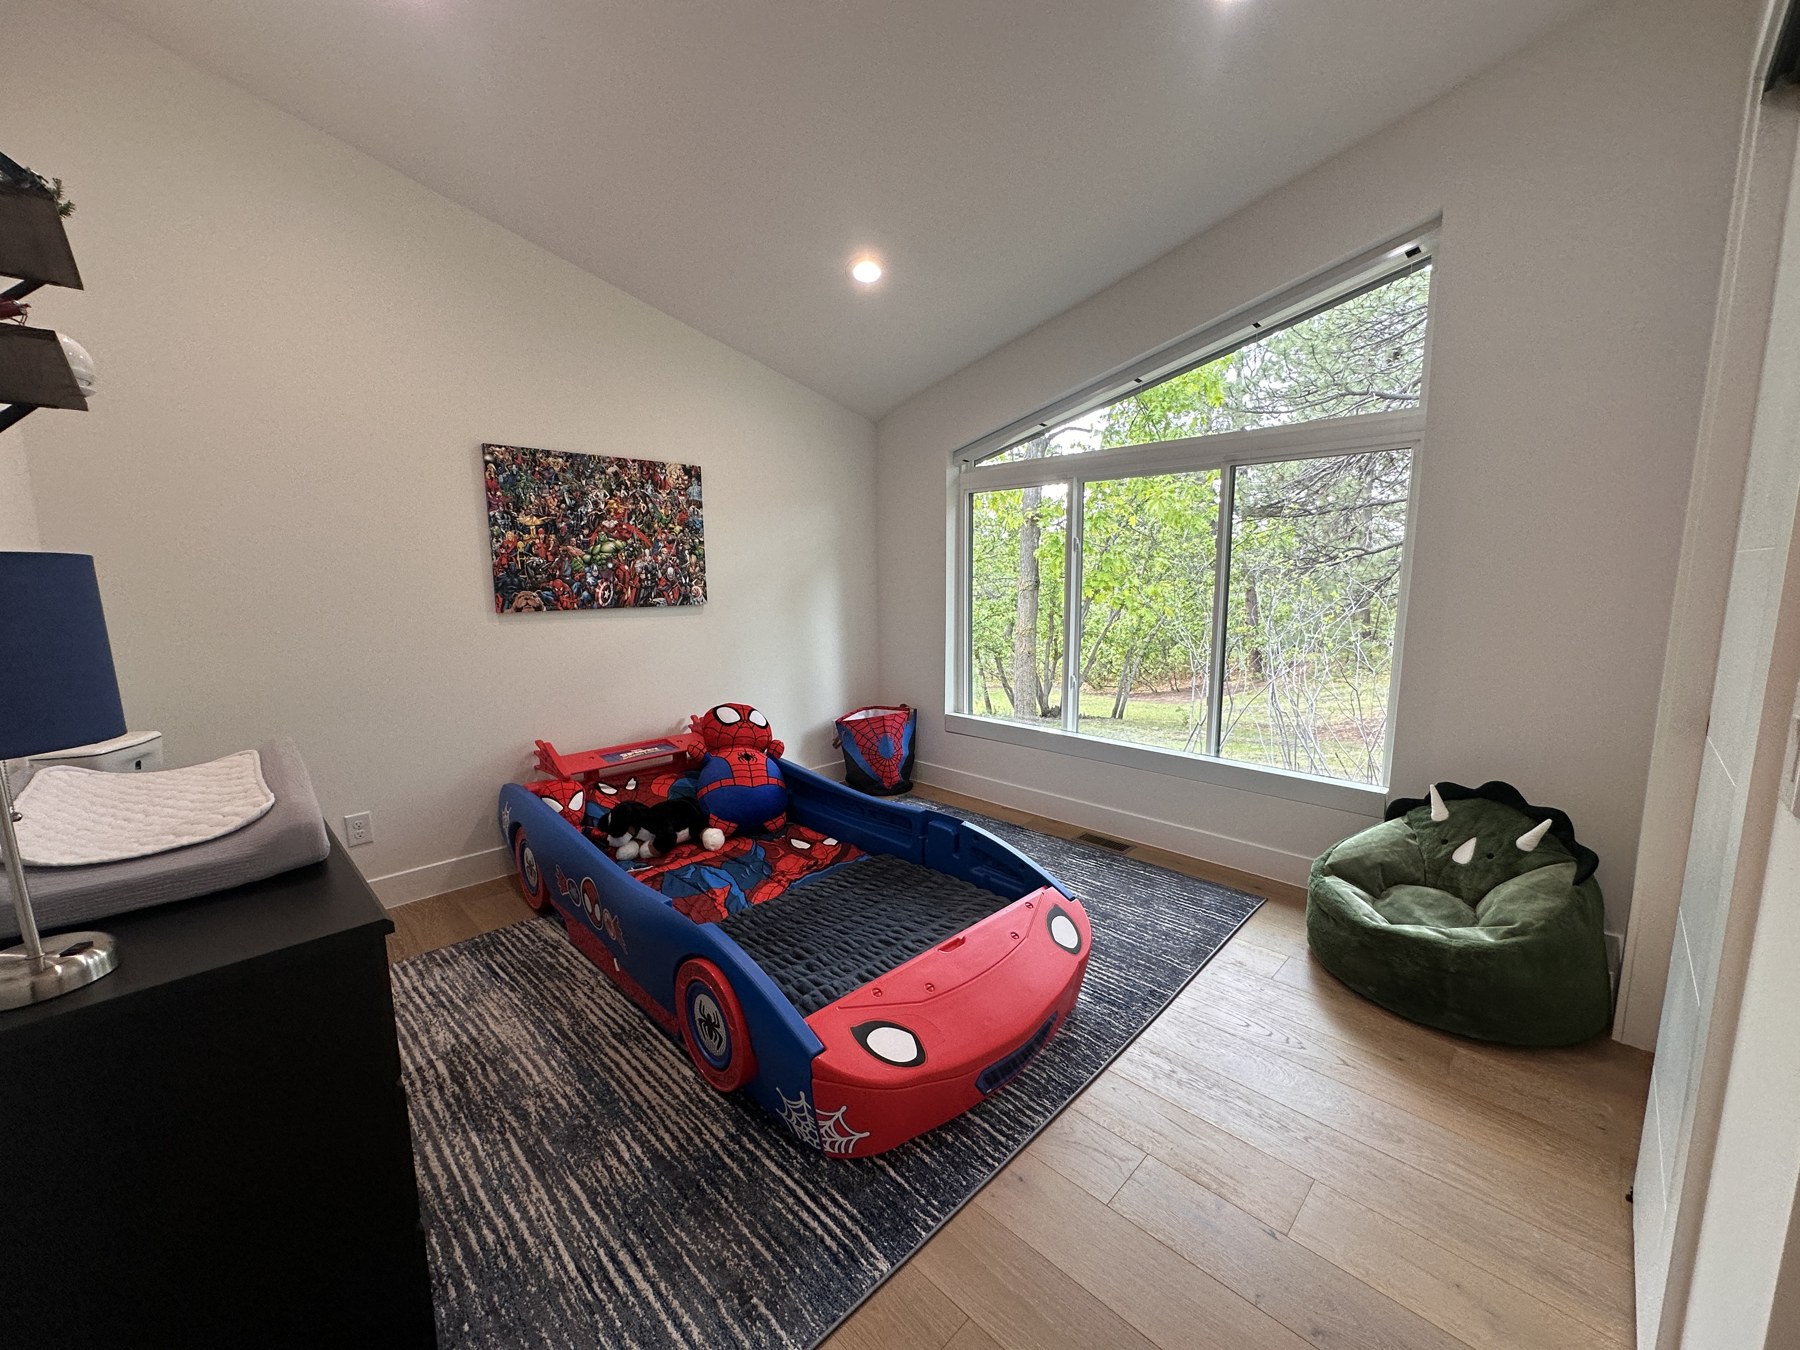
Bedroom #3
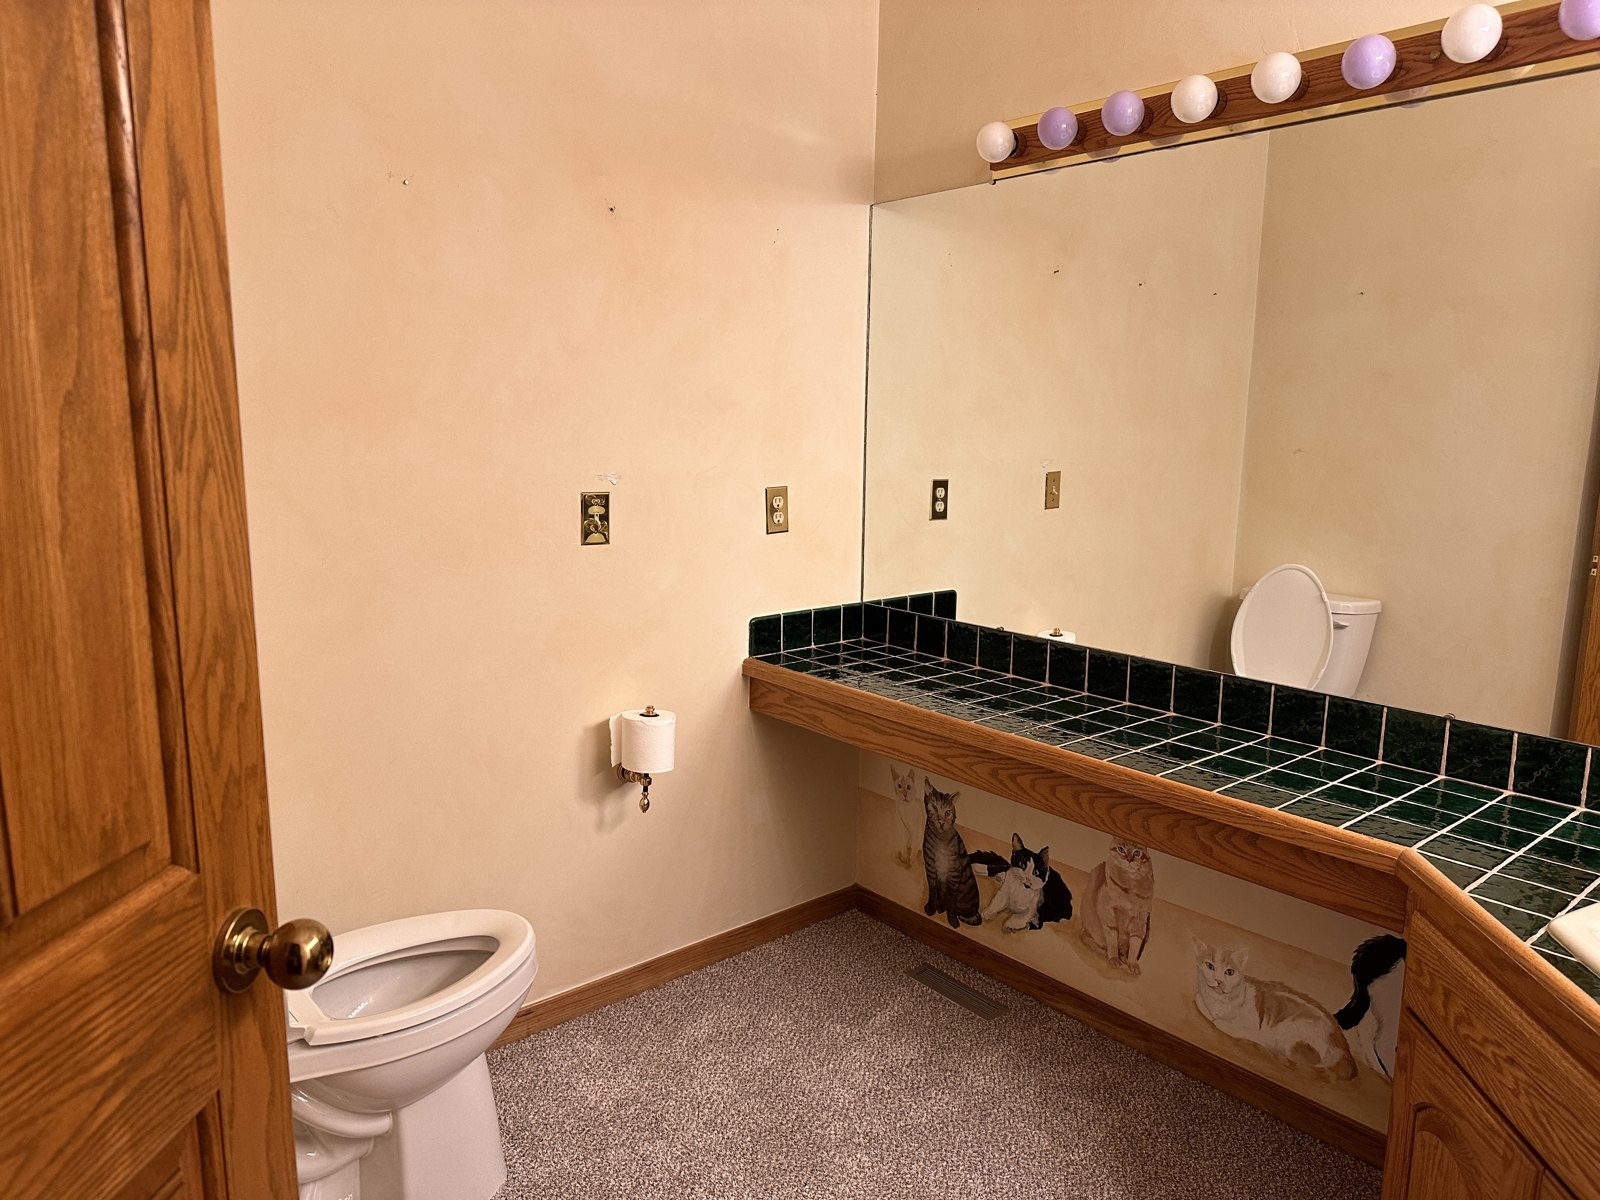
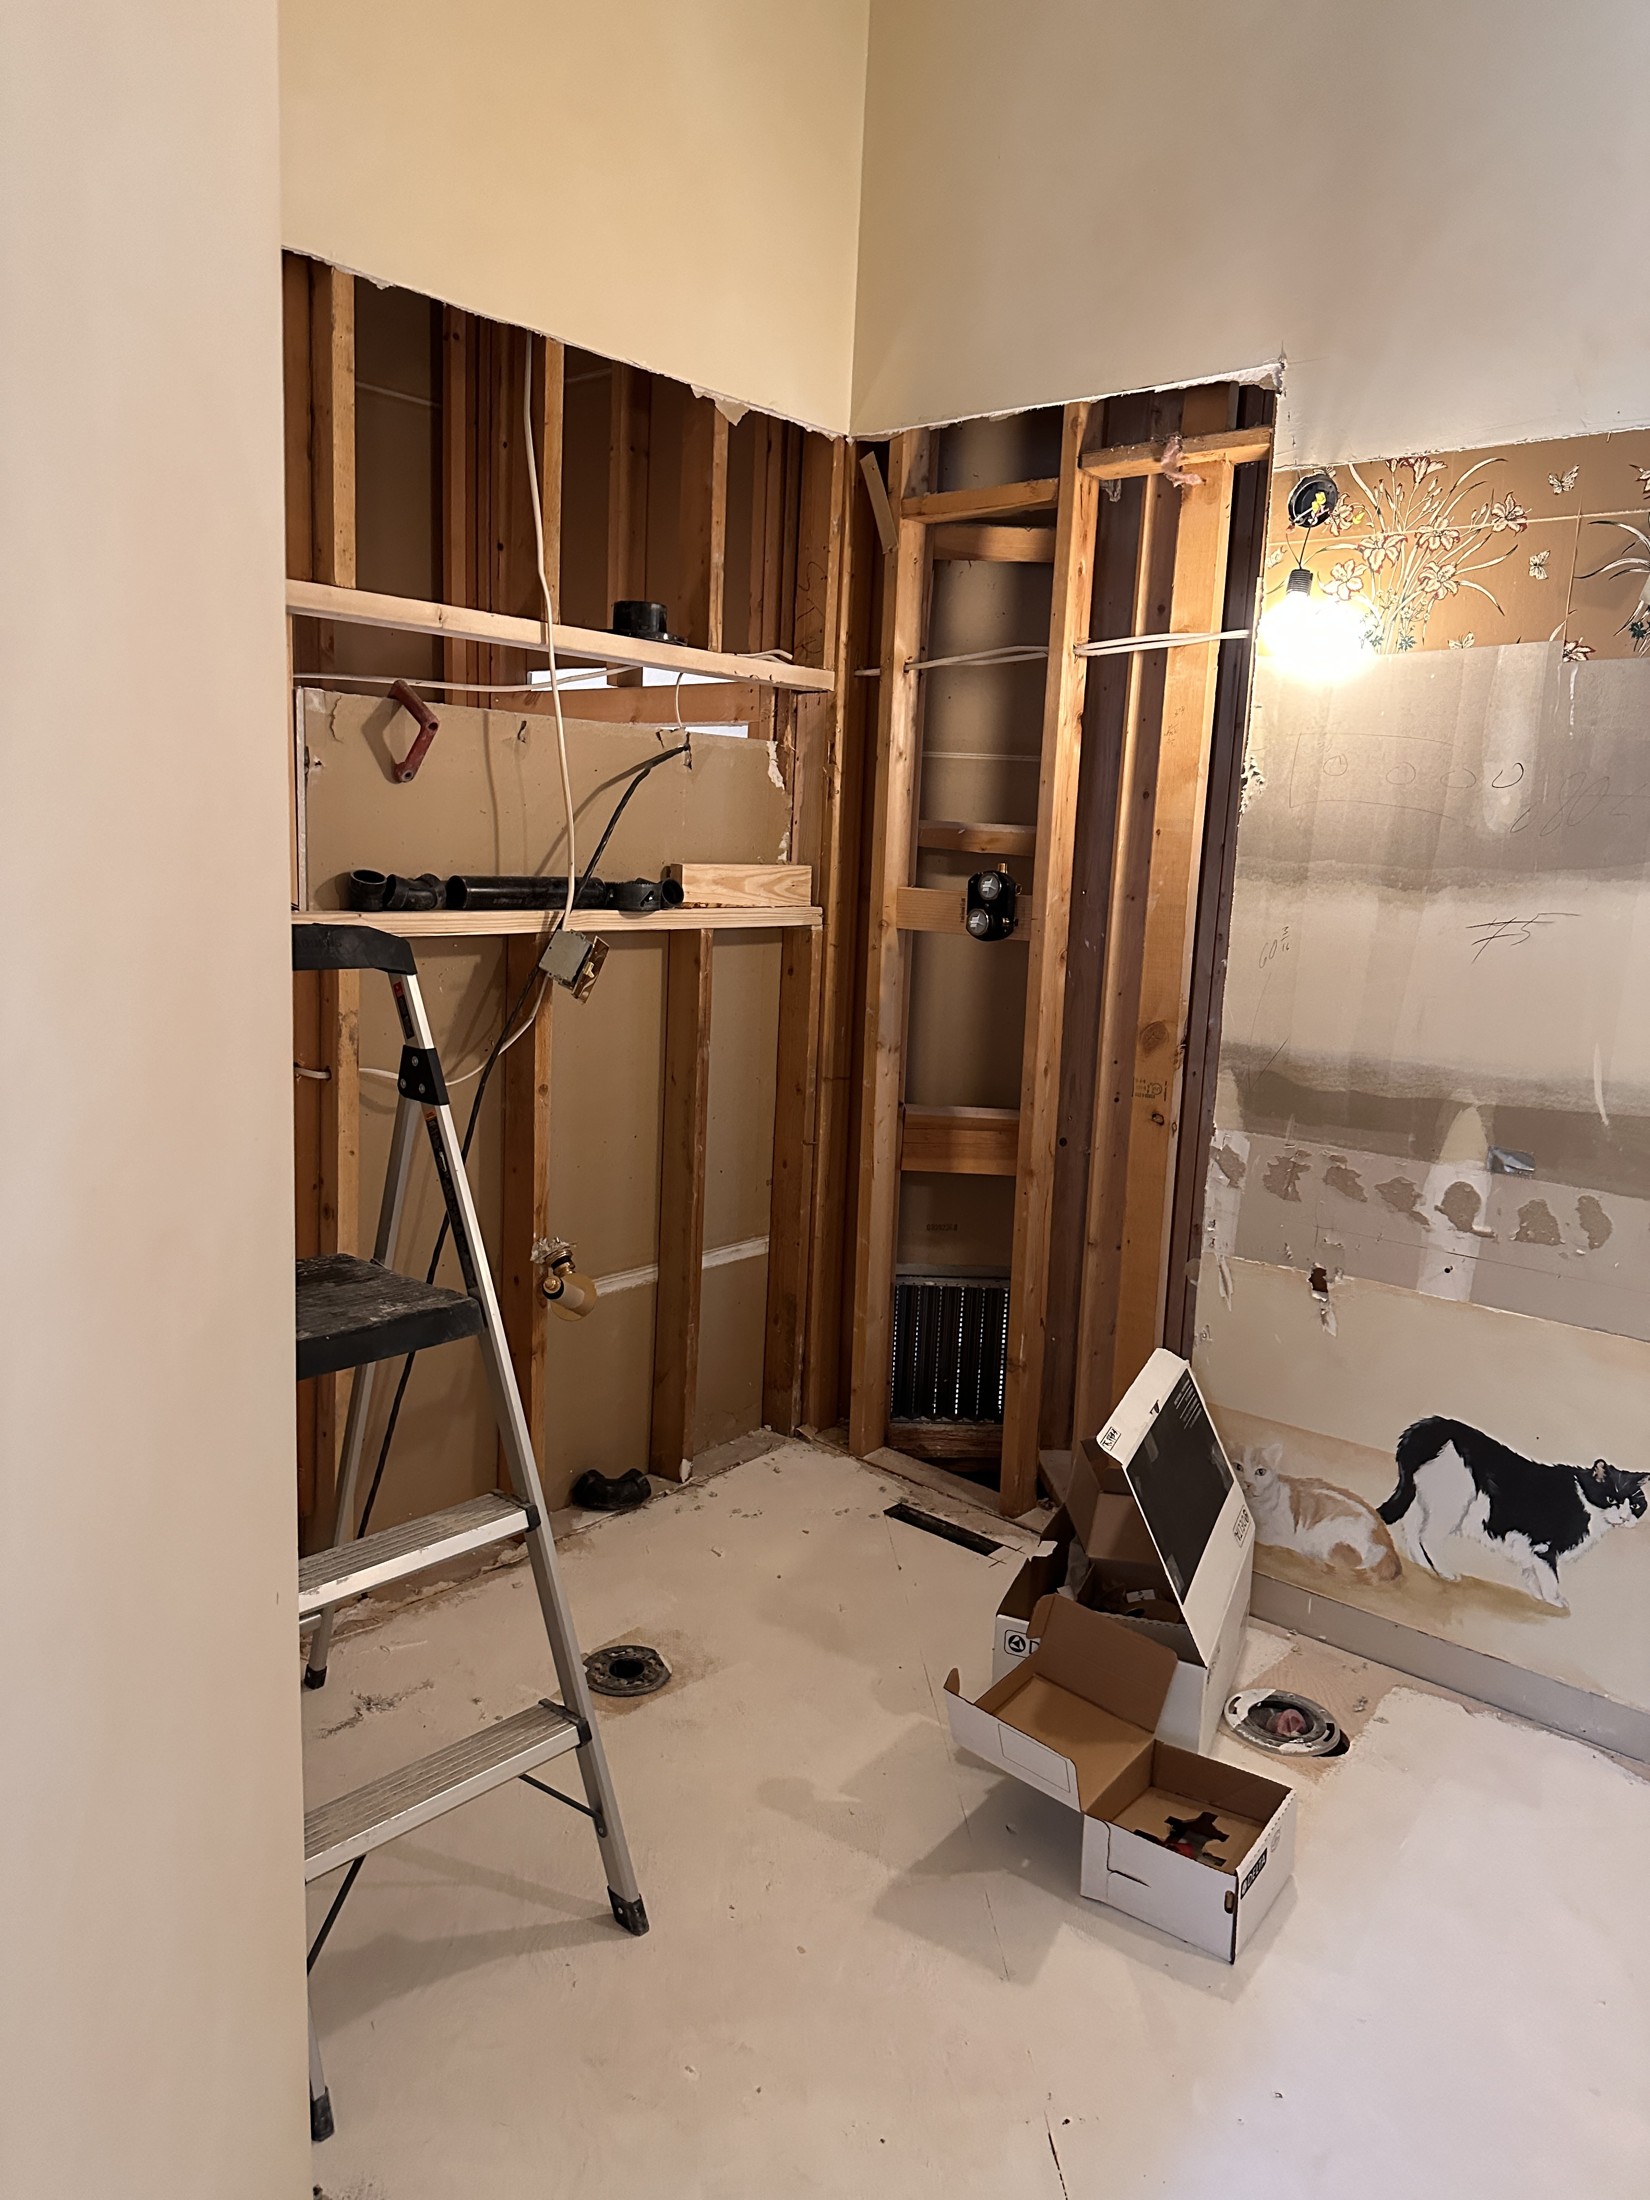
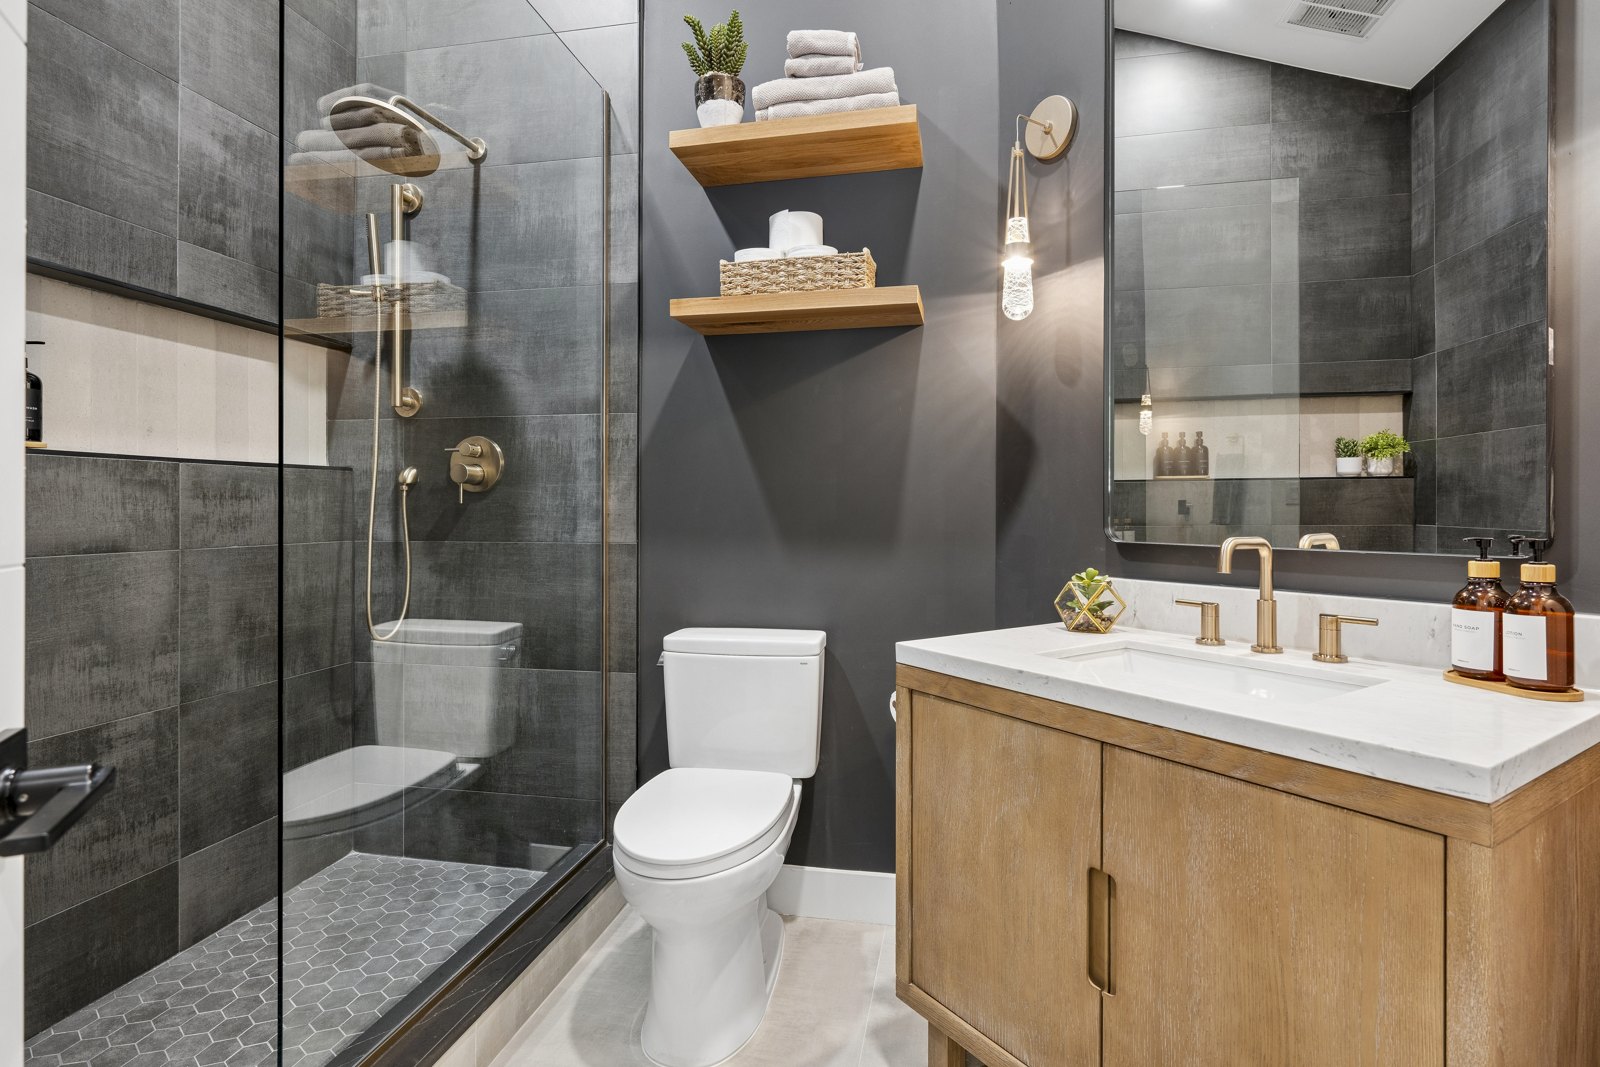
Same footprint. A whole lot more useful.
And while we’re at it... this half bath is huge.
Why is it so huge?
The house had another space that desperately needed a rework. The half bath on the upper level was not only spacious, but verging on awkwardly spacious. I could have practiced ballet in there... if I knew how to do ballet.
By changing up the layout, relocating the toilet and using a smaller vanity, we were able to add a large walk-in shower and turn the existing half bath into a completely reasonably sized full bathroom.
Half bath to full bath
Okay... now let’s figure out this primary bath
This bathroom had plenty of square footage and amazing windows. But unfortunately, the layout no longer made sense for today’s living... and half of those amazing windows were hidden away in a toilet room.
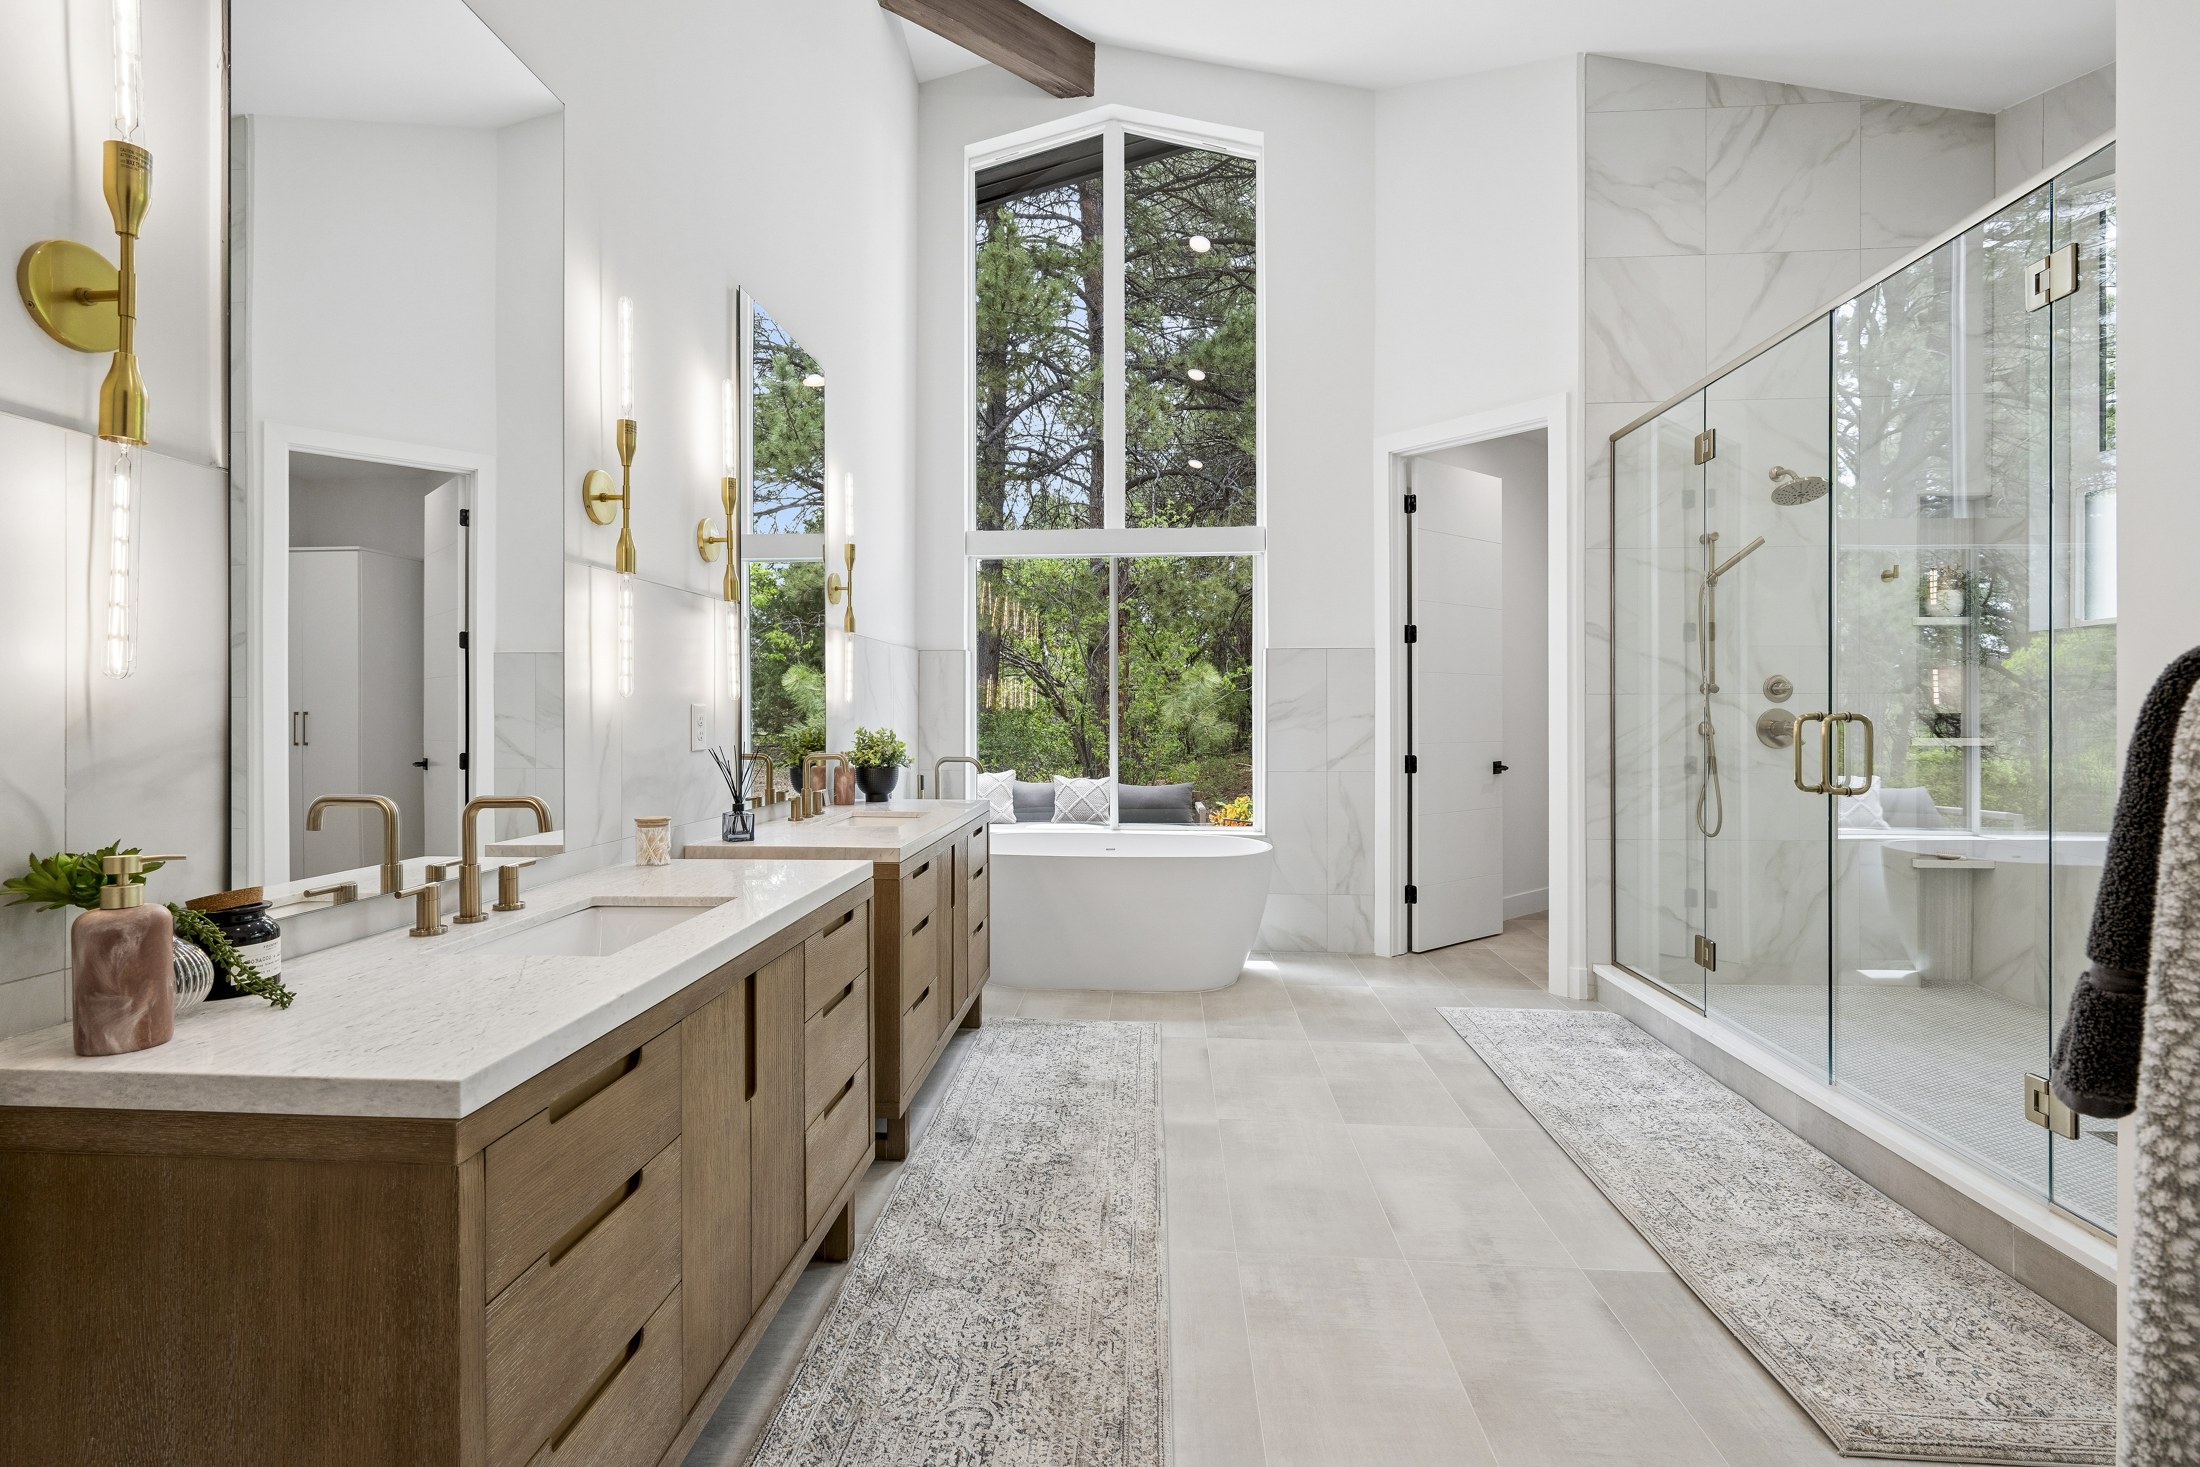
The tub was actually in a great spot, centered in front of soaring windows overlooking the private bedroom patio. The double vanities were also well placed, but all fixtures were massive, bulky and dated—and surrounding them all were wall-to-wall mirrors. Need I say more?
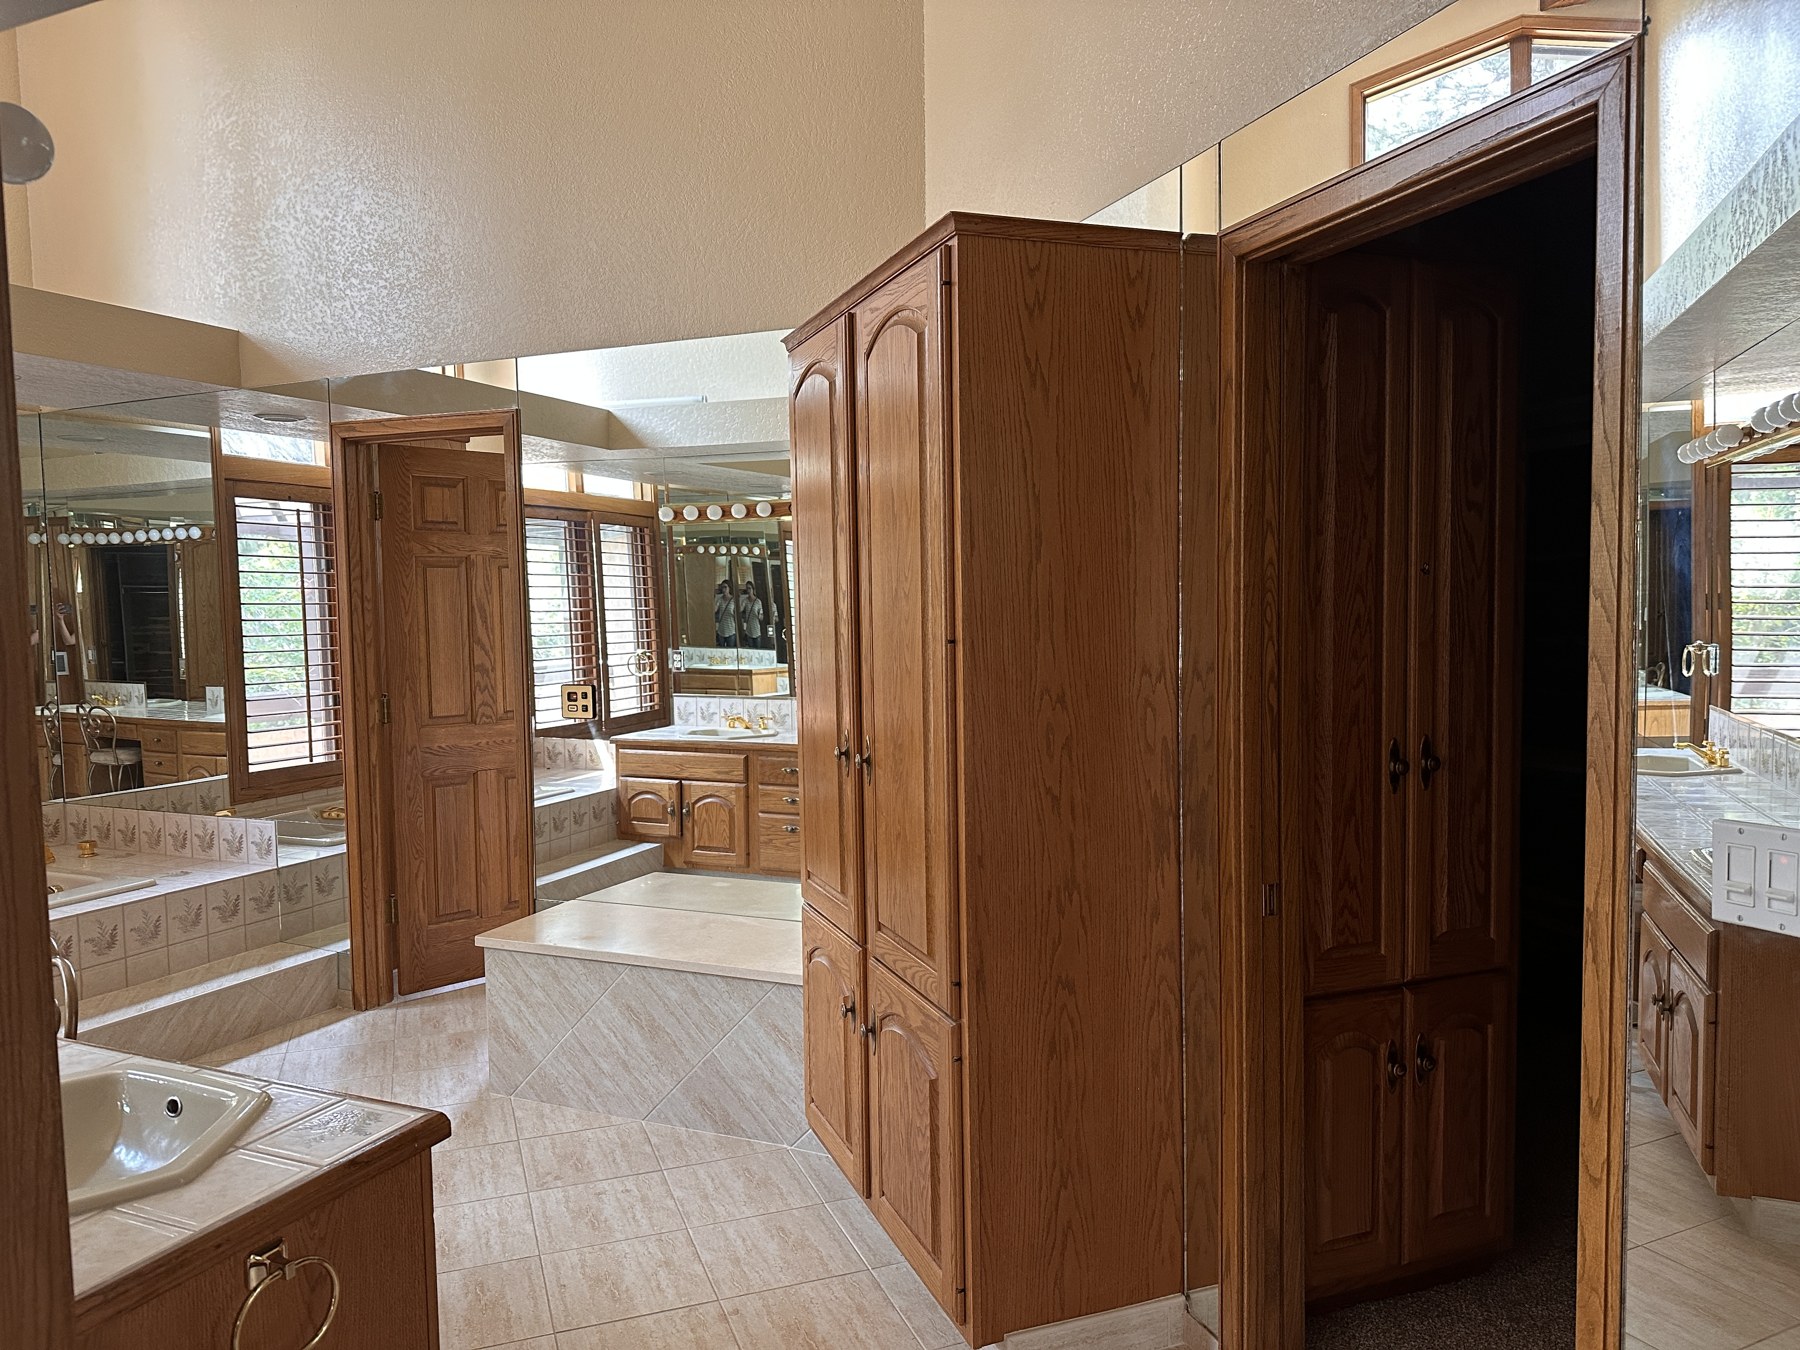
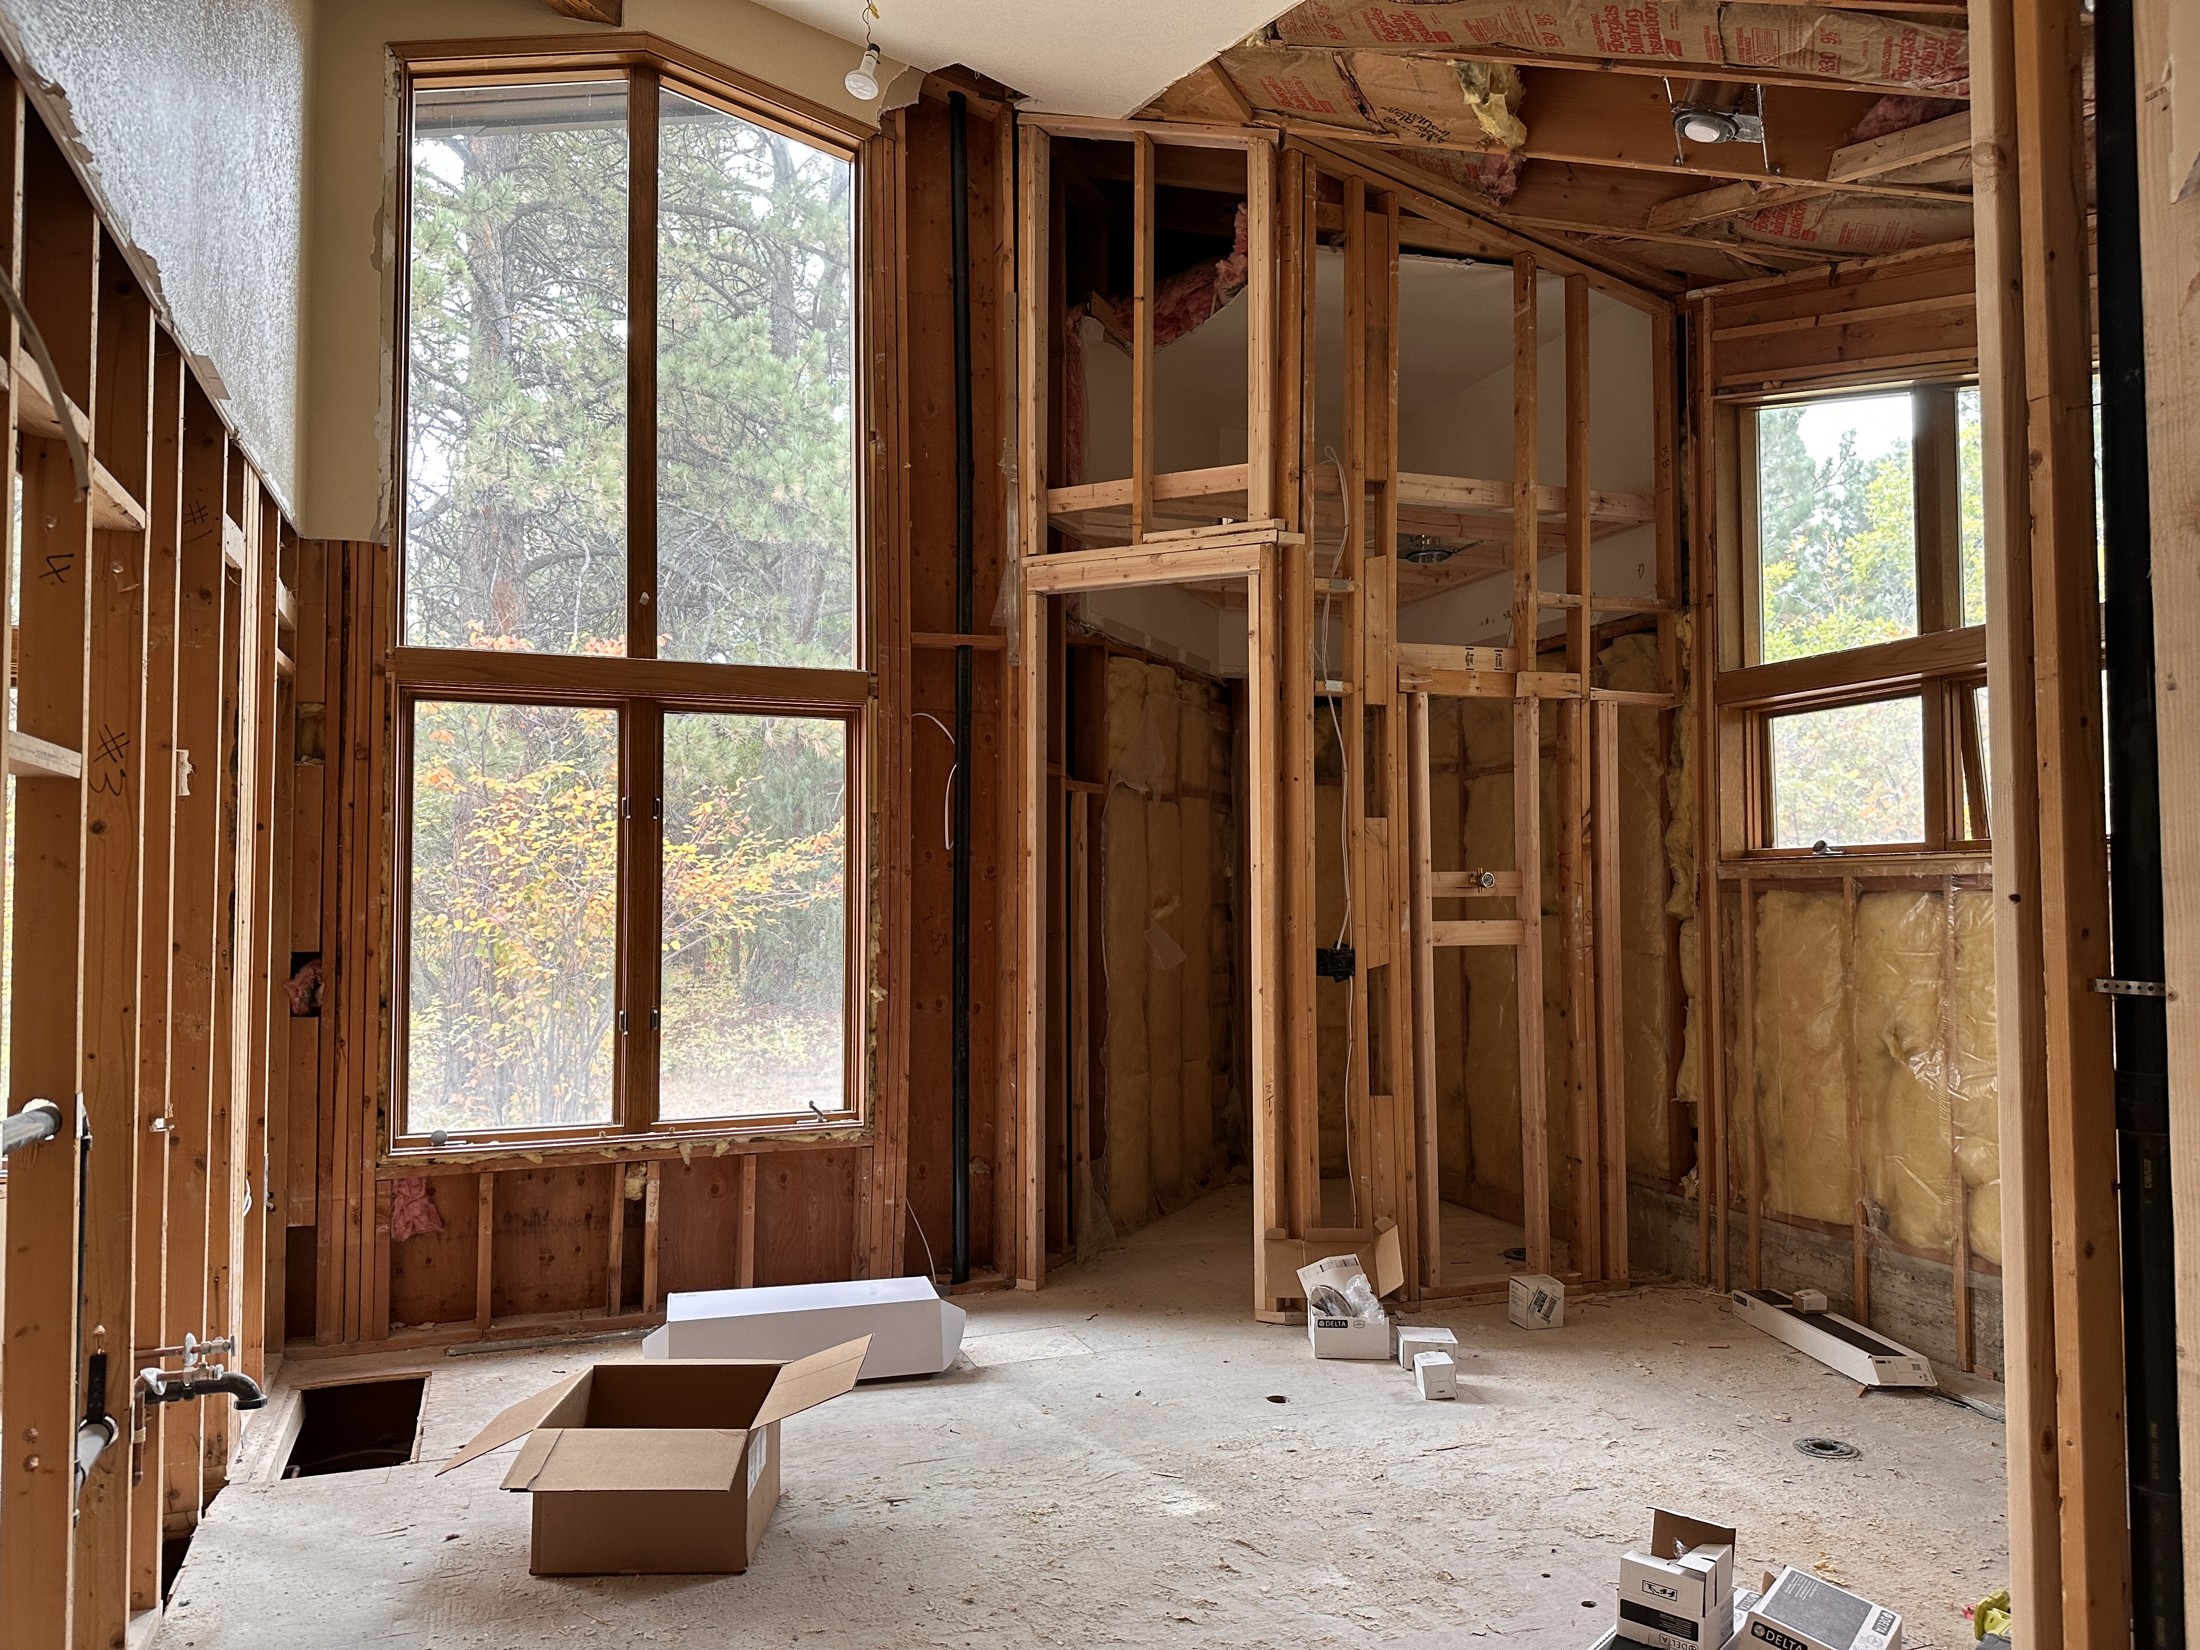
The back wall was another story.
On the left was a tiny, dark sauna with an unusually low ceiling. In the middle was an enormous room housing simply one toilet—with amazing windows overlooking the wooded yard hidden inside it. And on the right was a TINY enclosed shower. I am not what anyone would consider tall, and could barely move around in it.
The first step was to knock down the massive back wall that was blocking those windows, and then it all fell into place. The little sauna in the left corner became the new private toilet room. The enormous former toilet room became a large double walk-in shower, allowing those amazing windows to really show off. And the square footage from the tiny old shower was added to the existing walk-in closet.
Nothing about that bathroom needed to get bigger. It just needed to make more sense.
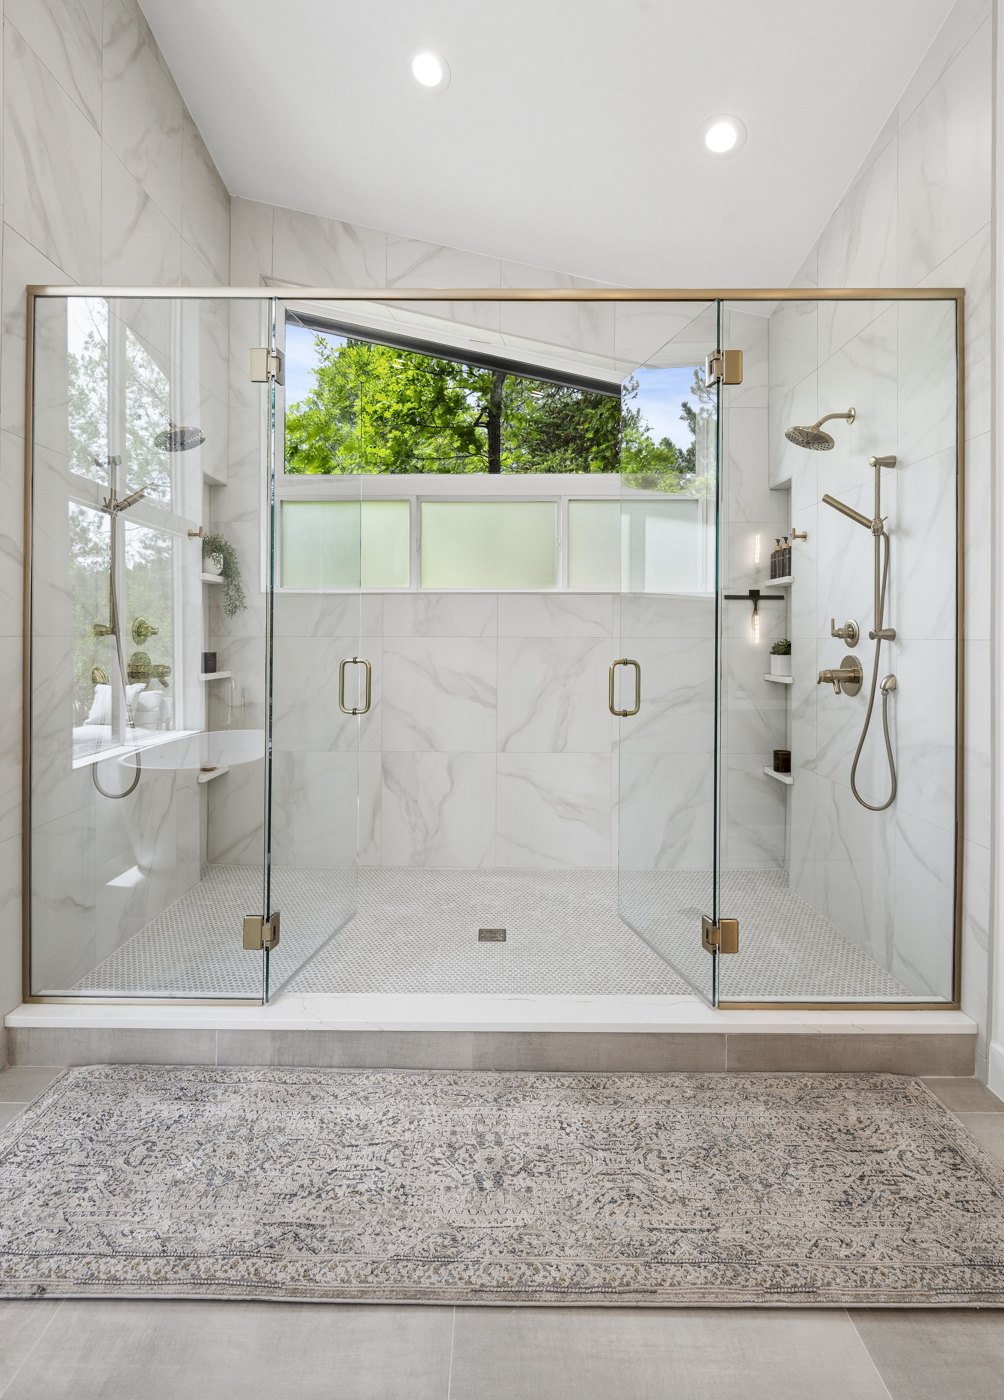
Primary bathroom / closet
Nice... making progress. But we still need one more bedroom and bathroom.
Which brings us to the basement.
Full disclosure: this was never going to be the world’s greatest basement. It was dark, unfinished and honestly super creepy, with low ceilings, awkward angles and narrow spaces that gave us plenty of limitations to work around.
But leaving it as a dark, unfinished space that nobody wanted to walk into didn't make much sense either. So instead of trying to make the basement something it could never be, we focused on figuring out what it could give us.
By working within the existing footprint and adding an egress window, we were able to create a fourth legal bedroom, another full bathroom, a small lounge/TV area, and a wine room.
Truth time... even after finishing it, is it perfect? Nope.
Would I choose this basement layout if I were designing a house from scratch? Also nope.
But is it a whole lot more useful than what was there before? Absolutely.
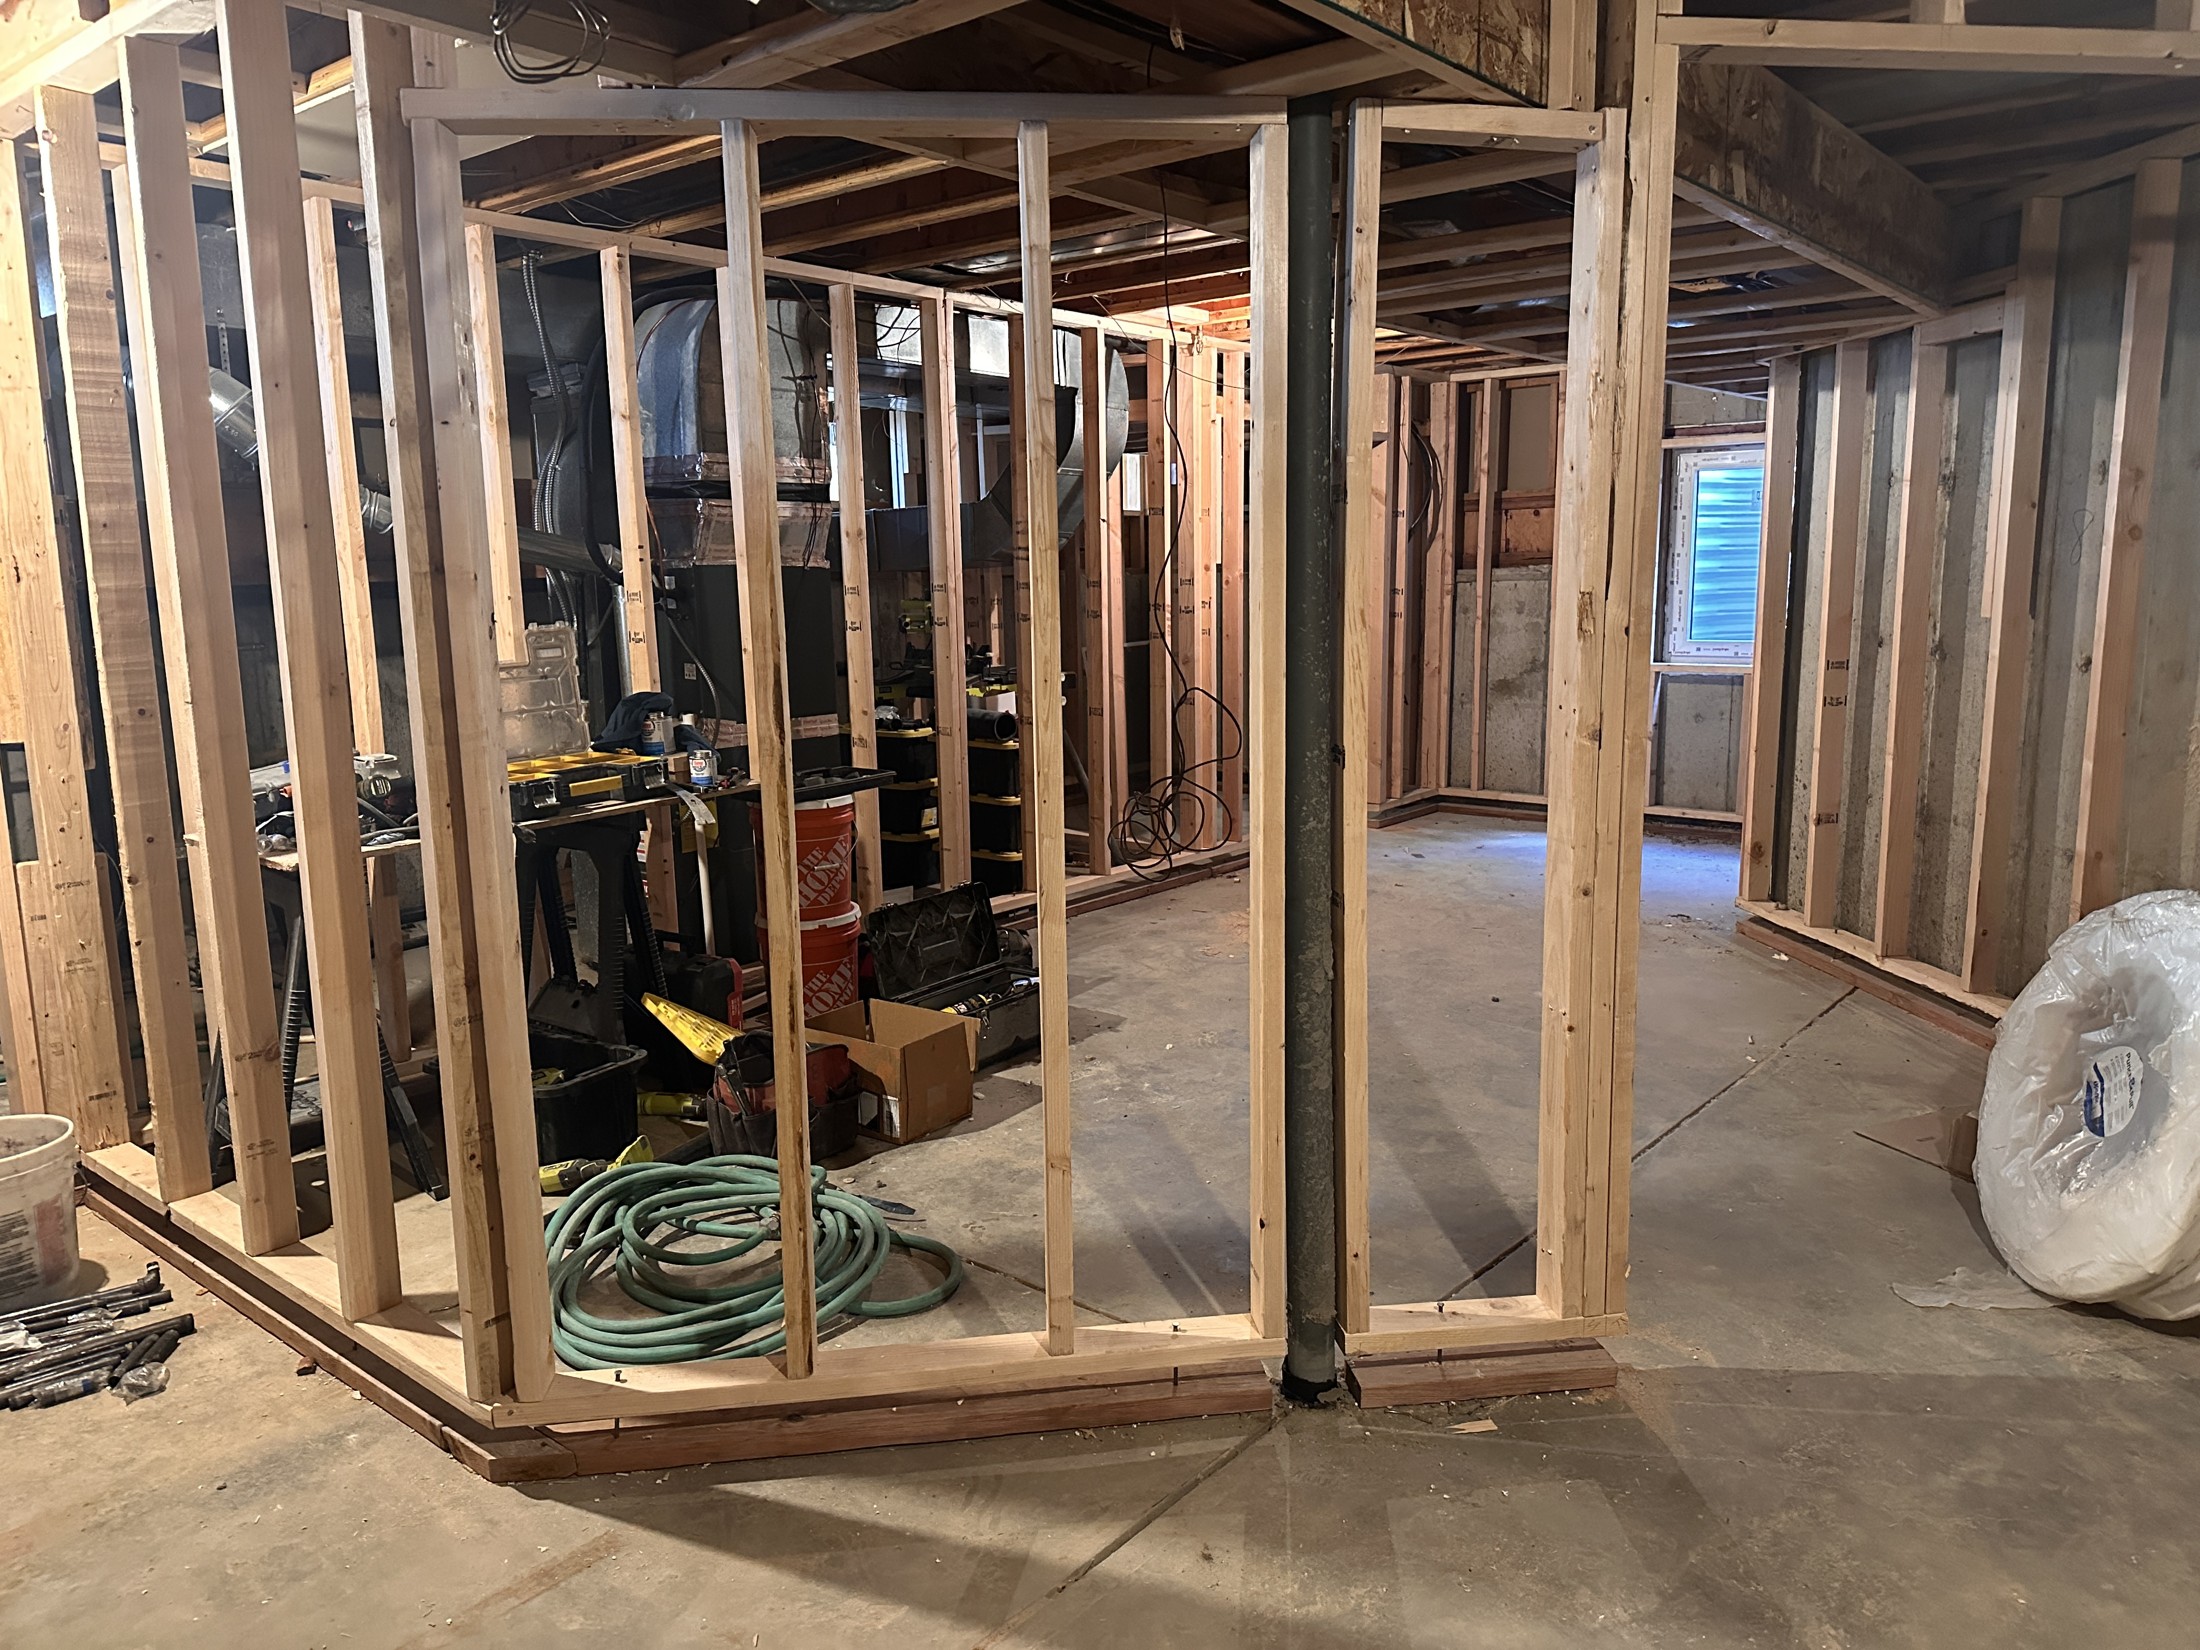
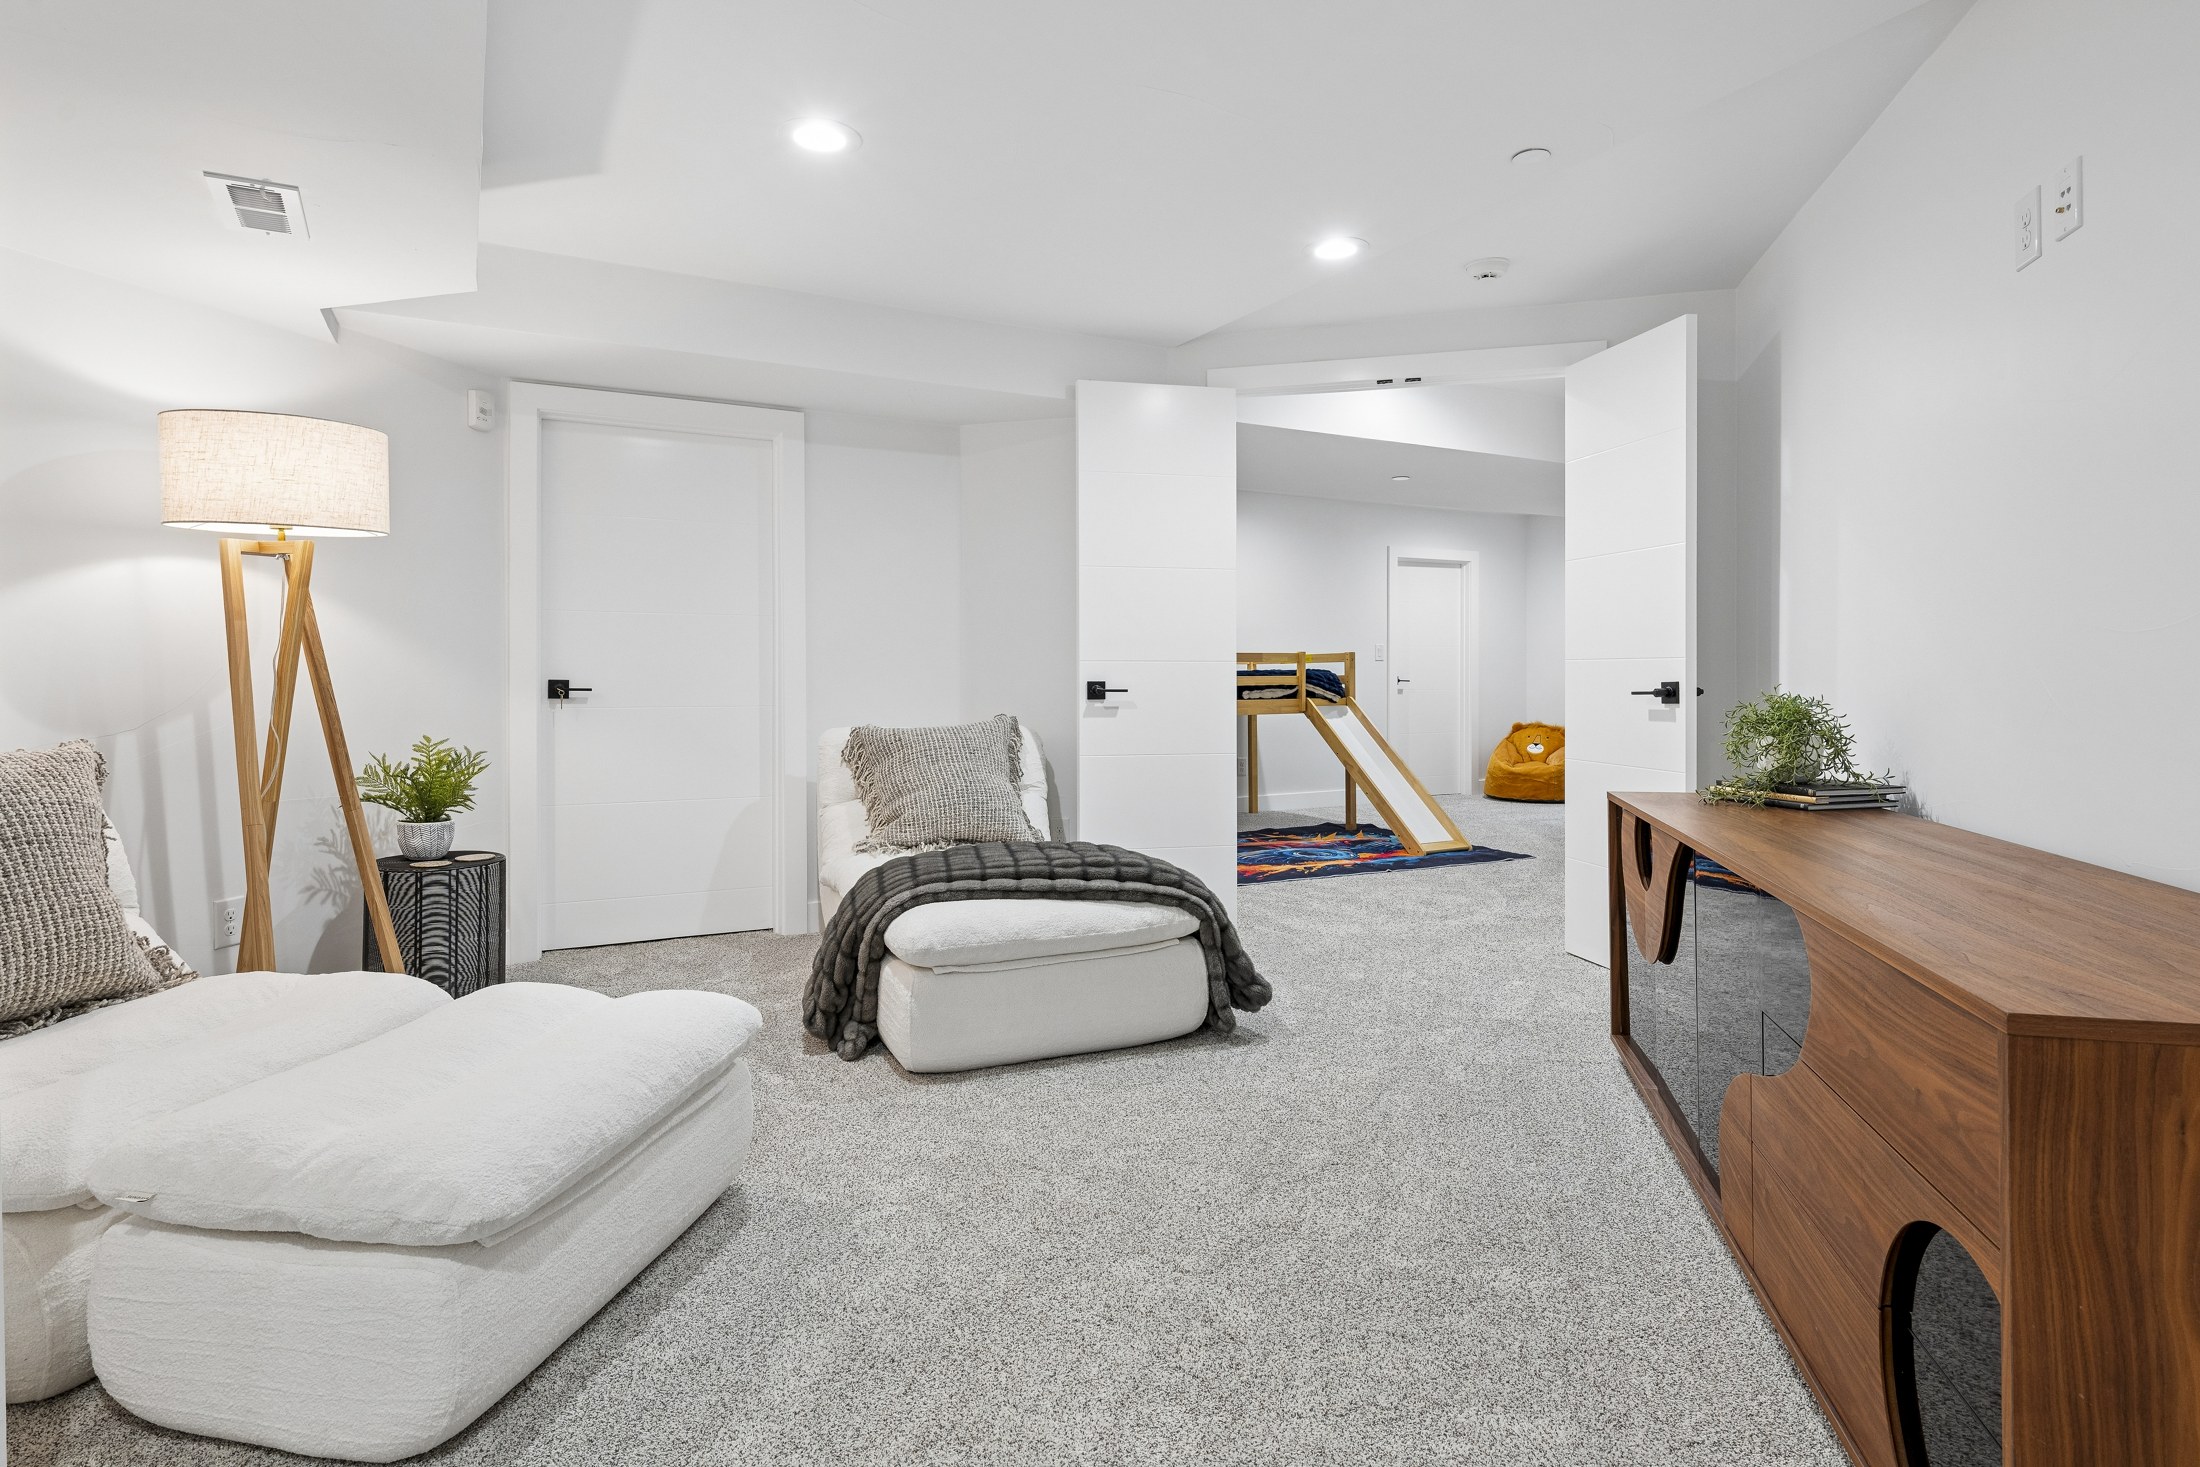
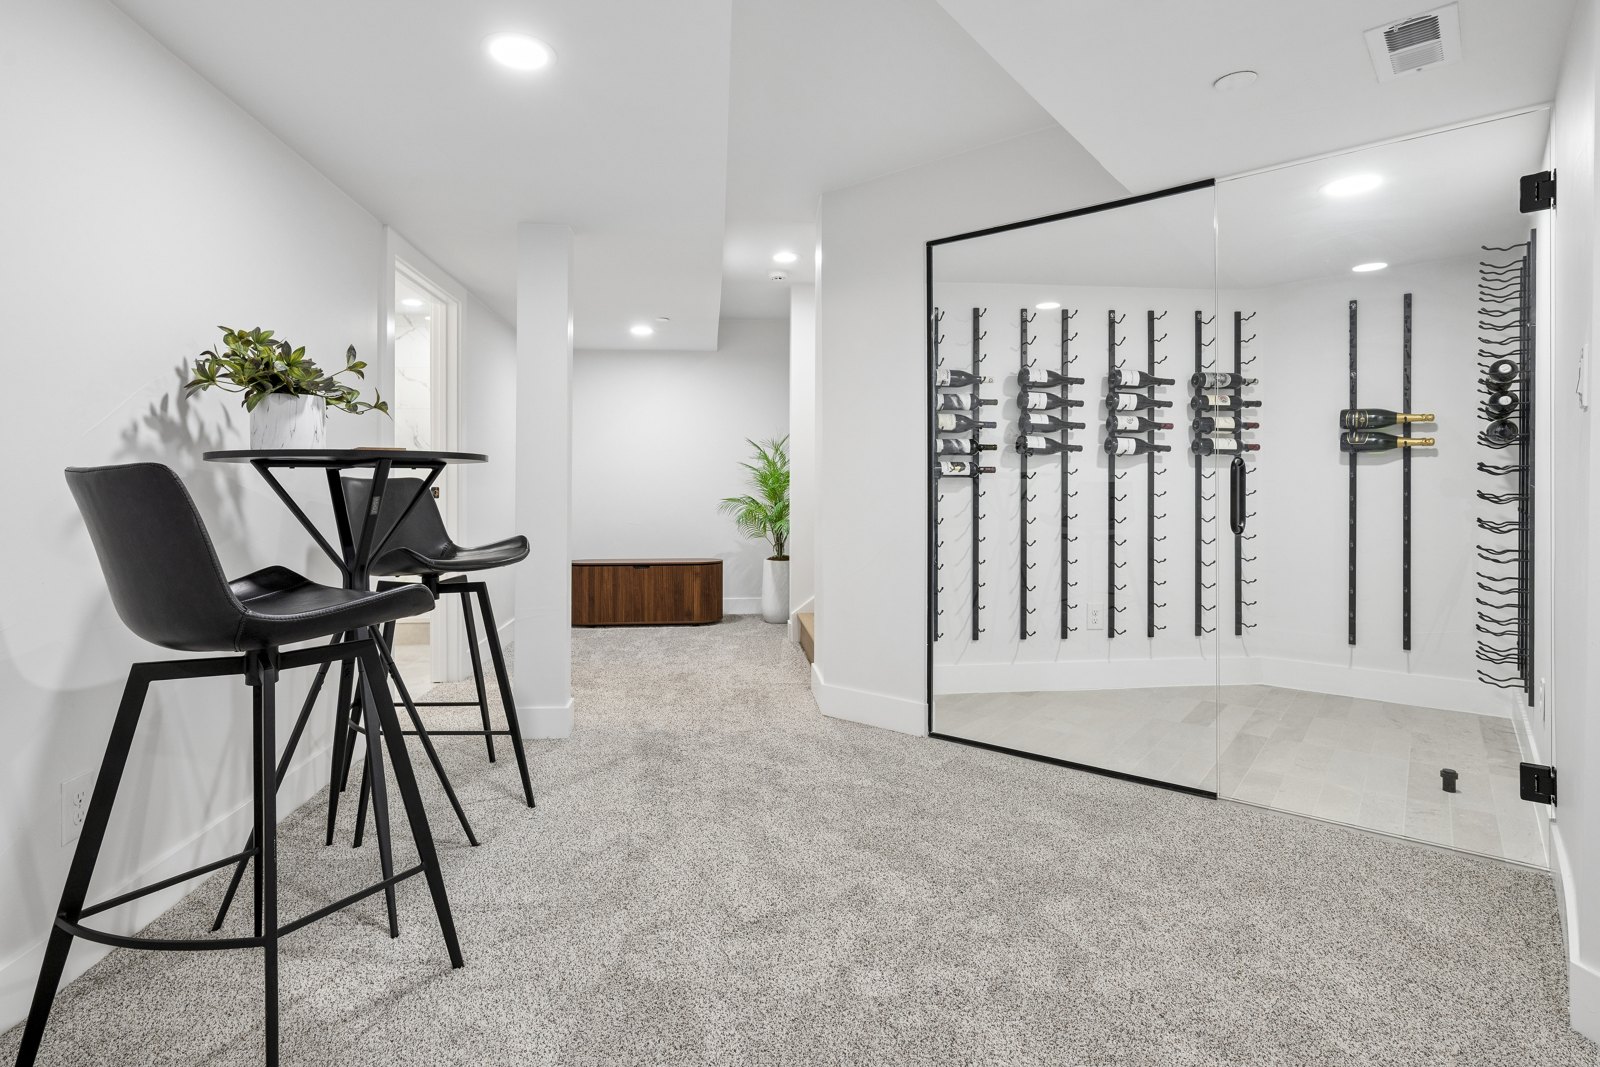
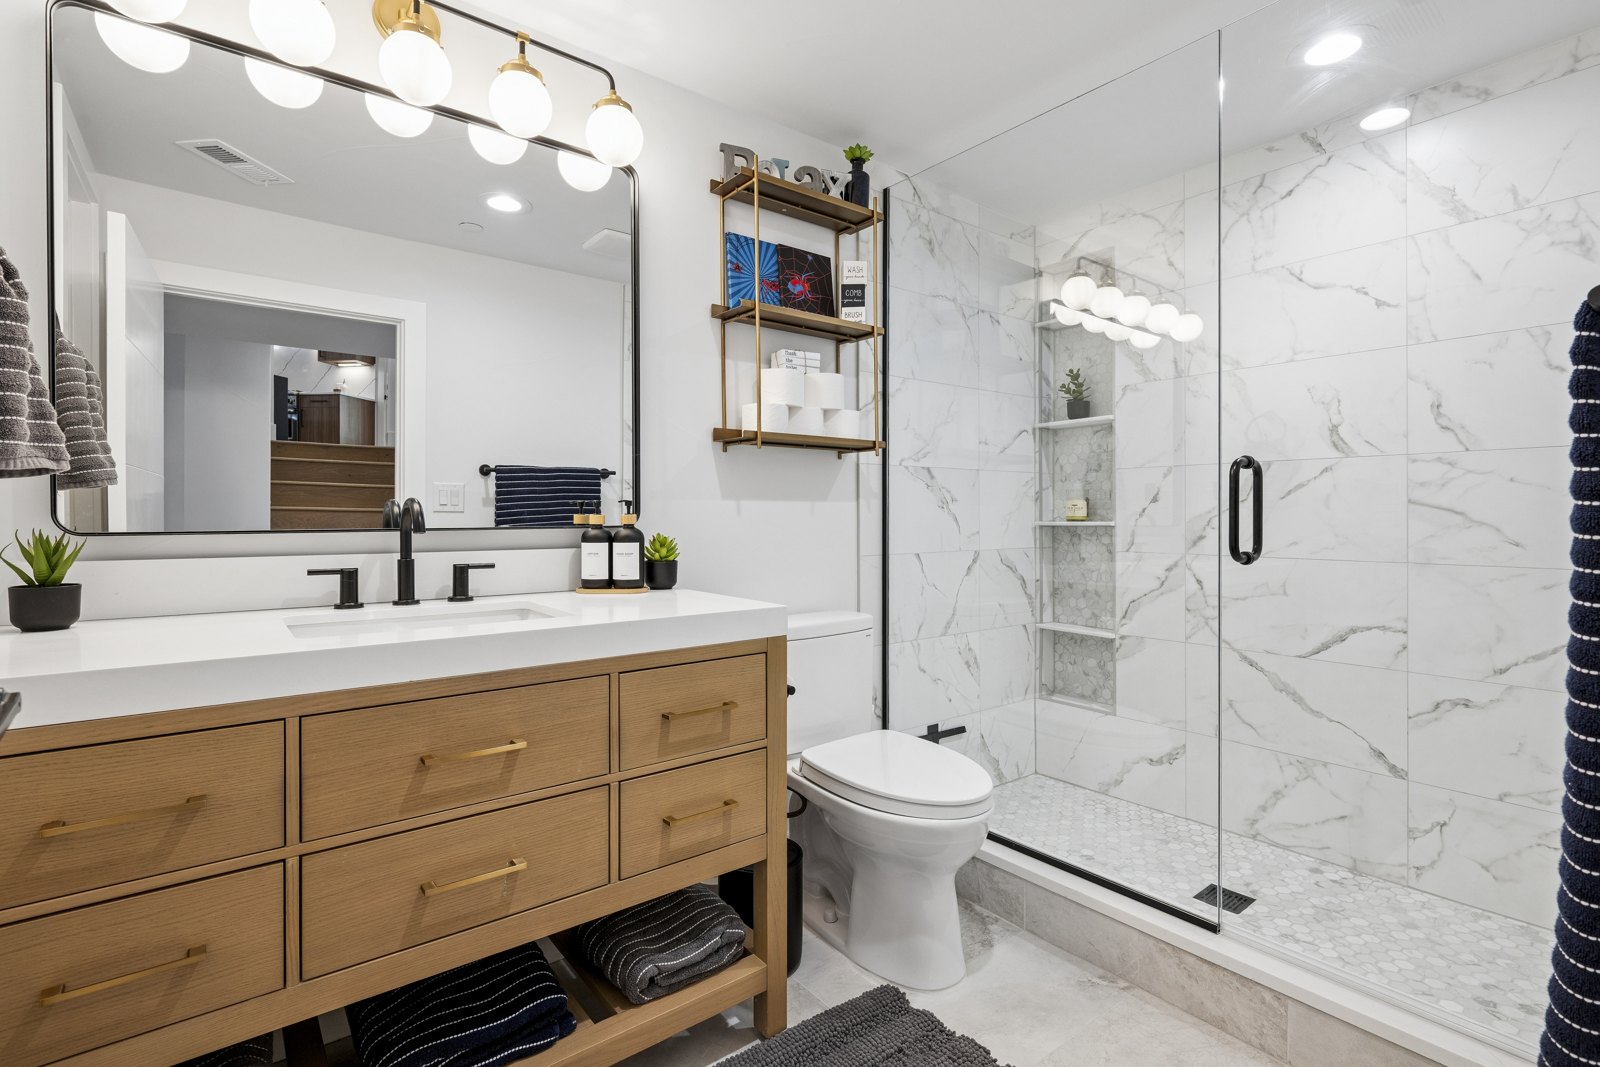
4 bedrooms. 4 full bathrooms. Same house.
Finished basement
Now for the outside...
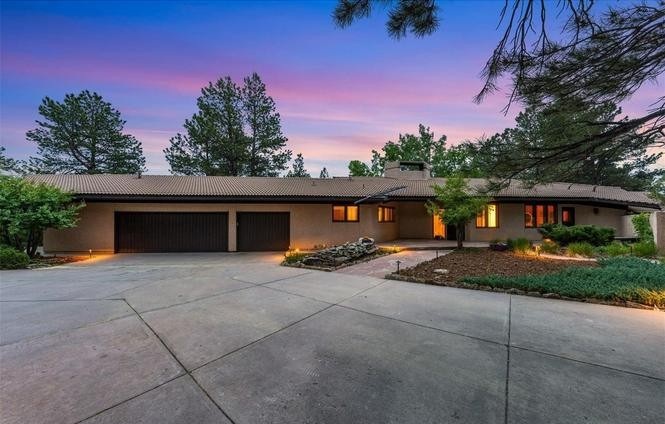
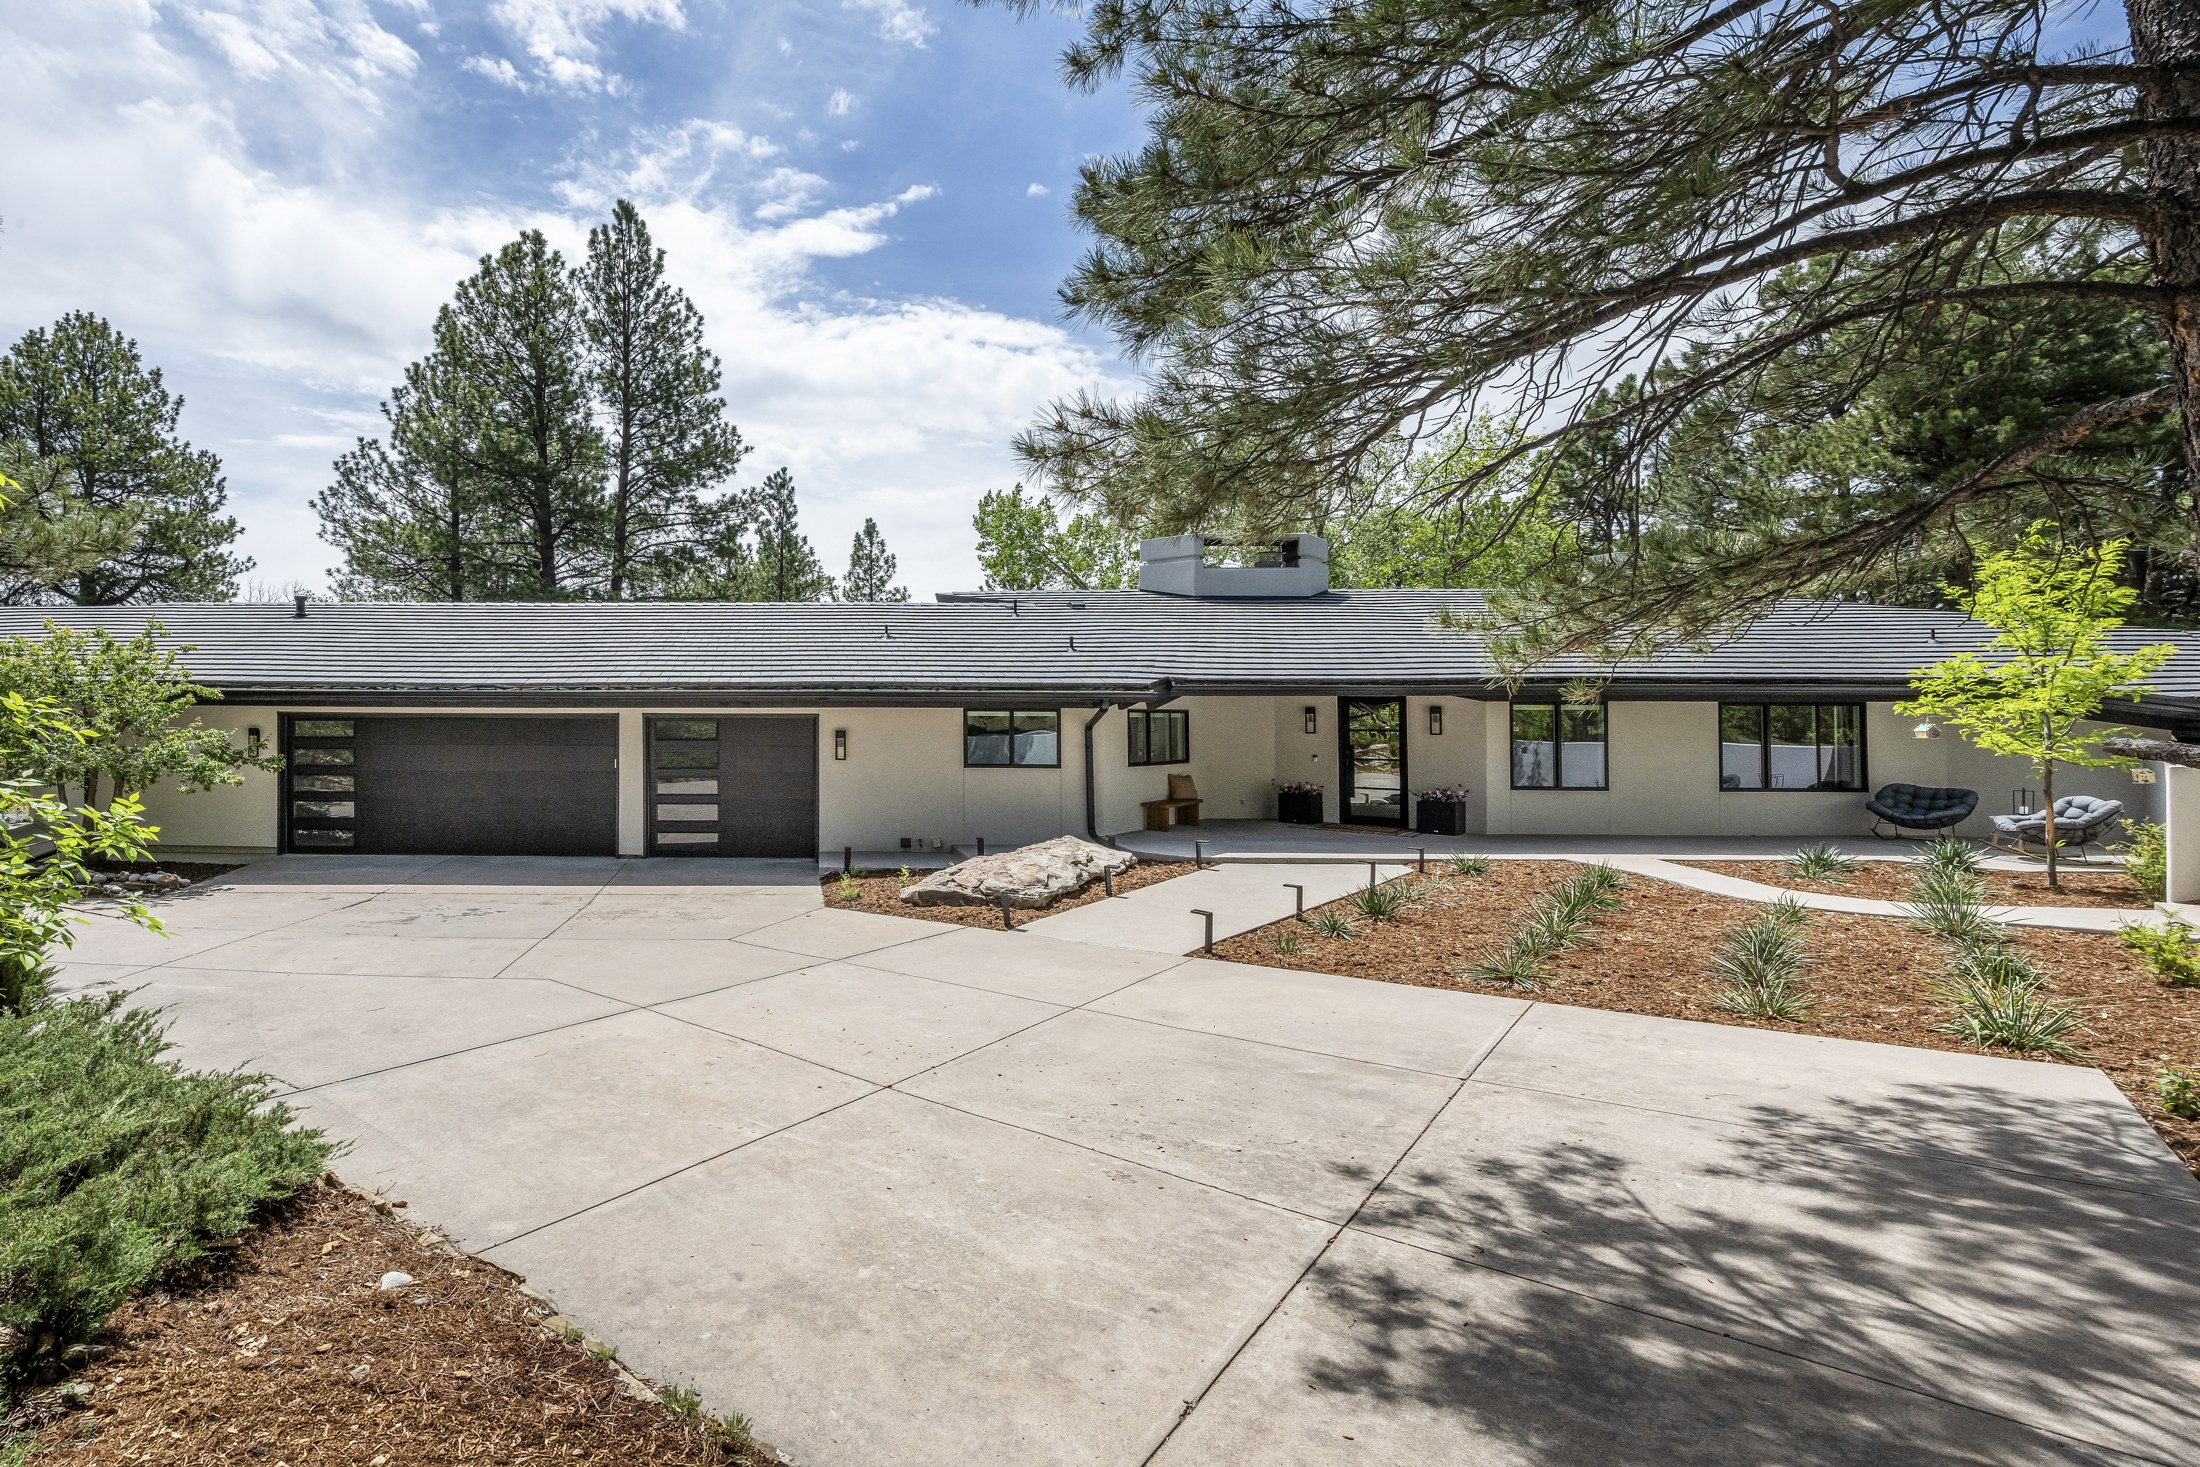
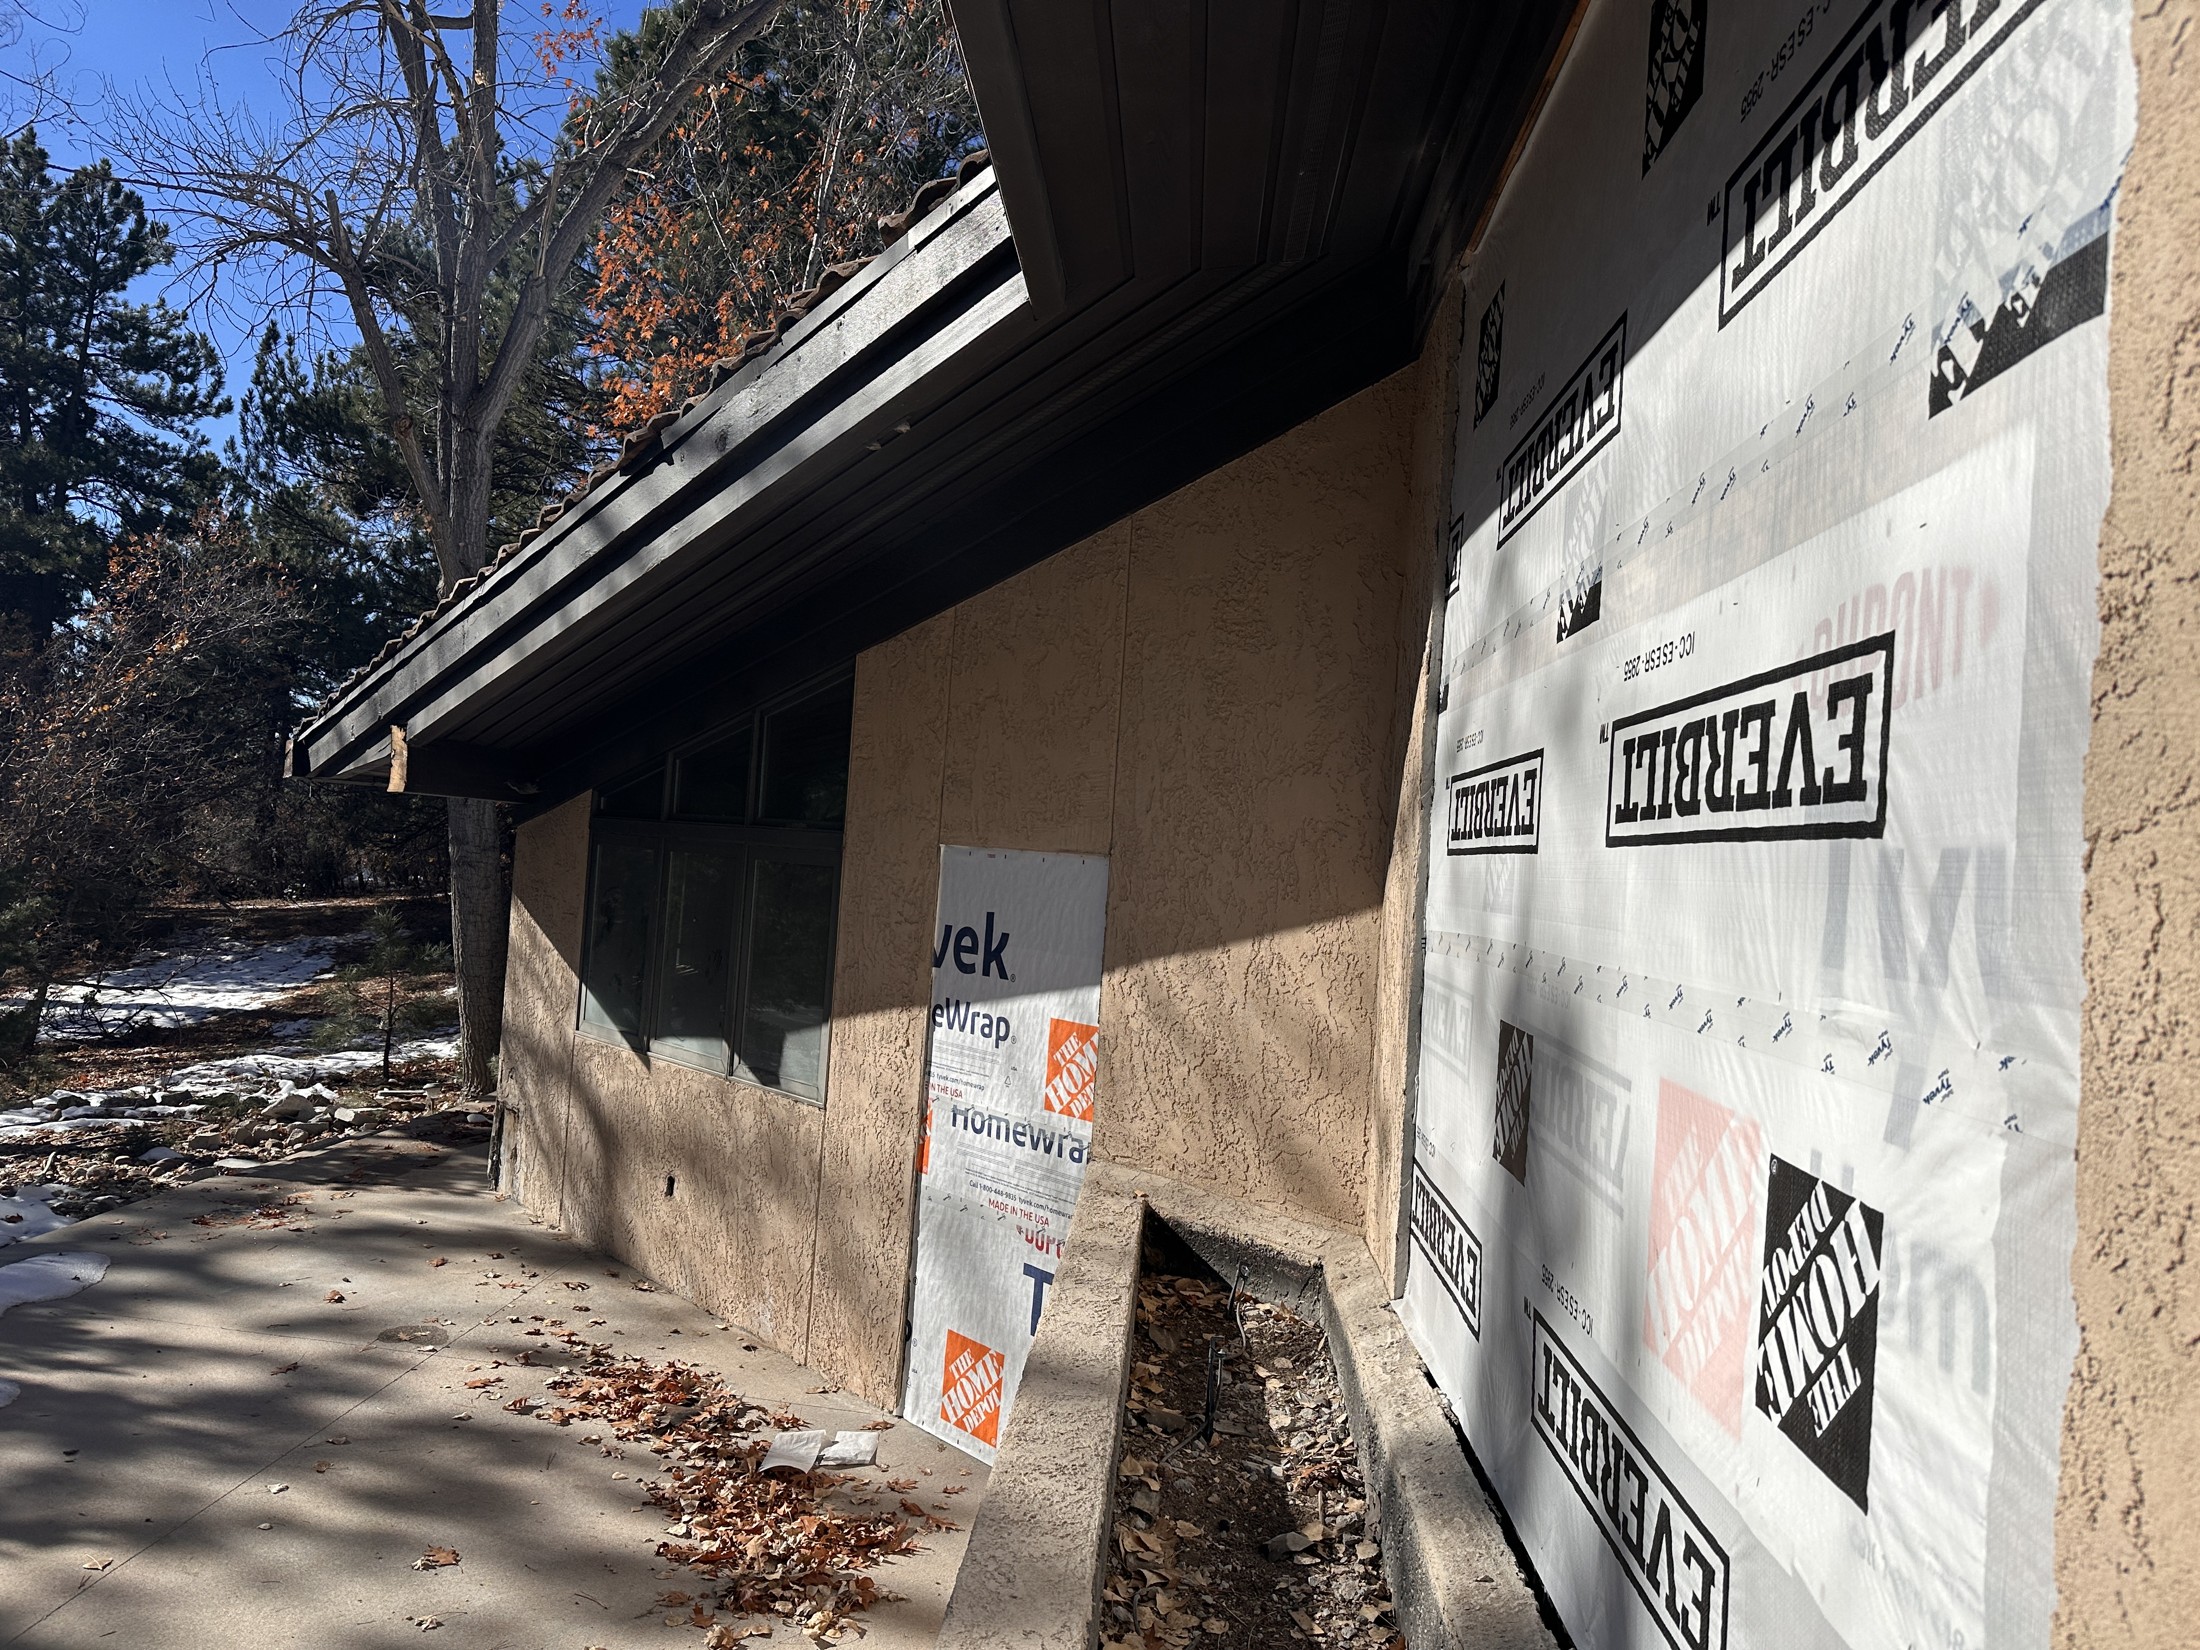
The exterior had some things going for it, for sure. The unique rooflines, huge windows and wooded setting were a big part of what made me love the house in the first place. But it was in need of a serious update.
Some of that was cosmetic. Some of it wasn’t.
The deteriorating and leaking brown Spanish-style roof needed to go.
The old windows were rotting.
The heavy wood garage doors could have been beautiful if refinished, but unfortunately, they were rotting too.
The heavily textured tan stucco only added to the dated Spanish-style feel.
Cracking flagstone patios and obtrusive stucco half-wall “railings” around the patios weren’t cutting it either.
So we cleaned it all up:
A new modern black tile roof, along with a complete gutter system—which previously consisted of one short gutter over the front door.
New energy-efficient black windows.
Brand-new 8' garage doors to accommodate taller trucks, SUVs and roof racks, which are pretty common here in Colorado.
Brand-new smoother, lighter stucco.
Minimalist concrete patios and modern cable railings.
At the entry, we replaced the original front door with an oversized steel-and-glass door.
We updated all of the exterior lighting fixtures as well.
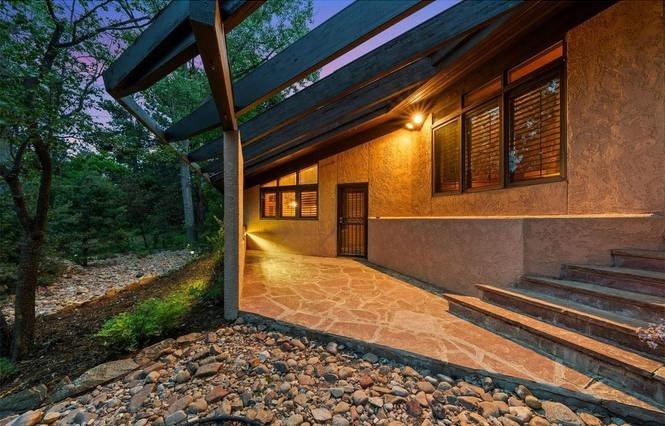
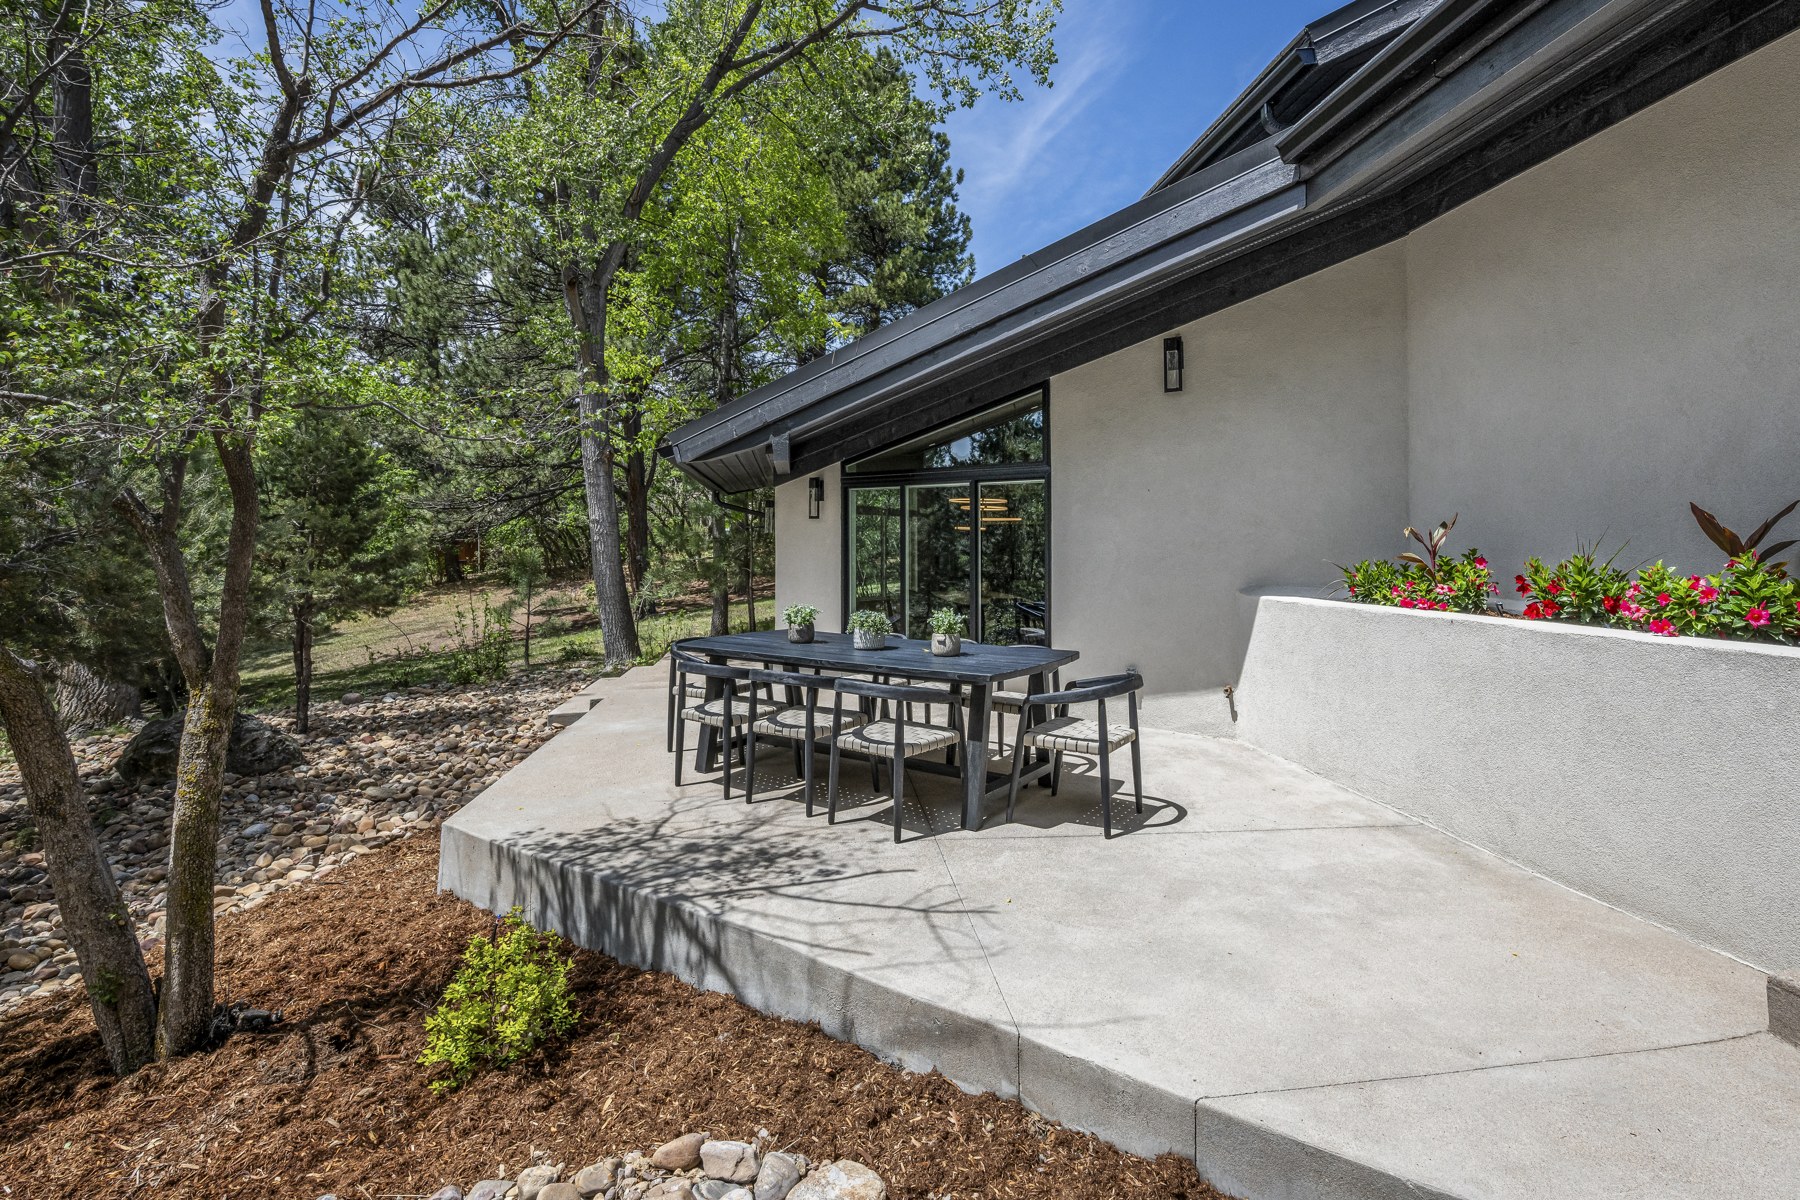
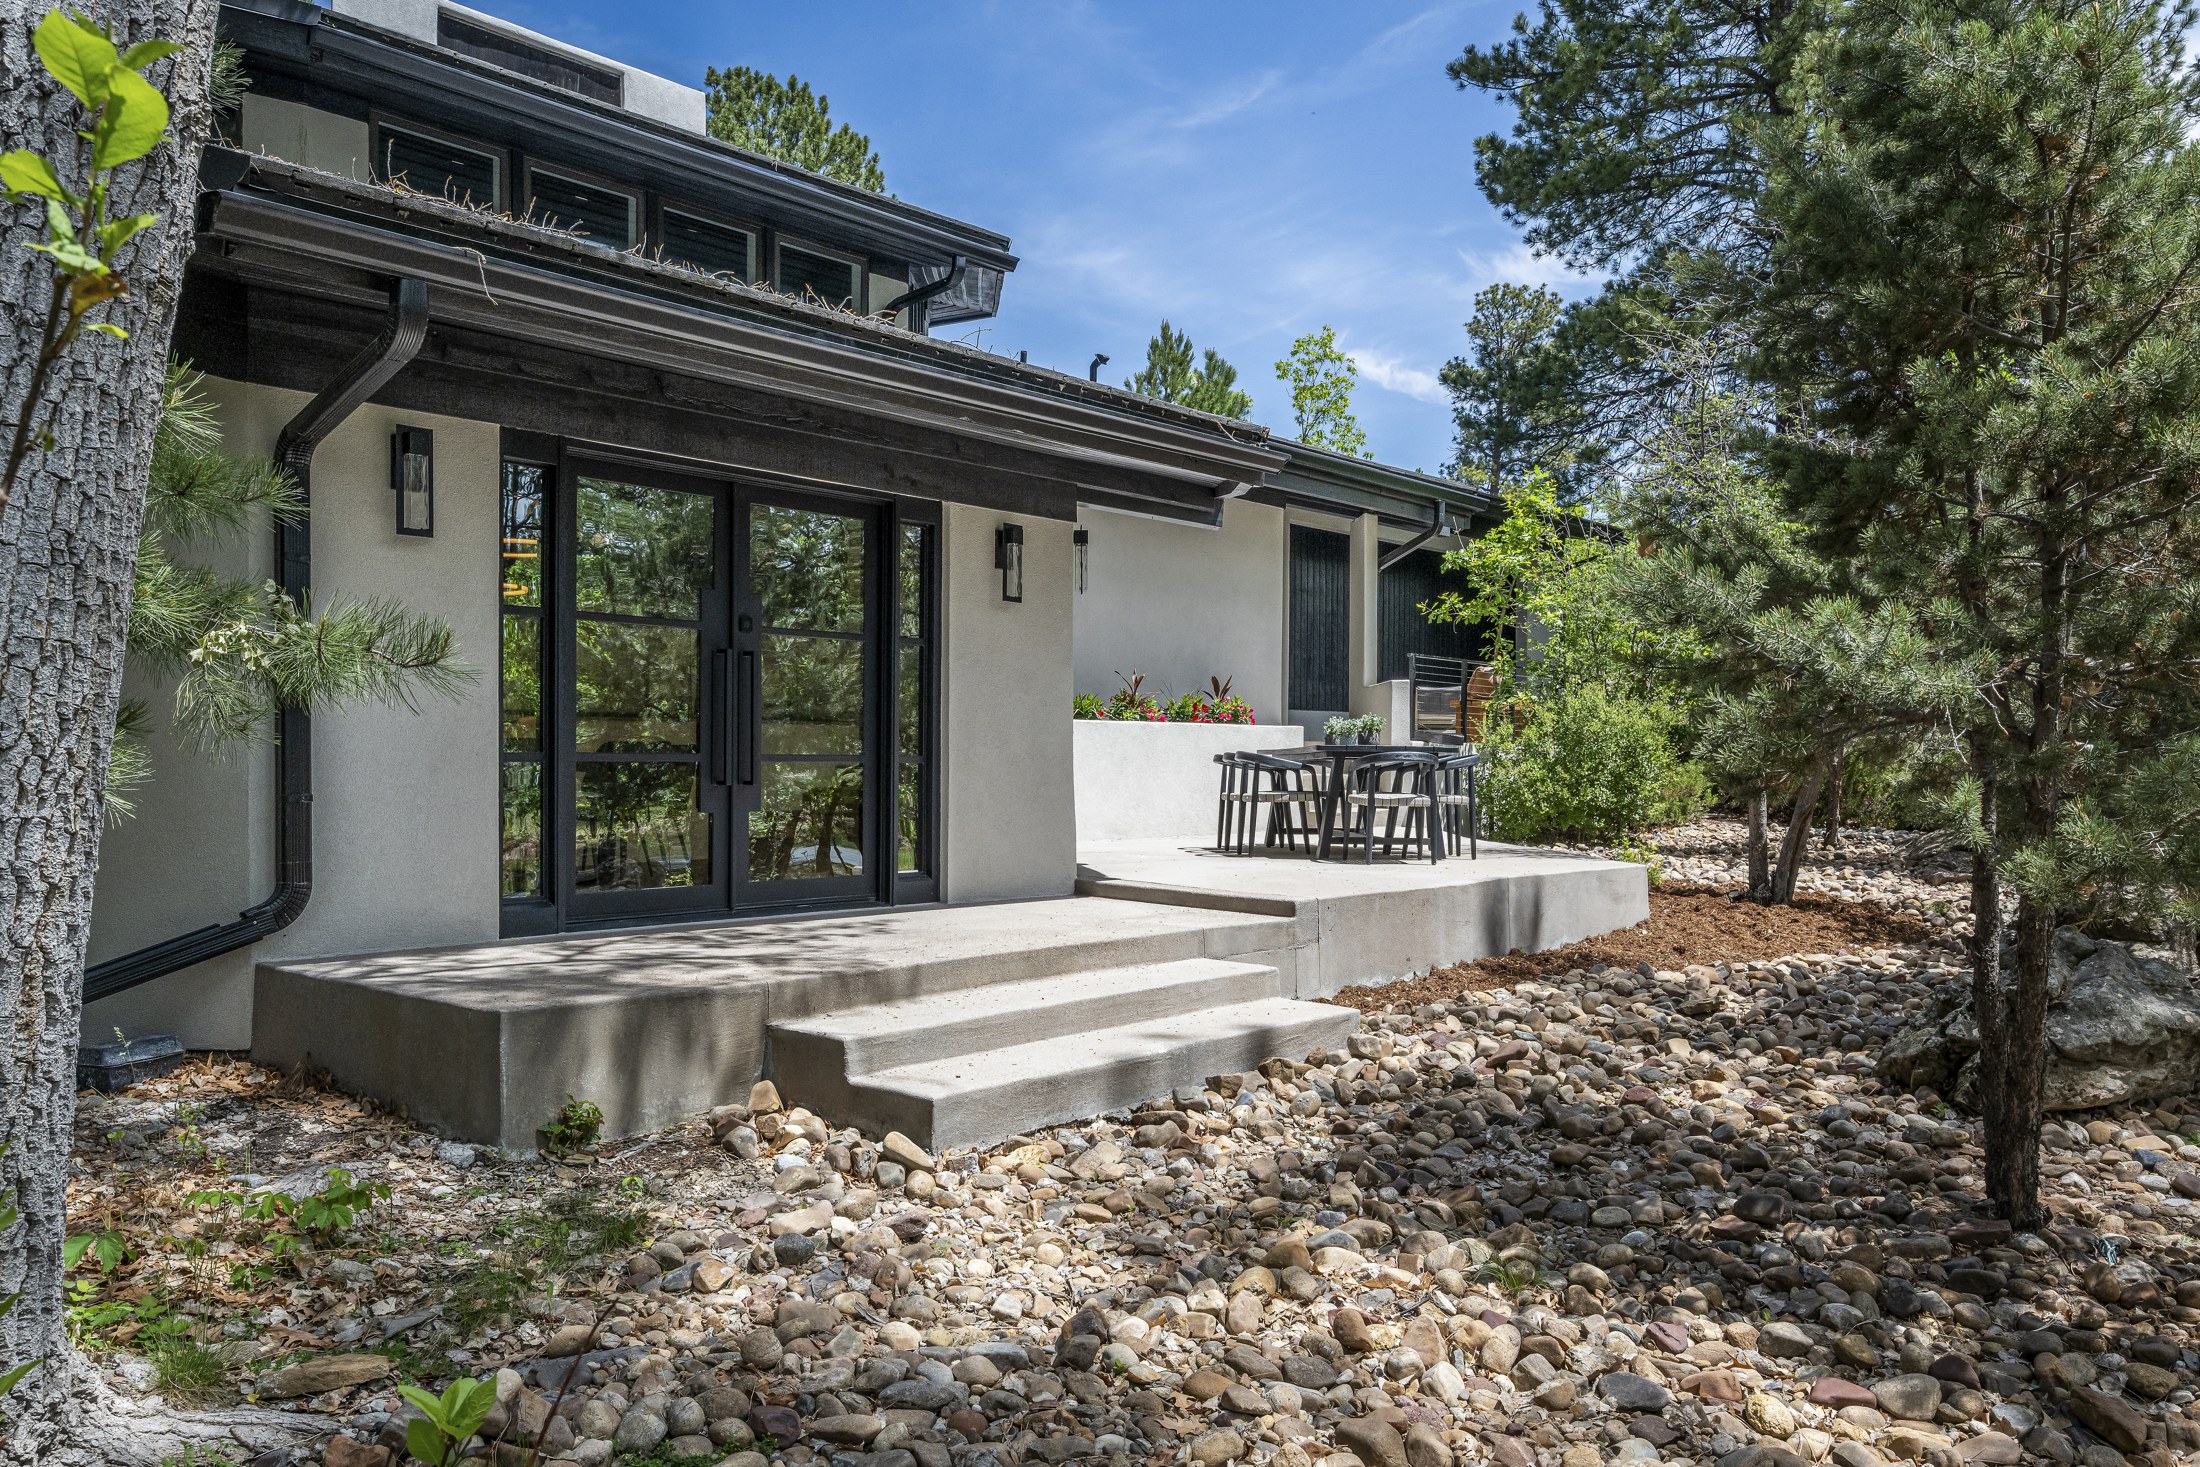
Same architecture. Same character. Just a whole lot more functional, fresh and modern.